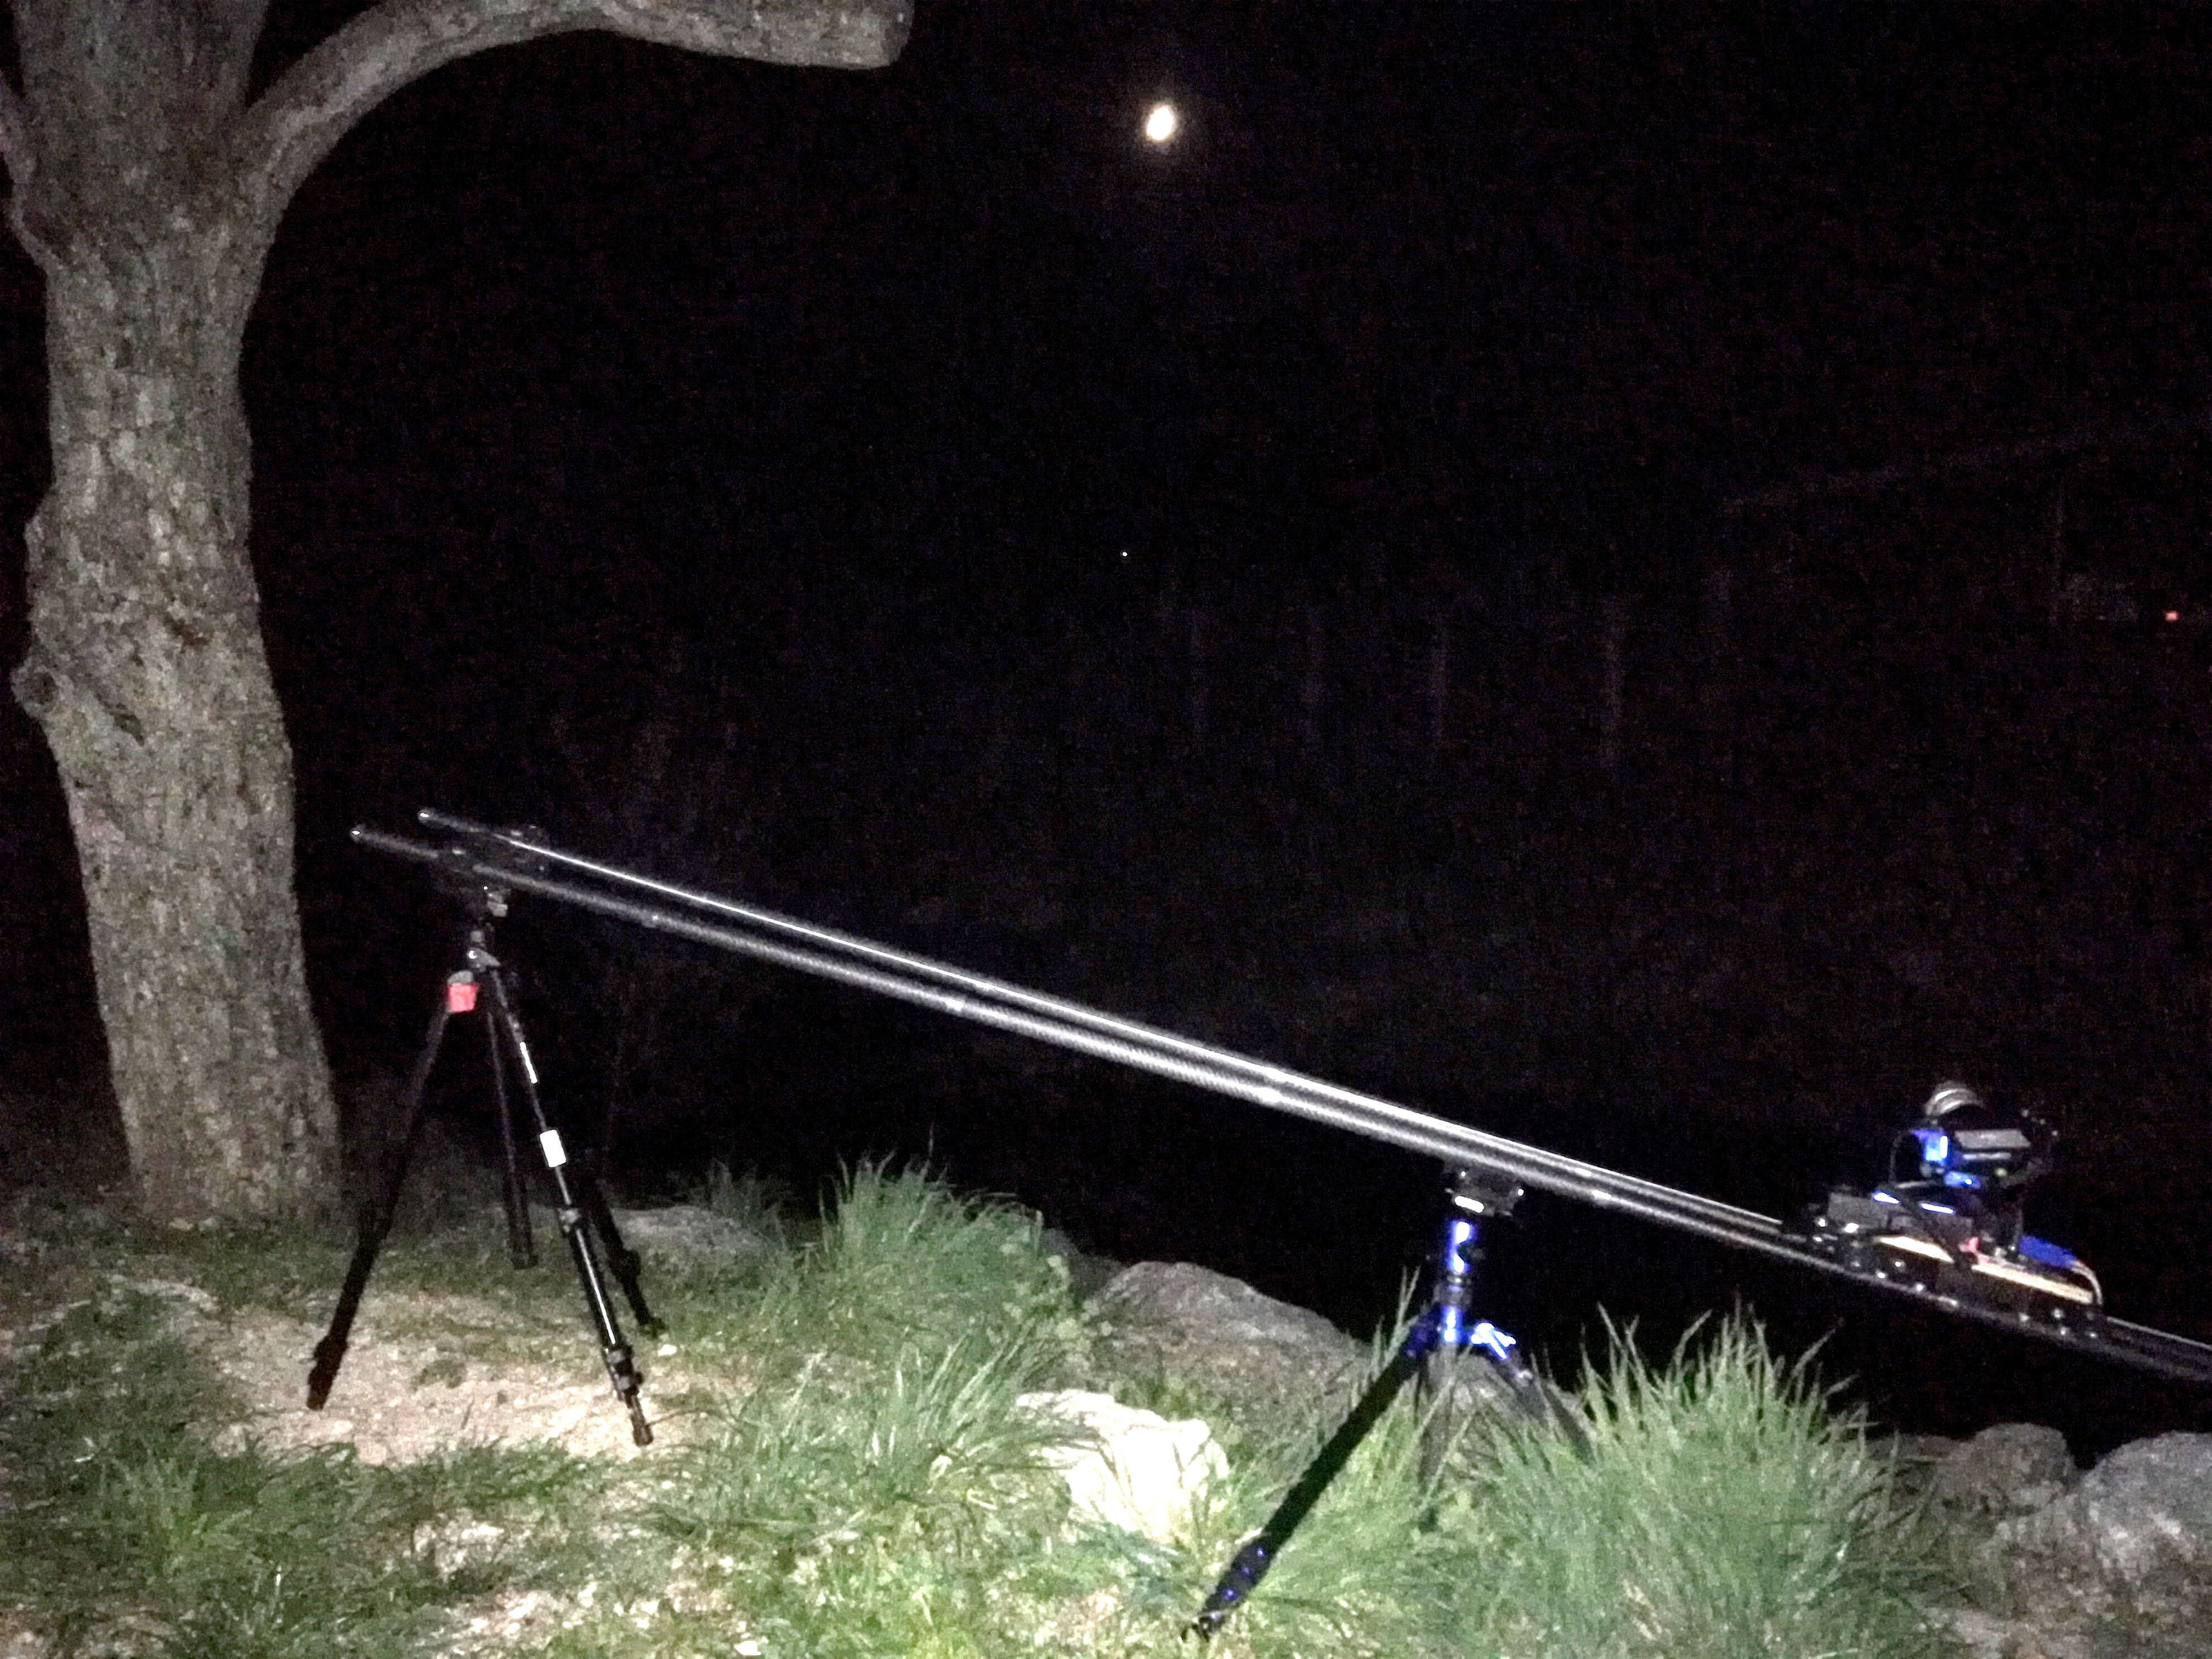
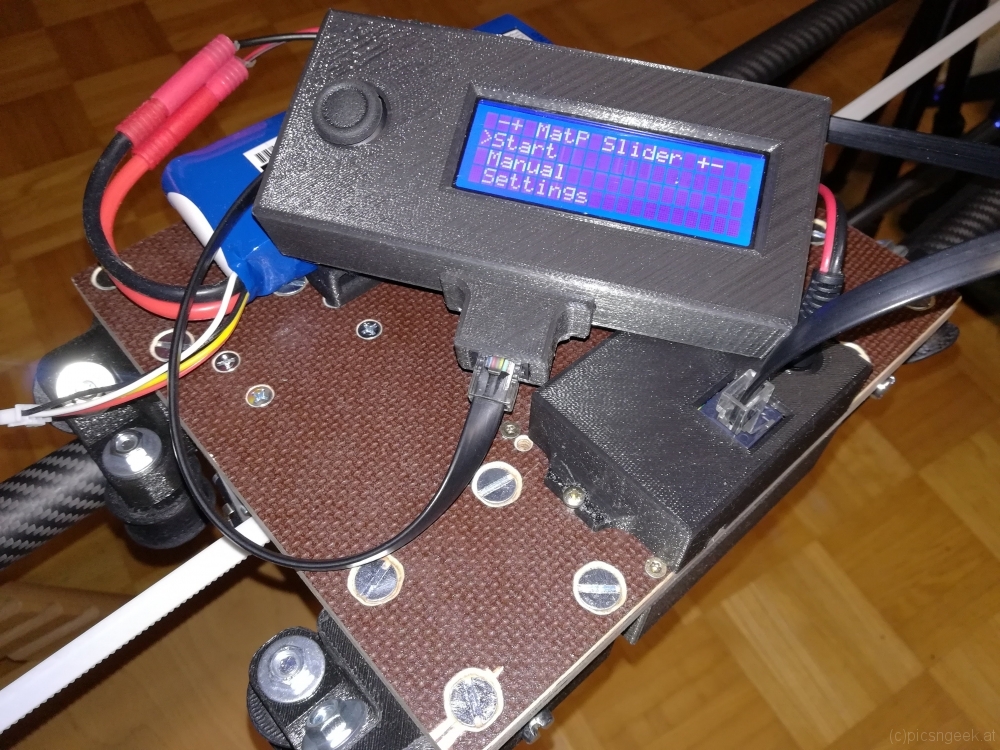
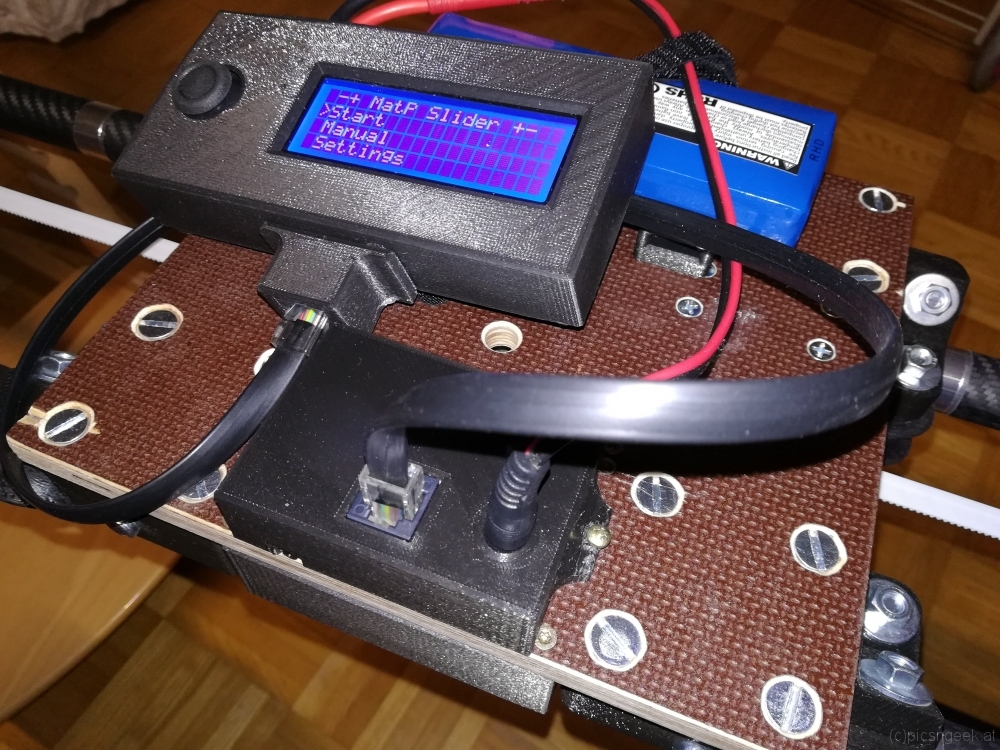
After several days of building and coding, the slider was ready to perform a first real world test. Even if the electronics have not yet been encased (all the wires are going wild around the platform), this was proof of concept…
Damascus knife – building the handle
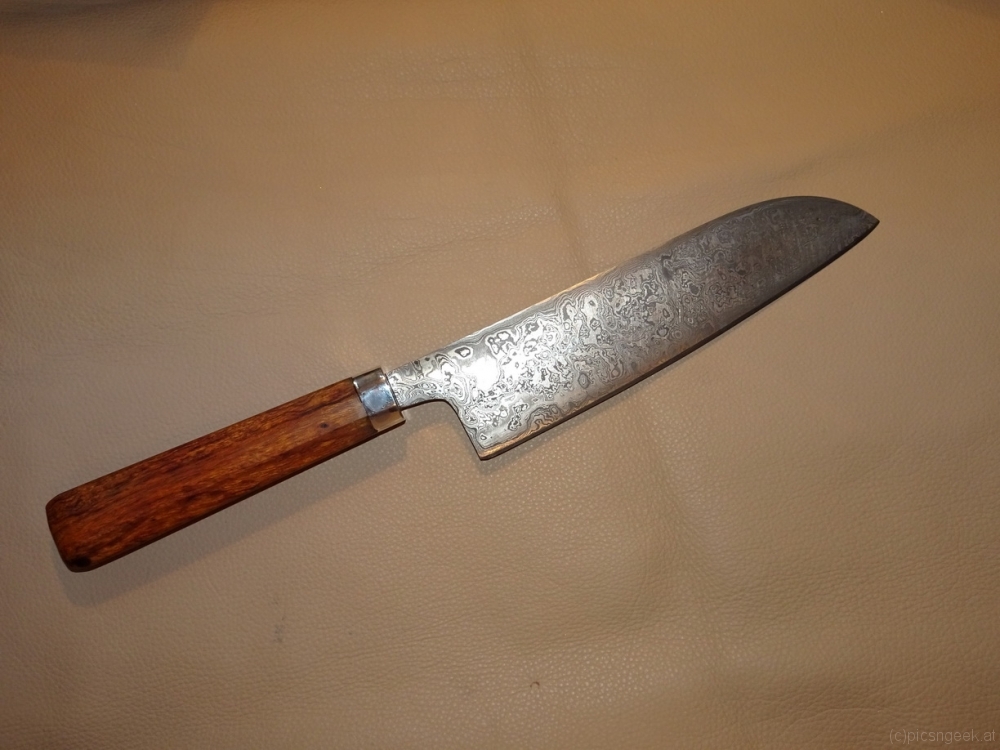
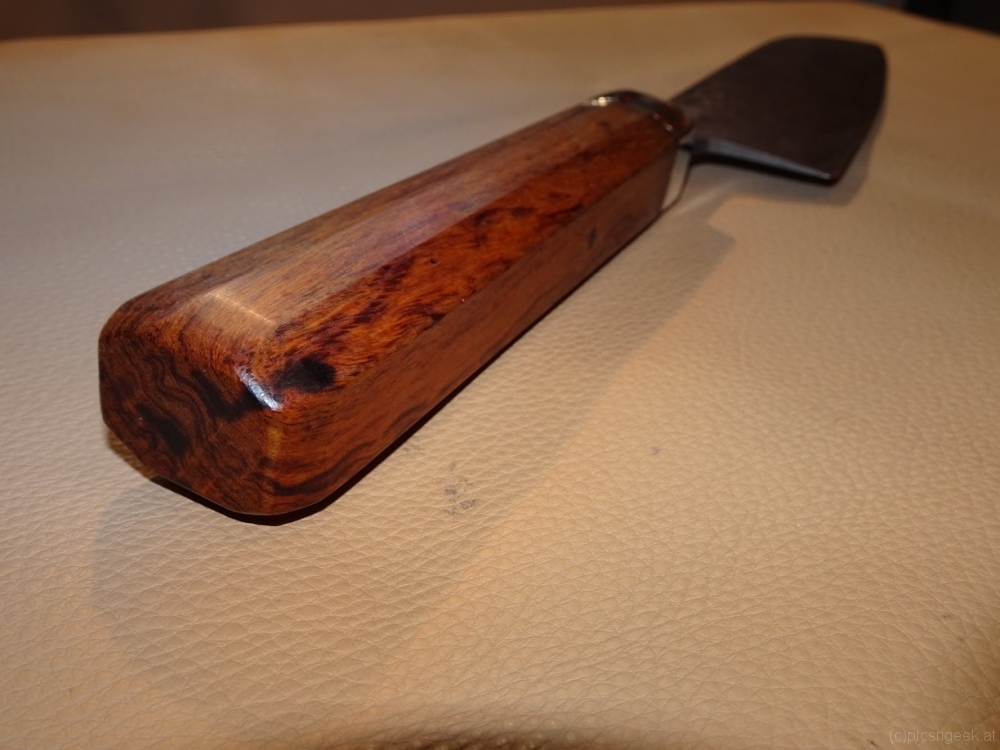
A few weeks ago, I built a damaskus knife blade (see Damascus knive workshop). Now I finally had time to build the handle. Part of the delay accounted for the decision in material and design of the handle. After some serious research and window shopping, I found the perfect combination I would love to have: desert iron wood and silver.
Desert iron wood is a very dense and hard wood. The core parts have a deep red color with wonderful dark texture. But it is not at all easy to find a piece at reasonable prices. Luckily I found an online store, offering a block of desert iron wood with matching size and texture to my likings.
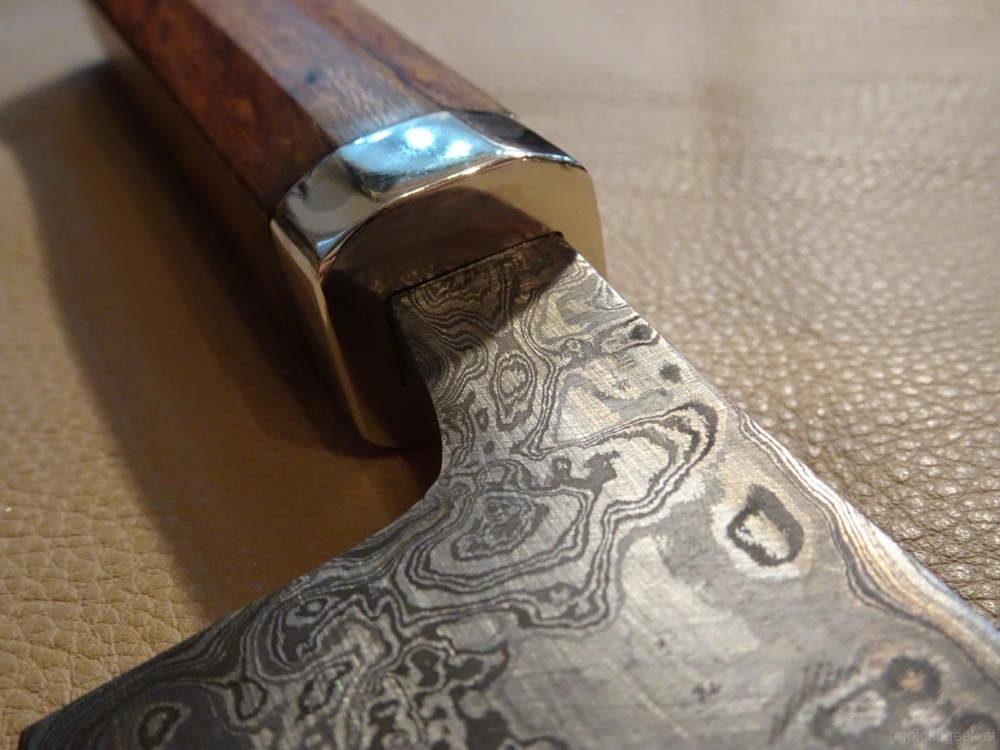
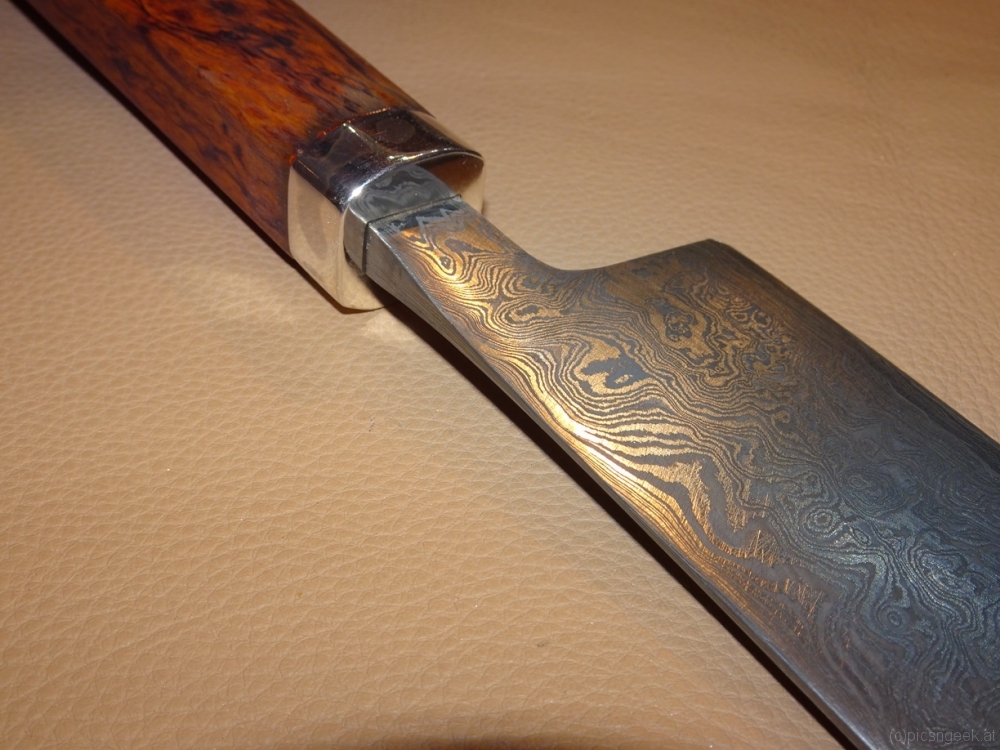
The bolster shall be like a cap, continuing the shape of the handle. As a material I use sterling silver.
The shape of the handle should become rather minimalistic. Further more, I wanted to have some resemblance to traditional Japanese handles. Therefore I chose a prolongued octagonal shape, which gradually gains a bit in height from the bolster to the end.
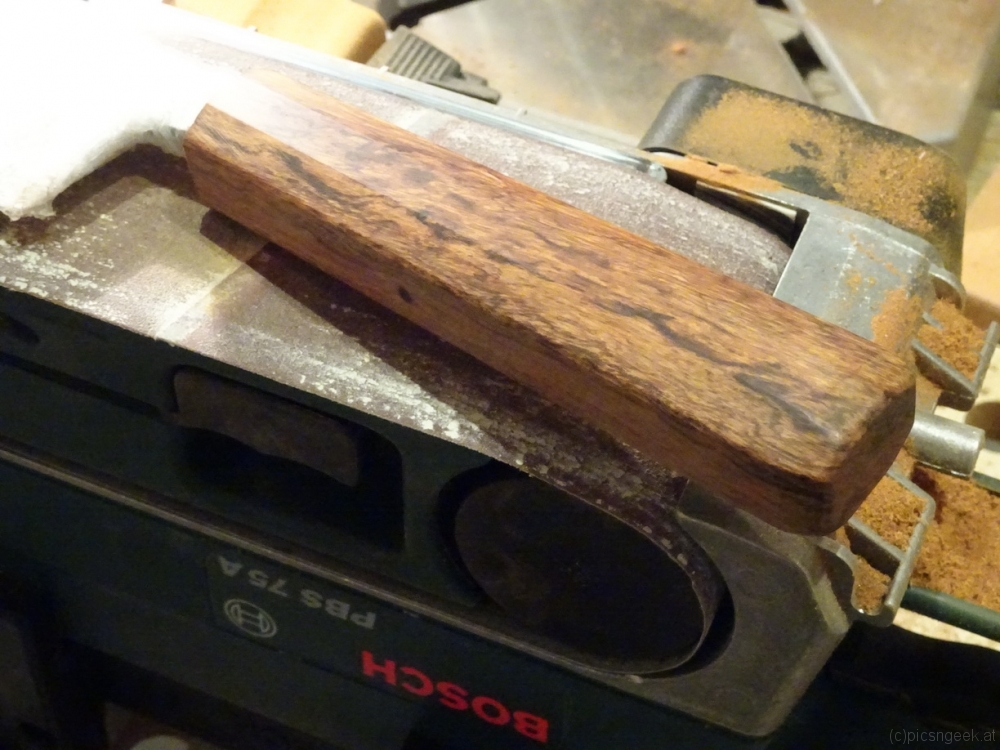
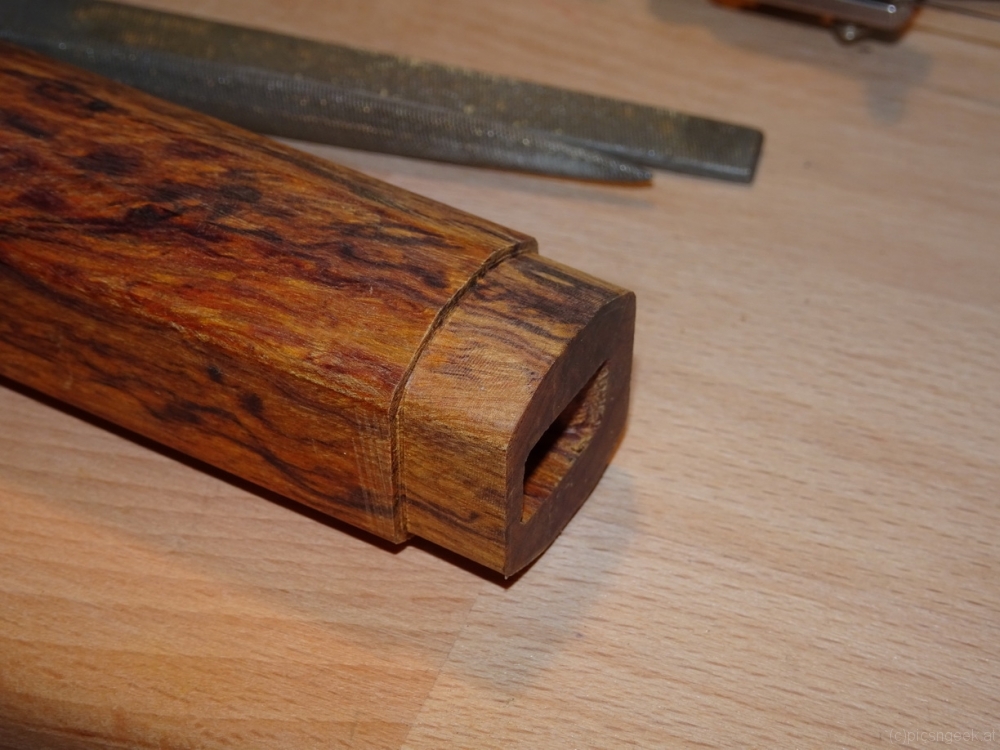
To build the handle, I started with the wood. I drilled a hole at the exact position to center the blade. Then I used small files to match the hole with the tang, which has a rectangular shape and is a bit off-centered to the rest of the blade. This was really time consuming, as the desert iron wood clogged the files within a few strokes. But finally, after a few hours of work, I had a perfect fit for the tang. I let approximately 5mm of the tang still protruding the handle, to have more strength in the final assembly by hammering the handle on to the blade.
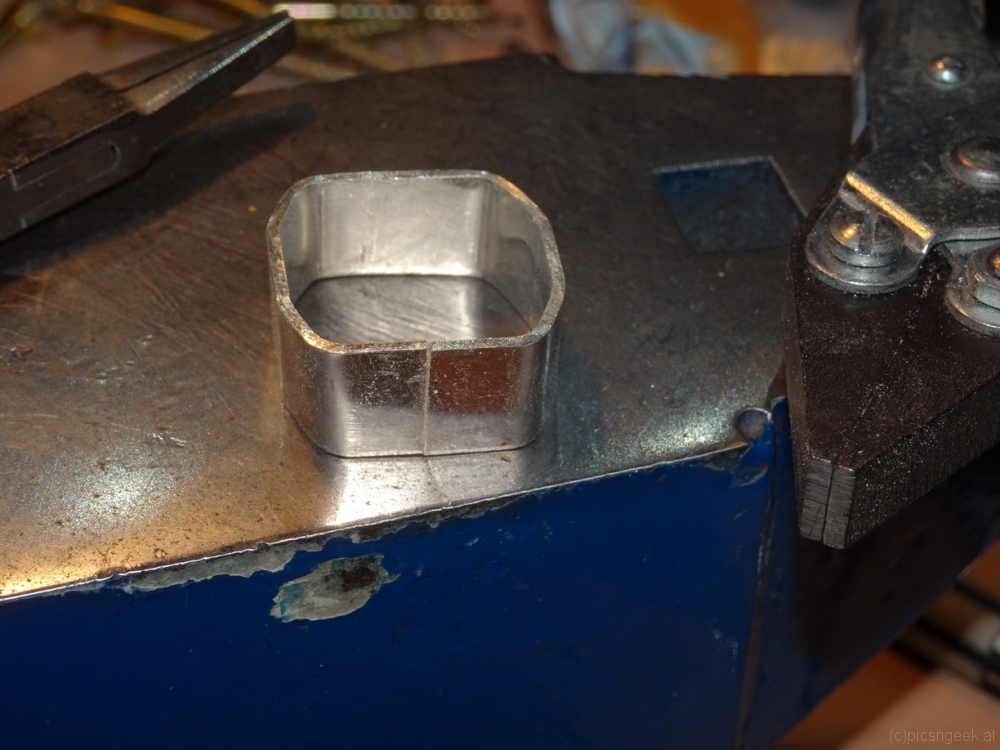
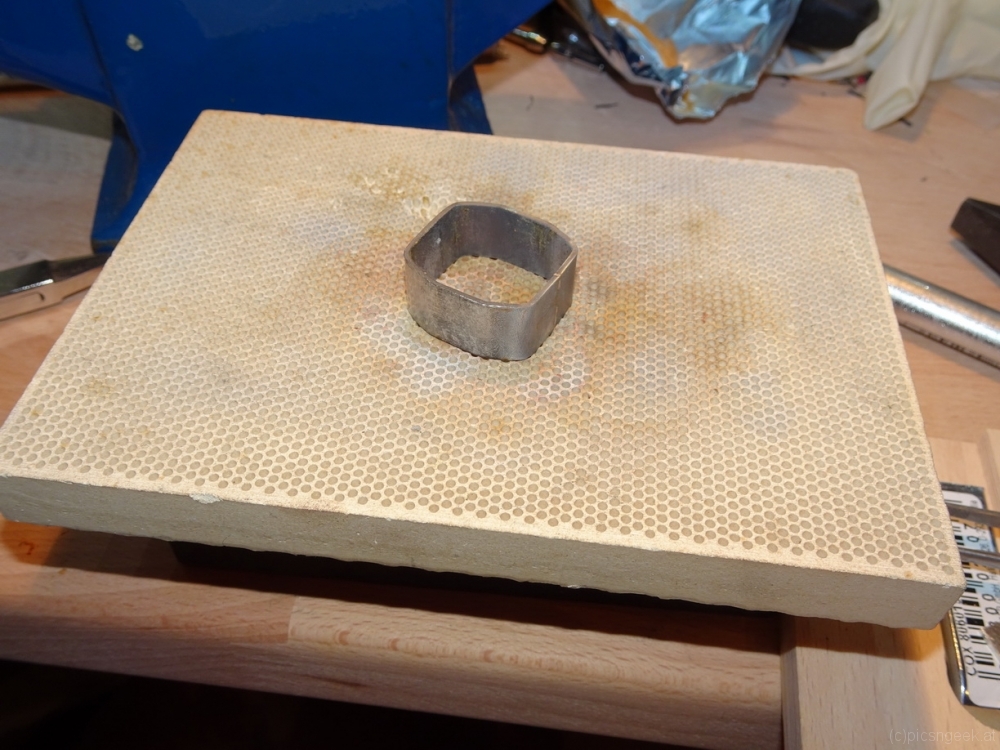
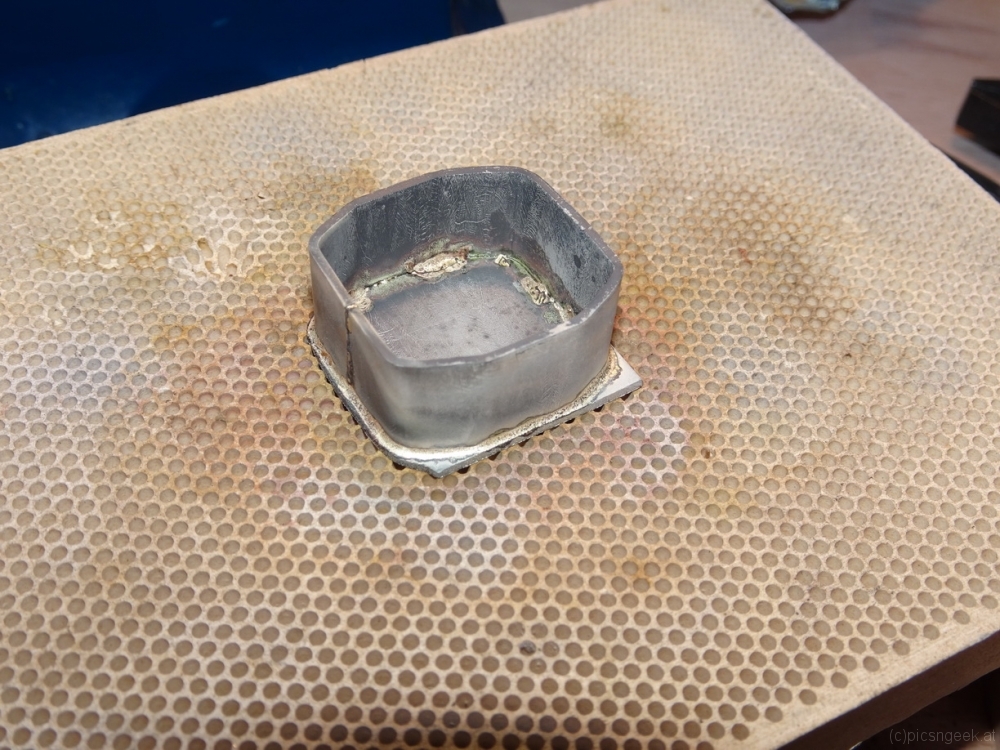
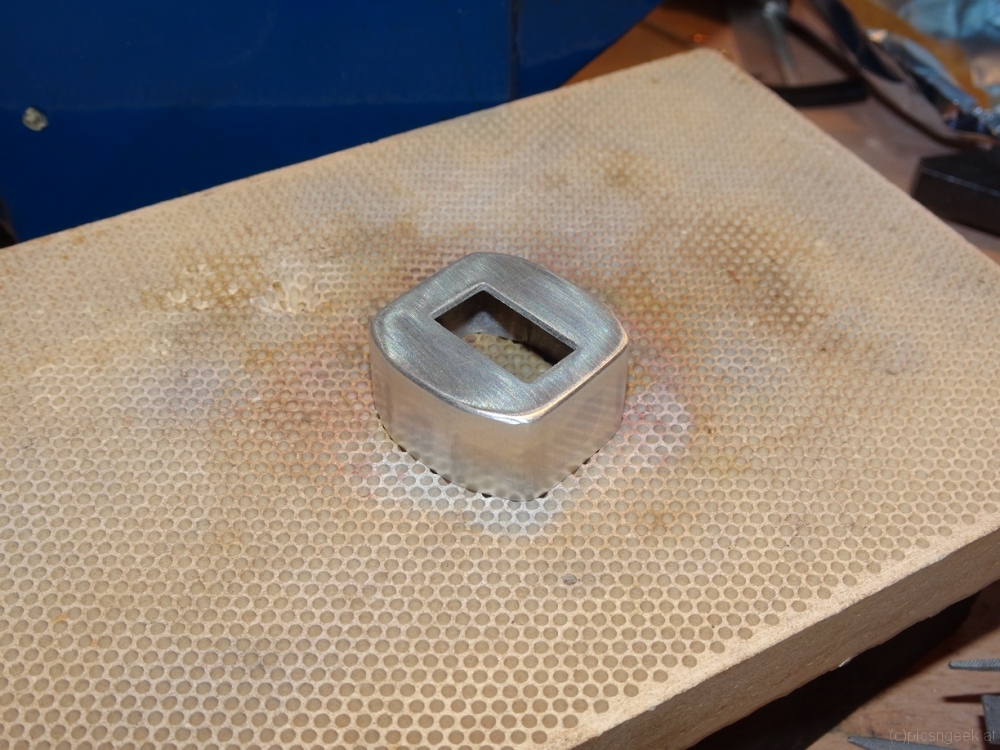
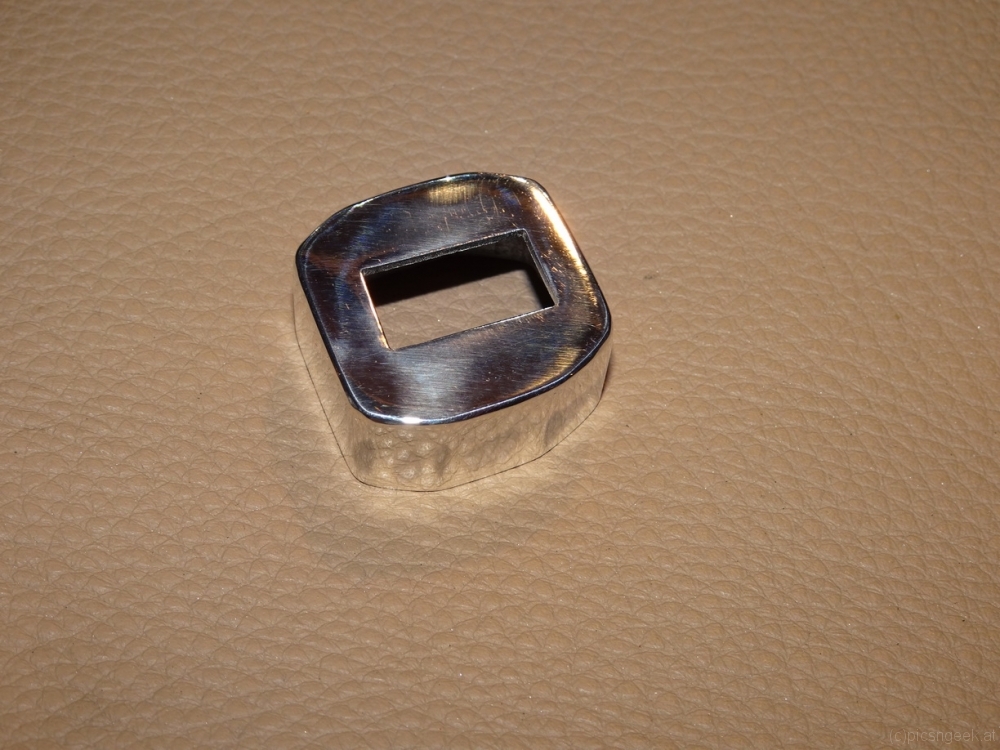
The next step was to make the recessed front, where the bolster will fit in. I cut a line at exactly 10mm from the front edge. Then I filed away 1mm of wood, as I will use 1mm sheet sterling silver. From a strip of 11mm width I formed a ring with an octagonal shape matching the handle, using parallel pliers. The ring is soldered with hard sterling silver solder. After filing and sanding the edges to have perfectly flat sides, I cut a sheet of silver with a bit of excess border. The ring is soldered to the sheet, again using hard solder. After cleaning and filing away the excess material, I could drill and file the hole for the tang. This again was a bit time consuming, to create a perfect fit…
Finally, I sanded and polished the silver bolster, gave the desert iron wood a last fine sanding. Then I mixed a bit of epoxy with desert iron wood file dust. I added glue to the bolster and into the hole for the tang. So I would have a really strong bonding betreen all the parts. I hammered the bolster to the handle (which was only necessary for the final 2mm). Following immediately I inserted the knifes tang to the handle. Using a rubber hammer, I pushed the tang into the final position within the handle.
Meanwhile I set an oven to approximately 70° Celsius for increased strentgh and faster hardening of the epoxy. After cleaning away any excess epoxy with acetone, I set the whole knife in the oven for curing.
Hint: If there is any epoxy pushed out of the joints during curing, you may use a small soldering iron to work the exopy off the surface. The remaining thin film of epoxy may be removed with acetone. If you are careful, you will most likely have a scratch free surface afterwards!
The last thing to do is a thin coating of hard oil.
After more than 20 hours of work (including forging the blade), the knife is ready 🙂 The final result is a perfectly balanced knife due to the heavy wood handle. The center of balance lies exatly in front of the bolster. The blade will hopefully last for a very long time and provide perfect cuts due to approximately 56-58 HRC.

Motorized camera slider
For quite some time I would like to create night time movies in hyperlapses. For me, the most stunning results may be created by moving the camera along a linear path by the use of motorized sliders. Motorized sliders, which are more than 2 meters long, have an impressive price tag. Further more, these tools are bulky and heavy, especially when the setup attached to weighs in a few kilos.
Therefore I decided to build my own with a few goals in mind:
- light weight
- portable
- variable length
- suitable for a load of a few kilos
- wider range of speeds
- extendable for rotation axis
- direct control for camera(s)
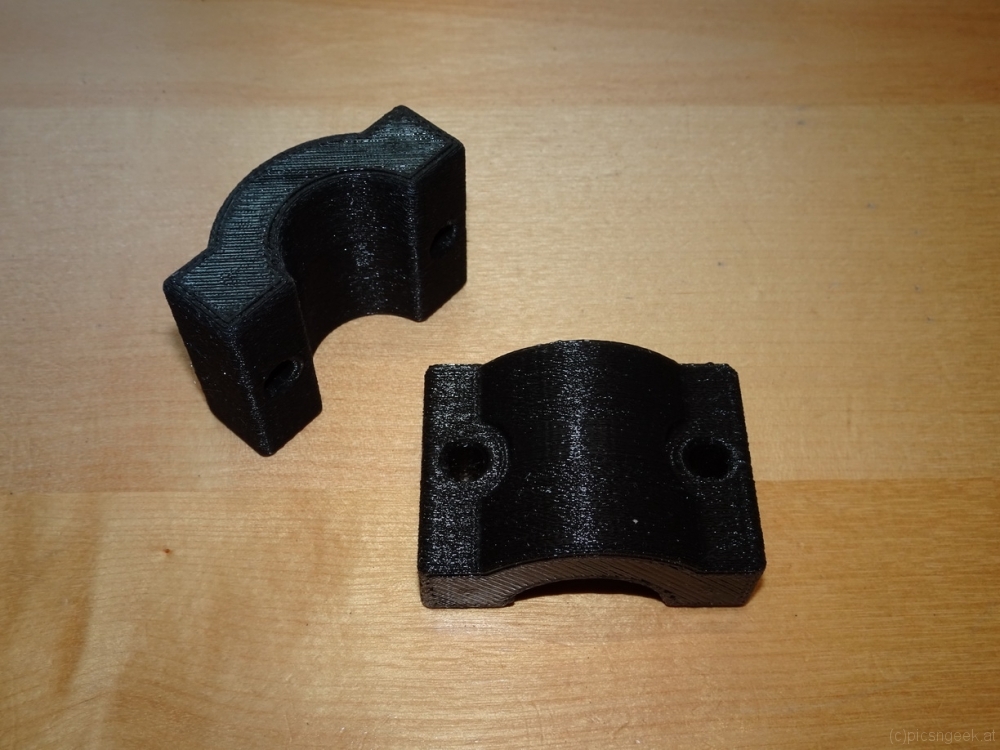
To achieve all or most of these goals, I came up with a design built around carbon fiber tubes with aluminum screw-in fixtures. Appropriate tubes may be built from scratch or are readily available for camera gimbals. I chose the camera gimbal extensions, as there is no big price difference to buying stock material. Further more, they come in a handy size of +/- 40cm in length.
The end supports will have to hold the tubes as well as a gear belt, along which the slider cart will be driven. For long setups, I created supports, to prevent bending and excessive stress to the tubes. Both types of support will have legs as well as tripod mount screw holes (3/8 UNC thread)
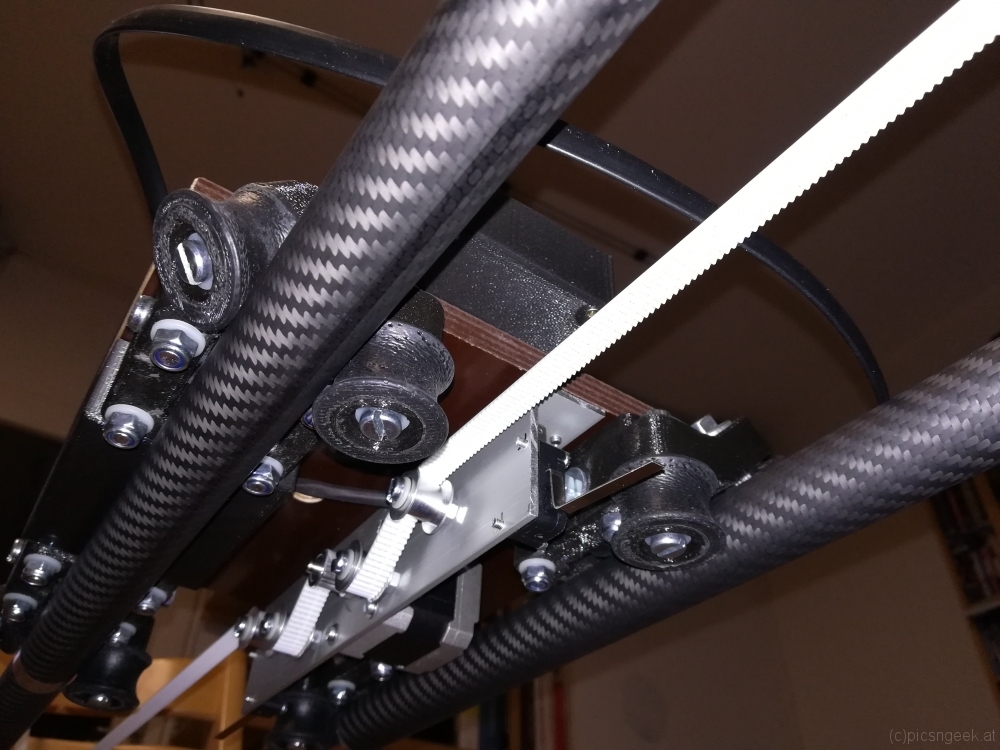
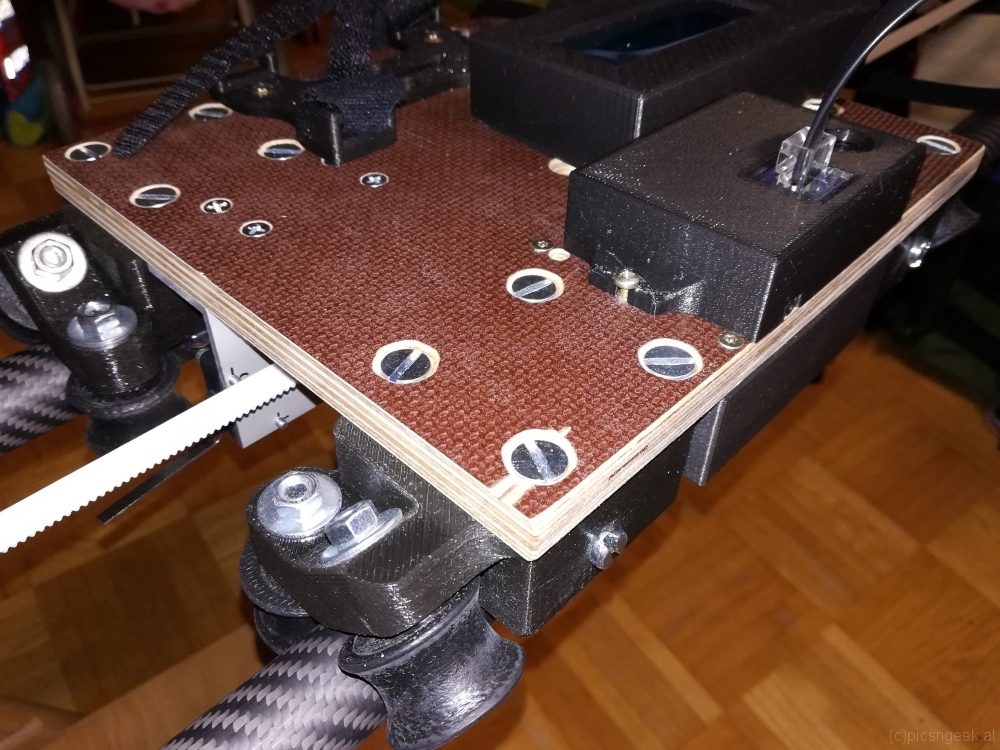
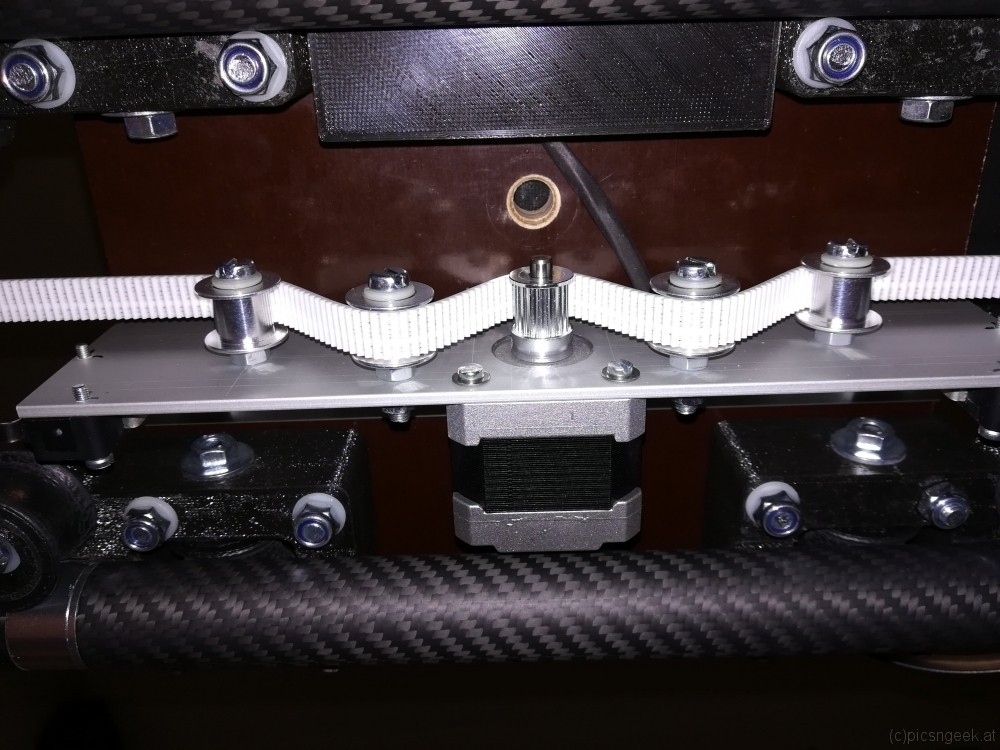
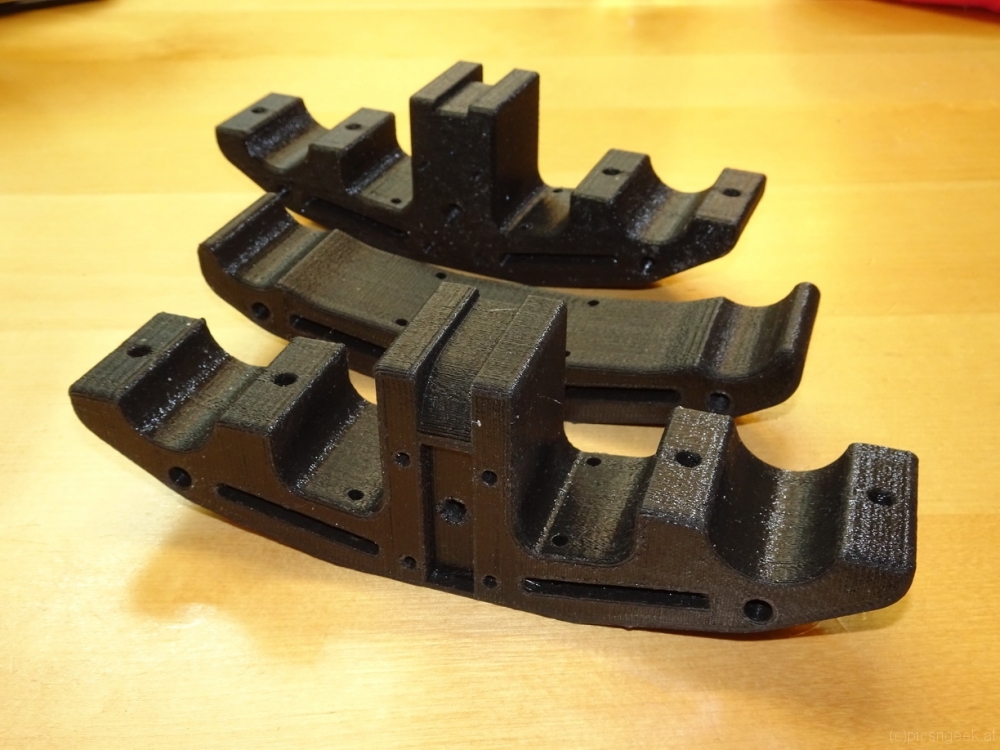
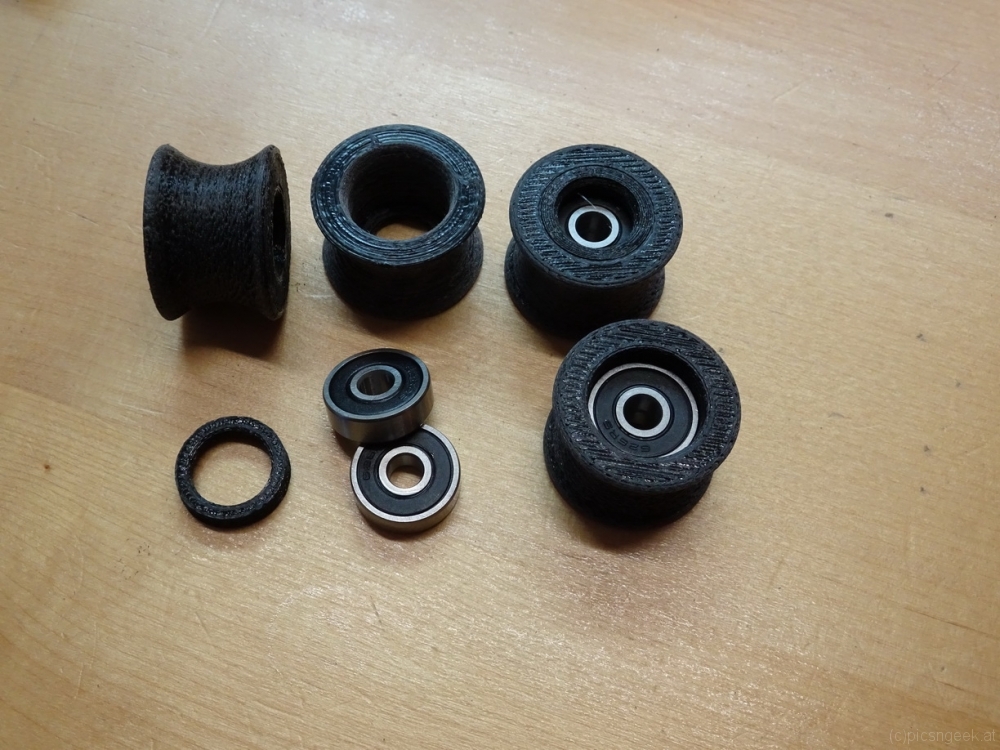
The slider cart consists of 4 blocks holding 3 pulley wheels each. The blocks are attached to a base plate (in test setup a plywood sheet). In the middle of the base plate lies the motor unit consisting of a steper motor and 4 guiding wheels to create enough tension for the gear belt to be driven by the motor.
All in all, the shopping list is really limited, as most parts were 3D-printed. What I had to purchase or use (most parts were already to be found in the workshop) was:
- carbon fiber rods (at least 8)
- 24 ball bearings type 626 2RS (6x19x6 mm)
- GT2x10mm belt matching the desired length
- GT2 20 tooth drive gear
- 4 guide wheels without teeth for 10mm belt
- 1 NEMA 14 stepper motor, <3V nominal voltage
- several M5 and M6 screws, washers and nuts
- 3/8 UNC thread taper
- approximately 0.5m of 40x3mm Aluminum sheet
- 25cm of 30x50x3mm Aluminum L shaped profile
- Arduino, Stepper motor controller like A4988, 12-18V (lithium) battery
- 1 can of rubber spray like Plasti-Dip (c)
Most of the time I spent was in CAD constructing the parts. Printing took about 3 days. The pulley wheels have to be sanded for a smooth surface before coating with rubber. The remaining time was spent in cutting, drilling and tapering the aluminum parts, before all parts could be attached together.
The first test run was more than pleasing. See for yourself:
The next thing to do is to create a control box with all the features implemented for every day use 🙂
Kruste & Krume – The Vienna bread festival
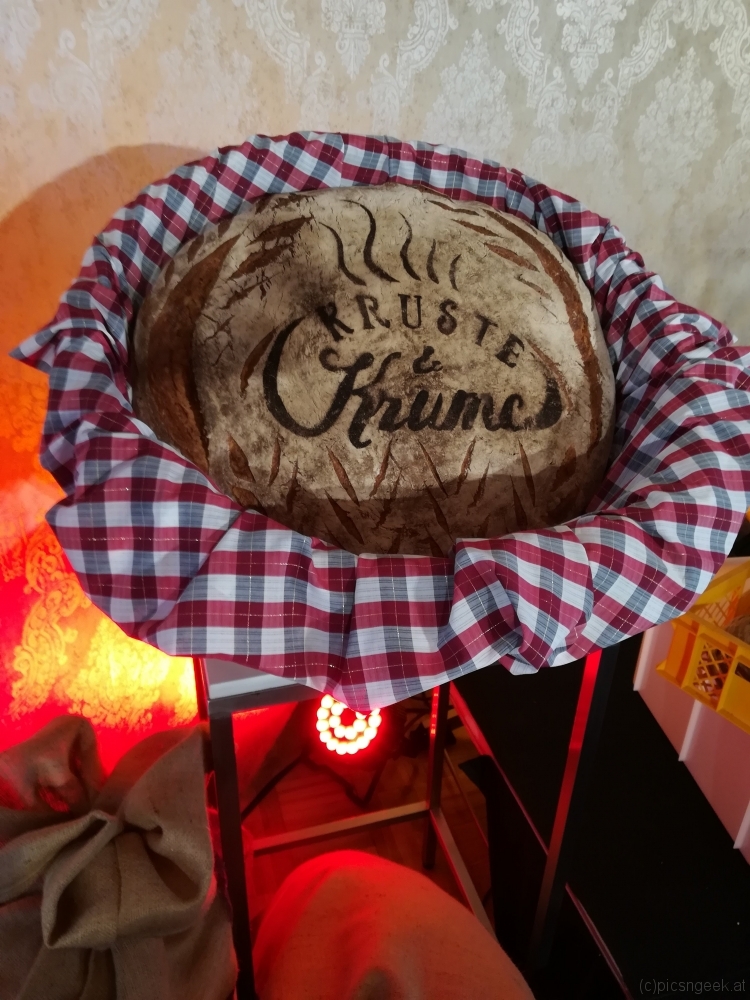
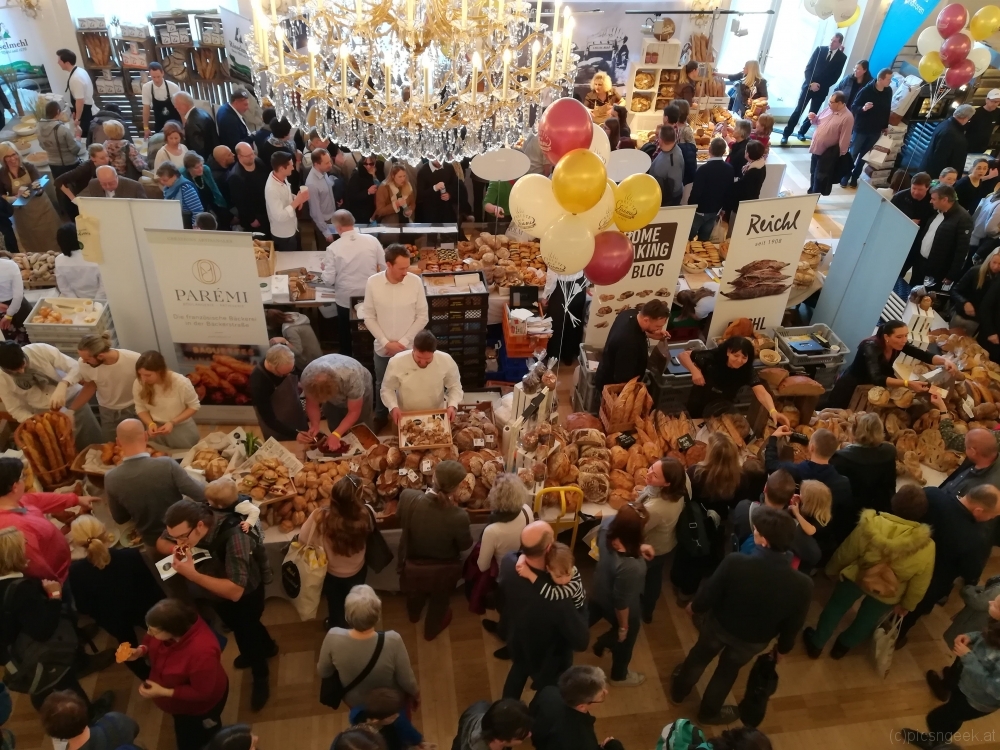
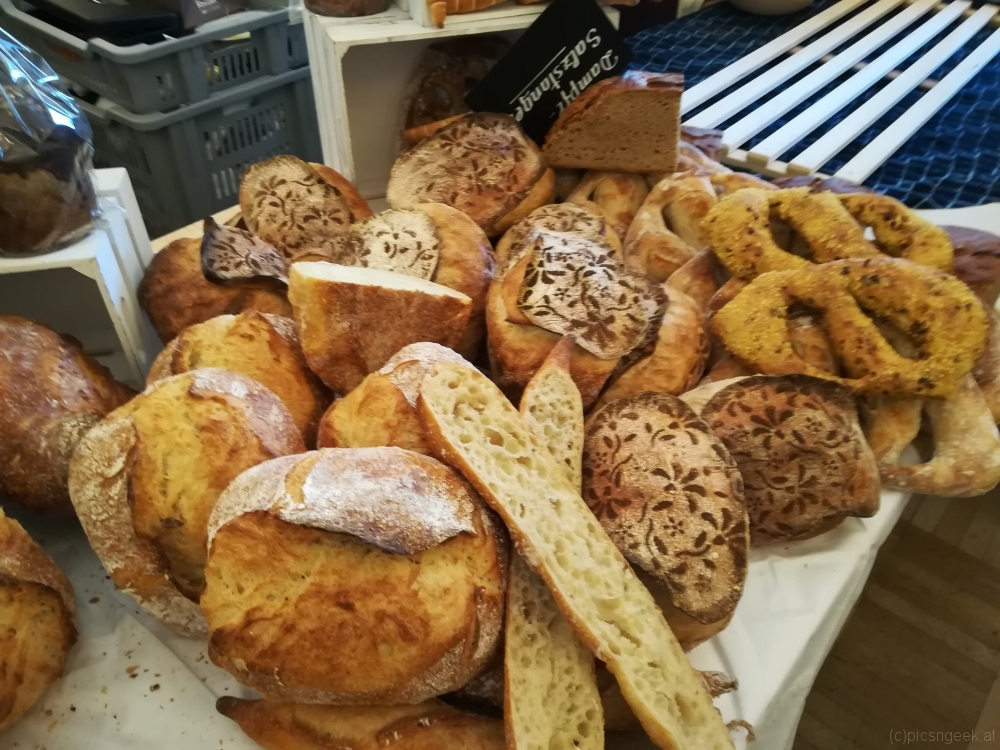
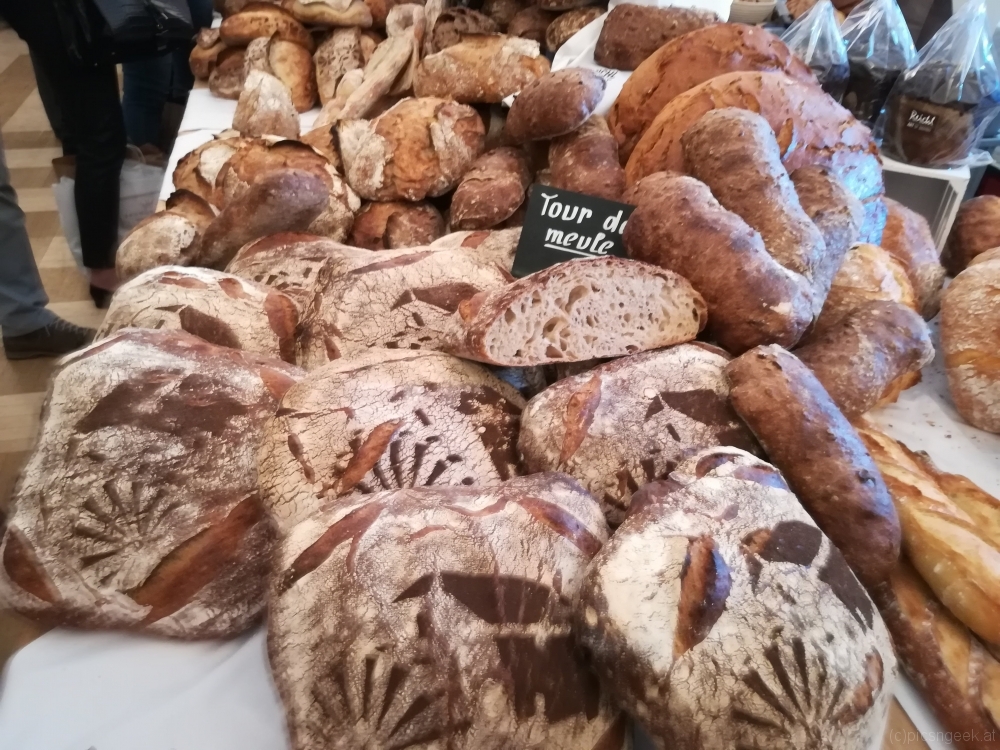
When baking your own bread, you get tempted to visit places with bread offerings. This time I visited the “Kruste & Krume” bread festival in Vienna. Located at the wonderful Kursalon Hübner (a Renaissance building from the middle of the 19th century, next to Stadtpark), the festival hosted more than 30 bakeries. Each one offering their portfolio of breads and sweets to purchase or even as samples. During the day, continuous demonstrations and first hand contact to master bakers as well as trainers made the festival a visit worth the time spent.
Damascus knive workshop
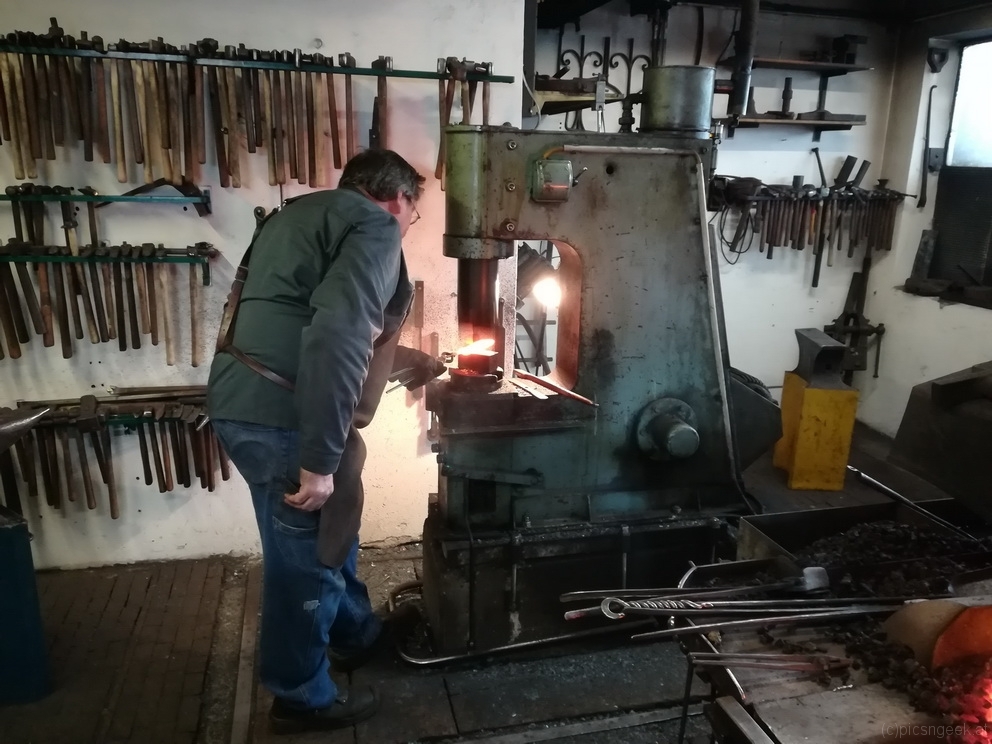
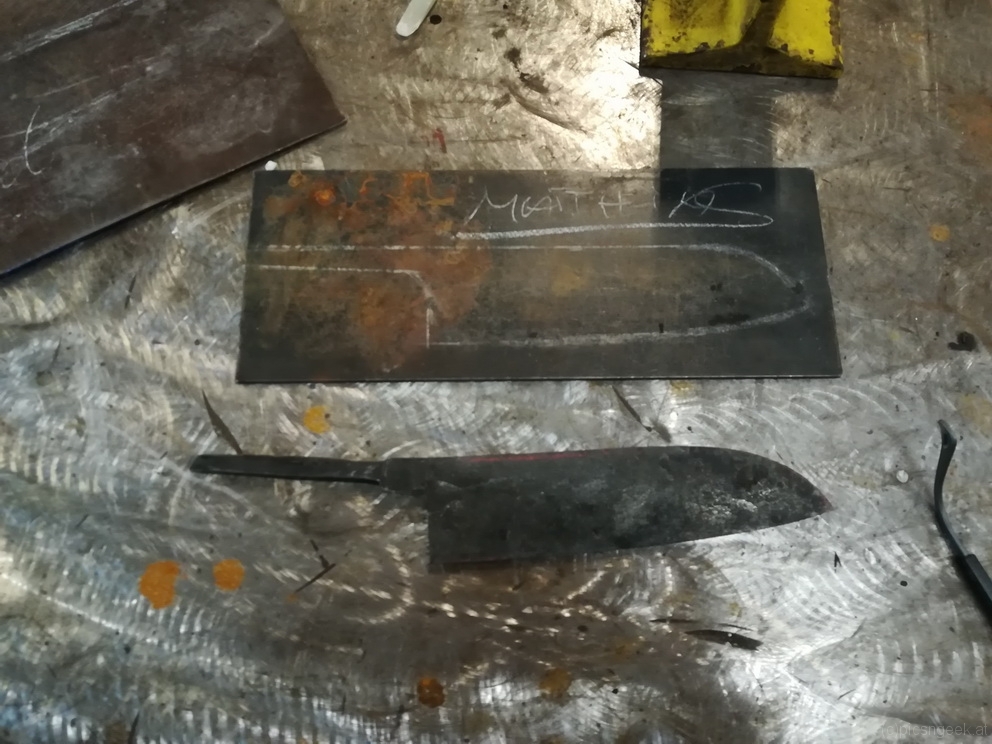
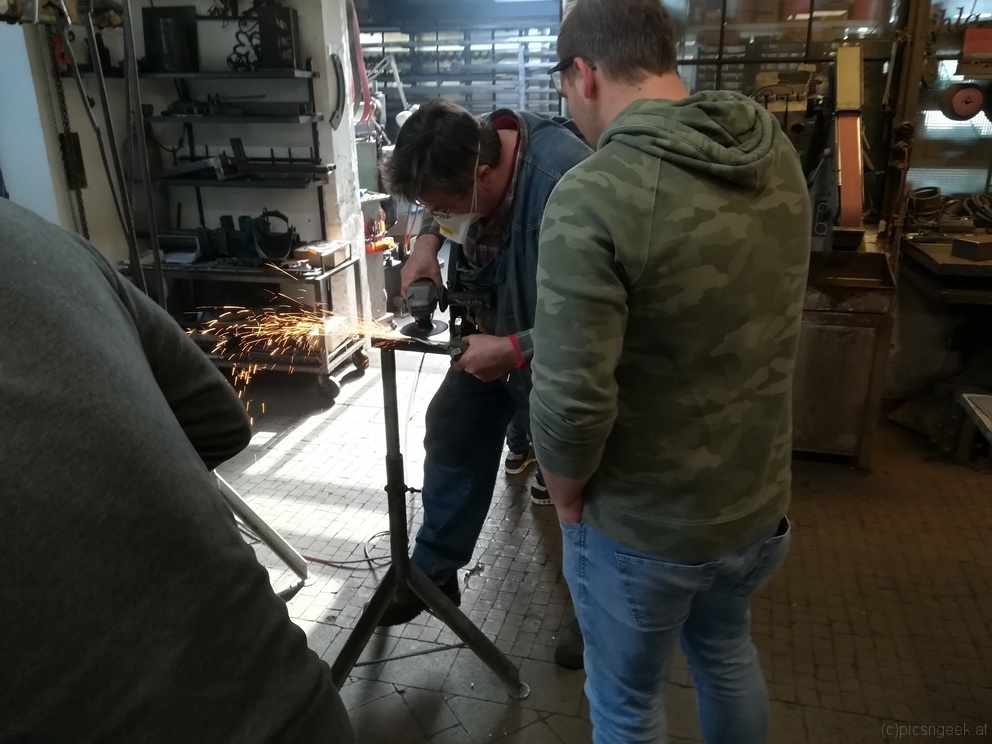
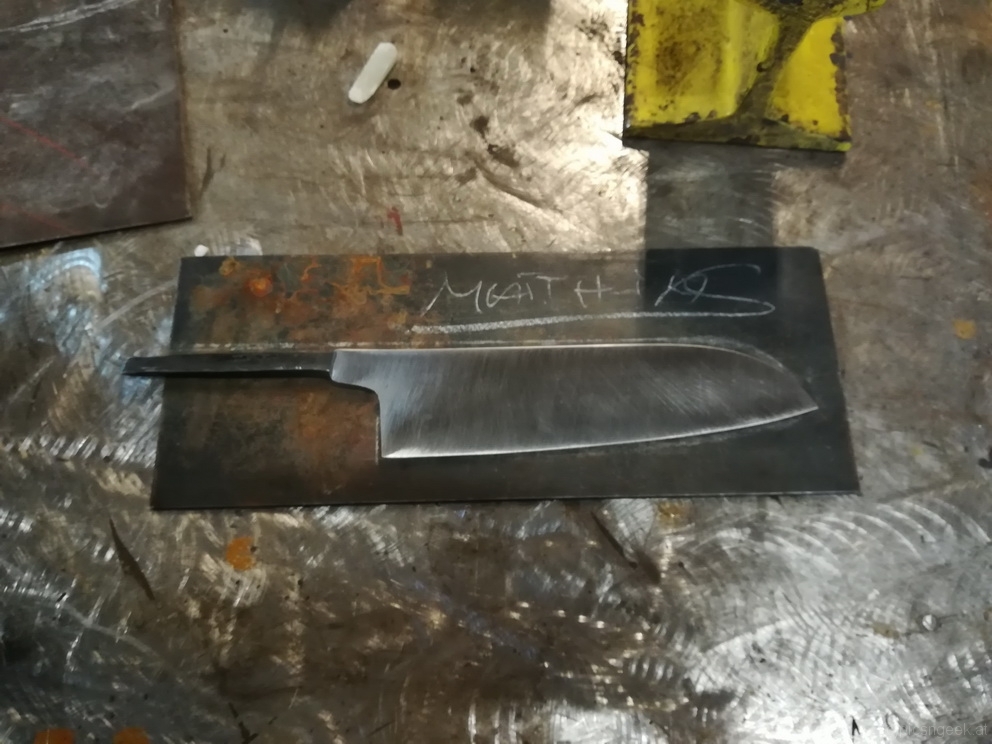
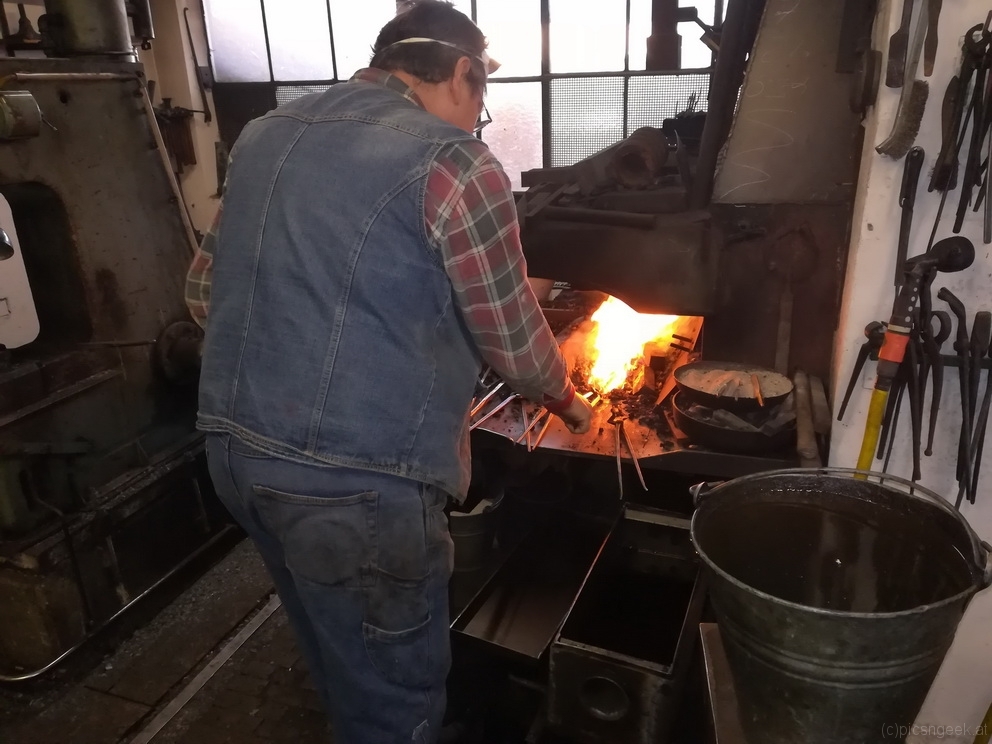
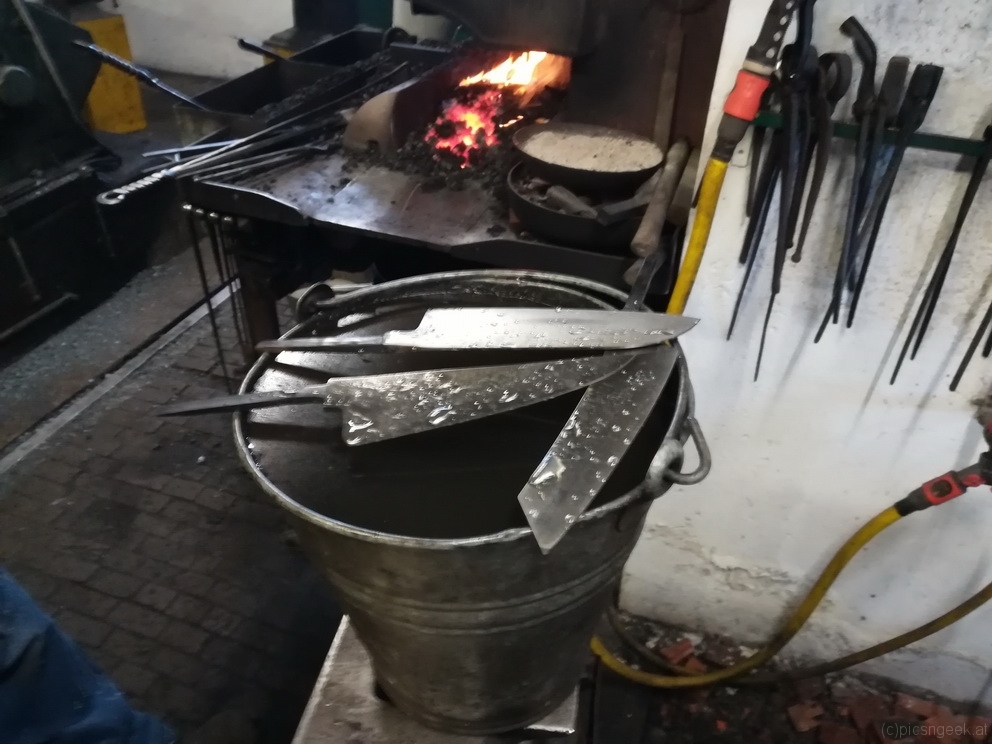
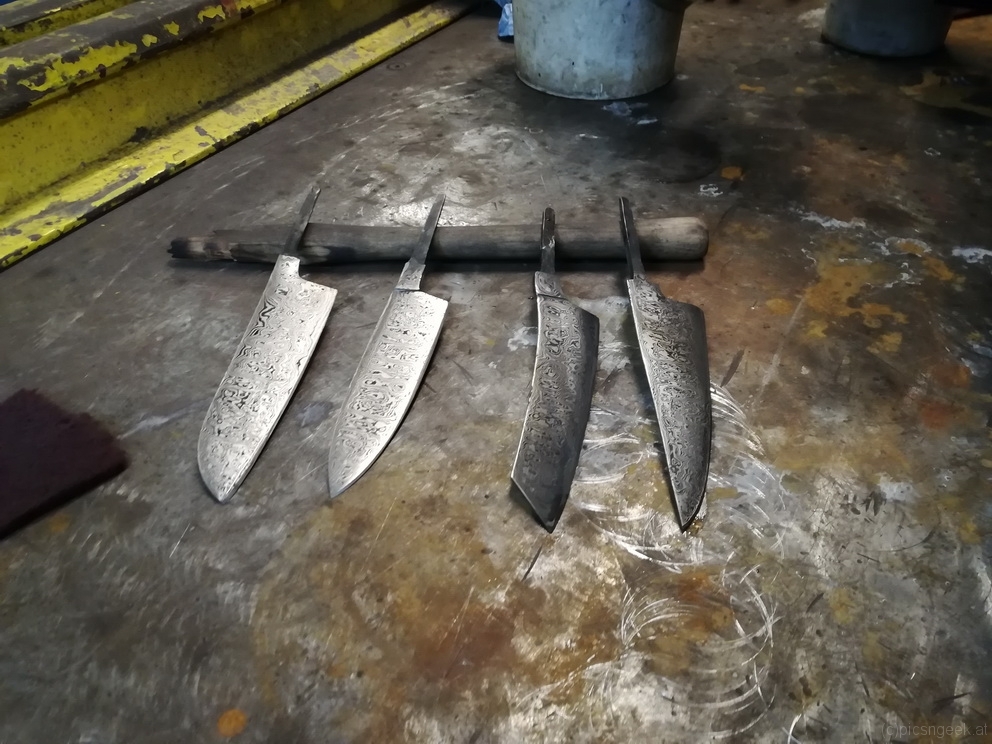
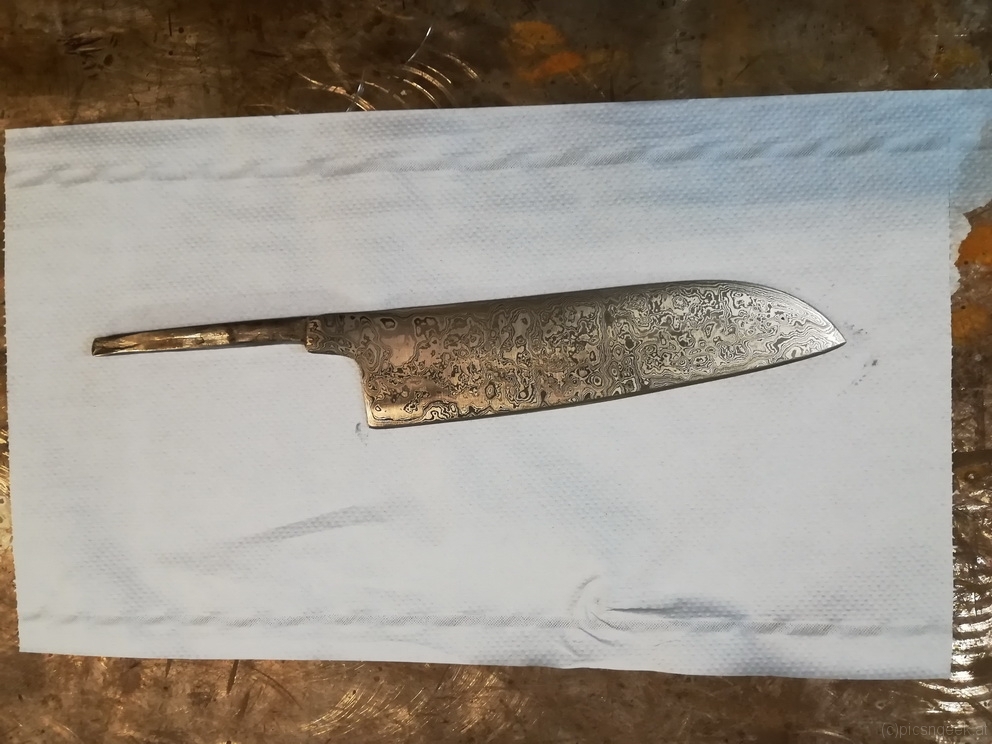
Today I could participate in a workshop to create my own damascus knive. With the guidance of the really well experienced smith, I could manage to forge a 189 layer blade out of 7 individual metal strips. (OK – to be honest, the essential parts of the forging were done by Walter, the smith). I am really pleased with the final result – my own kitchen knive in Santoku style…
Turducken? Yes TurDuCken it is!
For new-year’s-eve we are having a couple of friends to celebrate with. The special occasion also requests a special treat. So… For a while I was amazed by the monstrous creation of a turducken, which I wanted to prepare for this evening. You don’t know what a turducken is?
Well, pick a turkey, duck and a chicken and stuff them within each other. Sounds cruel. Well, it is someway. As you start by completely deboning all three birds. Pay attention to leave all the flesh and skin in tac! I also forward the suggestion I read, to remove the skin from the duck – which is or becomes too greasy. Have a good amount of bread stuffing (like from the yummy Thanksgiving roast turkey) ready.
Now, starting with the duck, fill all cavities with stuffing. Close and re-shape the bird. Now place the duck inside (or on top of the opened) chicken. Fill any cavities with stuffing. Again, close and reshape. Finally, place the duck in the chicken inside (or on top of the opened) turkey. Add stuffing and close neatly. Use medium-thick twine to sew the turkey closed. Add some more twine all around for security and fix the drum-sticks as close to the meat as possible.
Now you are ready for roasting – or as I prefer it – low temperature cooking with a final touch of roasting.
My turducken, weighing in approximately 5kg, had a good 8 hours time at 110°C for a juicy and delicious result. *yummy*
A healthy food tree for kids school break
This time a bunch of kids were up for a break with healthy food. How to prepare the food to look appealing? Get creative!
In the evening before, I made a good loaf of bread. The sliced bread will serve as a tree trunk. And all the good food (veggies and cheese) get’s distributed around to shape a tree or even a garden scenery with flowers and grass 🙂
Dig in kids!
Total solar eclipse 2017 timelapses from Riverton, Wyoming
After working through all the data collected from the solar eclipse in August, I combined the wide angle images (8mm lens) and the images captured through my 600mm travel telescope to timelapses. The wide-angle video is the result of more than 800 single exposures, covering the day from around 6am till 5pm. The most interresting part around totality is significantly slowed down, as totality would be over in a blink. During partial phase, I was so busy trying to fix my automated triggering system, that I did not realize the clouds until post processing. So it was really pleasing to see all the clouds above my site vanish moments before totality began. On the other hand, the remaining clouds increased the view of the shadow of the moon passing over, which is just amazing!
The inlay in the wide angle video is derived from the high res video.
I am really pleased with the results, but check for yourself!
Road Trip USA 2017 – timelapse
I condensed in this video the first 18 days on the road to a 5 minute movie. A lot of countryside besides the roads may be seen, but the video gives just a hint of all the beauty lying beyond, when you get out of the car an make a few paces. So, get out of the car and enjoy the places you would otherwise rush by 😉
The following map (generated in google maps with a few marker points along the route; the full path would exceed the maximum allowed waypoints) shows the coarse path we went:

About the video:
– 4K action cam attached to the upper right corner of the windscreen with a suction cup mount
– camera captured a still image every 3 seconds
– covering 19 days (18 on the road)
– almost 80 hours driving
– more than 3500 miles covered in the video
– 94500 images in 257GB data
Monument Valley from night to day
In the night of 2017-08-14 I created a timelapse with the milky way travelling above Monument Valley. Clouds and the crescent moon did interfere the beautiful sight of the millions of stars above one of the most impressive sights in the US. On the other hand, an amazing sunrise compensated for the second half of the night 🙂