ISS Transit in front of the sun

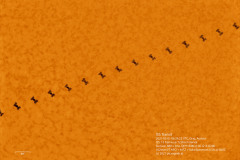
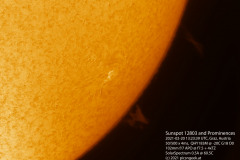
On Sunday, May 1st, I was lucky to have the ISS transit the sun only a few kilometers away. Weather played with my plans as well. So i packed my solar scope and drove to a place right in the center of the transit line.
The transit itself is a very brief event. This particular one lasted for less than 2 seconds. So everything hat to be well set up before the clock reached 08:24:22 CEST.

This image is a combination of 15 individual images captured in 1.02 seconds. The solar surface was further enhanced by a stack of 880 frames adjacent to the transit itself.

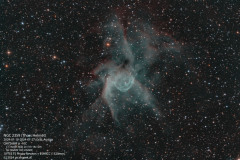
NGC2264 – The Cone Nebula and Christmas Tree Cluster

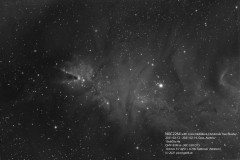
Here is another result from last weekend of fine weather. This is the Cone Nebula and Christmas Tree Cluster in NGC 2264, a beautiful H-alpha region.
The image is a 2 1/2 hours pure H-alpha recording. Therefore presented in black and white.

Image data:
Date: 2021-02-12 – 2021-02-14
Location: Graz, Austria
Telescope: 102mm f/7 APO with 0.79x flattener (equals to 564mm focal length)
Camera: QHY183C @ -30C
Filters: Narrow band H-alpha filter
Guiding: MGEN-II with off-axis guider
Exposures: 15x600s Ha

Effect of temperature tuning a Fabry-Perot Etalon solar H-alpha filter

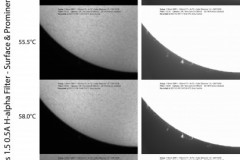
Since the first days I could observe the sun through a narrow band solar H-alpha filter, I was wondering what the tuning effect of such a filter would be. It does not matter whether the filter is pressure, tilt or temperature tuned. The effect of slightly shifting the filter central line is the same. With the temperature tuned filter, I have at hands, a comparable test series is easy to achieve.

I know from previous observations that the filter performs best at 58.0C. Therefore I set the test points at 5 degrees steps across the range of possible temperatures. Only close to the 58C I added 2.5C halve interval steps.
Each individual image was recorded with a set of 100 frames, from which the 20 best frames were stacked. At each temperature I recorded 2 sets at different exposure settings: one for the surface (granulation, … – unfortunately no sunspots were active) and the other for prominences (only minor activity here as well).

As is obvious from the result, the low temperature settings yield close to no interesting view. Between 55.5C and 63.0C the filter delivers good contrast. Beginning at 63.0C contrast degrades again.

Imaging setup:
Telescope: 102mm refractor
Camera: QHY183M @ -20C
Filter: Solar Spectrum – Solar Observer Series 1.5, 0.5A solar H-alpha filter

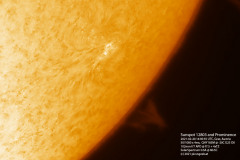
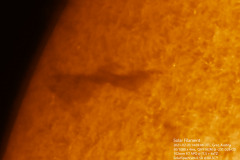
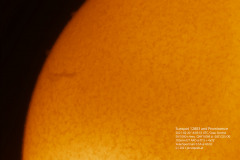
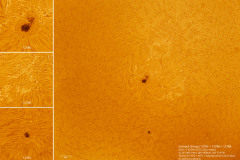
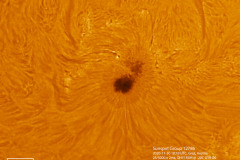
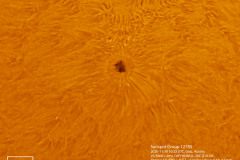
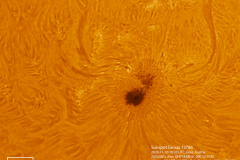
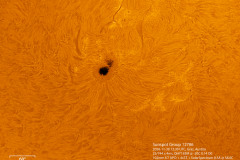
Sunspots 12785, 12786, 12788 from 2020-11-29

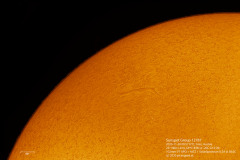
The prolongued quiet phase of the transition from solar cycle 24 to 25 hasn’t have much to show off. But now, the sun has several sunspots as well as prominences to marvel on!
It is really fascinating, that the sun burst into activity within only a few days.

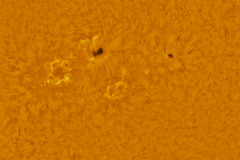
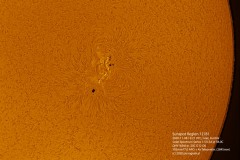
I was lucky to get a brief period of cloud free late morning to image the sunspots 12785 (the spot to the right), 12786 (the large whale-shaped spot to the right, including the tiny spots left to it) and 12788 (the group of tiny spots to the south-east of 12786) in a 2-tile mosaic.
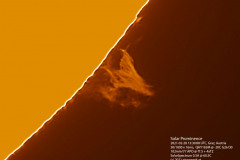
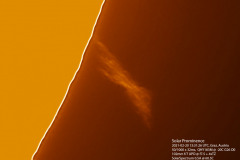
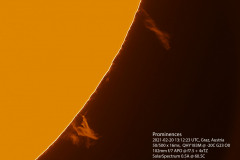
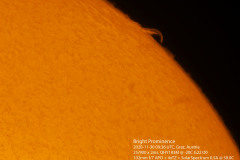
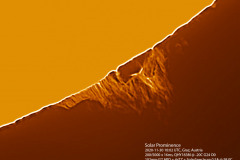
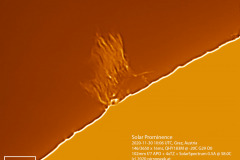
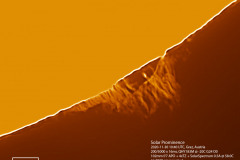
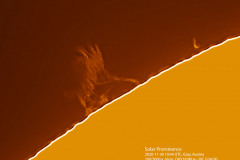
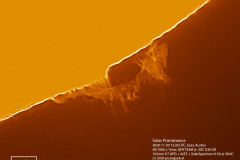
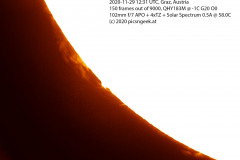
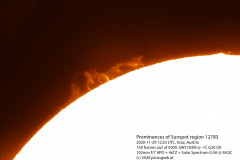
On the limb, there is quite some activity too! See the 2 parts with prominences here:

150 Megapixel mosaic of the sun

My solar imaging setup has a quite high magnification. Even though I use a 20 Megapixel QHY183 camera, I may only frame less than a third of the disk diameter at once. This is really neat for prominences and sunspots. But I may not record the whole solar disk. Therefore my only way to go is a panorama or mosaic.

The tricky part of recording a mosaic of the sun is, that you don’t have too much time to complete. First, the sun rotates (even the 25 days period may cause defects at high resolution imaging). Second, some features like granulation or prominences may change within minutes.
For high quality results, the lucky imaging approach has to be used. Meaning, each individual recording for a tile should consist of as many images (lets call them frames, as the data is recorded as a video) as possible. In post processing, only the best frames will be selected and combined for low noise results.

Last weekend I ran the first real test for a giant mosaic image of the sun in H-alpha. I recorded each individual tile with SharpCap. I had to use the seeing filter due to a rather slow USB connected drive. Each tile consists of a set of only 100 out of 2000. From these 100 selected images, only 4 were used to create the final image tiles (which proofed to be a wrong decision, as noise levels remained quite high).

To record the complete surface, I needed to capture 12 tiles. So I ended up using 48 individual frames out of 24.000. After crunching through the 30+GB of data recorded on disk (which was only 5% of the images captured) for several hours, I finally have a stunning picture of the sun in high resolution 🙂

Processing steps:
1) Stacking in AutoStakkert!3
2) Stitching in Photoshop (manually, as neither Photoshop, nor Hugin were able to align the tiles)
3) Gradient removal in Photoshop
4) Wavelet sharpening in PixInsight
5) Histogram optimization in PixInsight
6) Cleaning of edges and border of image in Photoshop
7) Colorization in Photoshop

If you want to fully enjoy this image, here is the 7500×7500 pixel version.
Tilt Adapter for narrow band solar imaging

Imaging with narrow band H-alpha filters for solar imaging (prominences and chromosphere) requires the light beam to be almost parallel before entering the special interference filter called Etalon filter. This is achieved by i.e. telecentric systems, also extending the focal length by a factor of 2-4x. The sensor protection glass and anti-reflection glass of the camera create reflections with each other and the filter surface. Due to the parallel light beam, these reflections create interference patterns, noticable as so called Newton’s rings in the image. It depends on several different factors like sensor construction (micro lenses, …), exact angle of sensor in optical path, angle between sensor and filter / protection glass, … how strong the Newton’s rings influence the resulting images.

It is possible to reduce or eliminate this in post processing. But any minor shift in the imaging train will make it almost impossible to compensate with flat-field images.
Fortunately, there is one alternative option: tilting the camera by a few degrees (usually up to 5 degrees), to widen the distance of the Newton’s rings, where they are no longer disturbing.

As these tilt adapters have a quite steep price tag, I constructed and printed one myself. I had to create several versions, until I had achieved a proper stability as well as stray light protection. But finally, I have a working tool 🙂
If you are interested in the design, you find the 3D files and description here: https://www.thingiverse.com/thing:4301757

See how much the tilt changes the resulting image!
Hints to the images:
– The blurry look in the image with Newton’s rings results from the alignment algorithm locking on the Newton’s rings instead of surface features
– the adapter attached to the filter is a prototype without stray light protection. Hence a strip of black insulation tape was used for shade

This site uses cookies. By continuing to use the site (including navigation and scrolling), you agree to the use of cookies. more information

The cookie settings on this website are set to "allow cookies" to give you the best browsing experience possible. If you continue to use this website without changing your cookie settings or you click "Accept" below then you are consenting to this.

Close