For quite a while I was looking for a camera, capable of better capturing the 656nm light of the H-alpha emissions from deep sky objects like gas nebulae or the suns prominences. Further more I was curious about infra red daylight photography. First, I thought I should buy an astronomy camera with very low noise due to active cooling. Unfortunately, such cameras are with a reasonable price tag. Further more, the astronomical cameras require an external power supply as well as a computer for control and data acquisition. Having such a camera would therefore only be reasonable, when I would spend several nights each month to capture images.
Then I thought, there are several regular DLSR cameras available (directly or by modification) which are capable of infrared or even full spectrum photography. These cameras or the modifications are available at attractive prices. Further more, the camera would be compact, easy to handle and suitable during daytime as well. There are 2 drawbacks in deep sky photography, which only really become relevant, when capturing very faint and distant objects at higher ambient temperatures:
- no active cooling
the camera has a higher thermal noise. To compensate for this, more images have to be captured
- less color or black and white resolution
Astronomical cameras usually have 16 Bits per channel, DSLRs have 12-14 Bits per channel. This is 4 to 16 times less detail, which is not so much of a problem, when capturing brighter objects
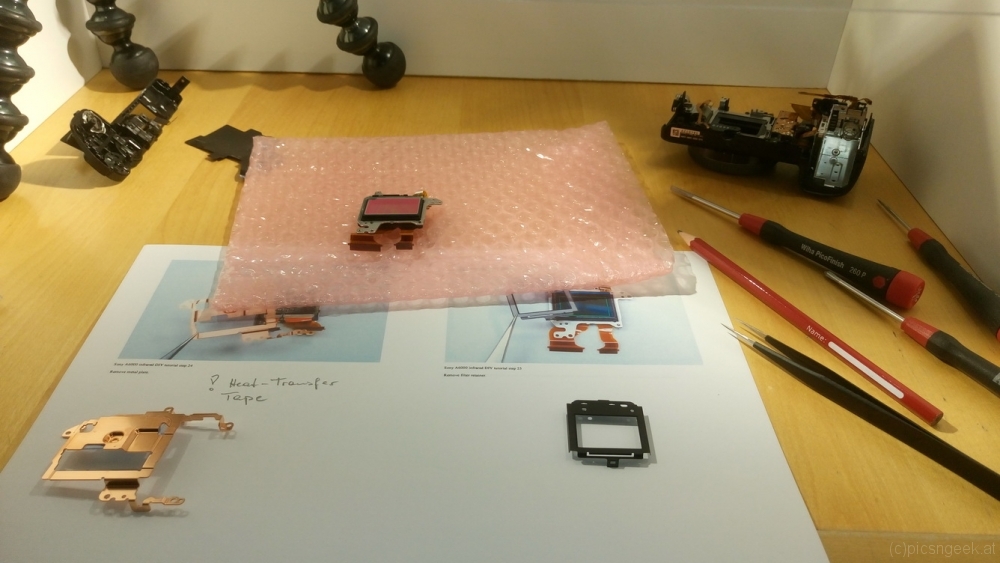
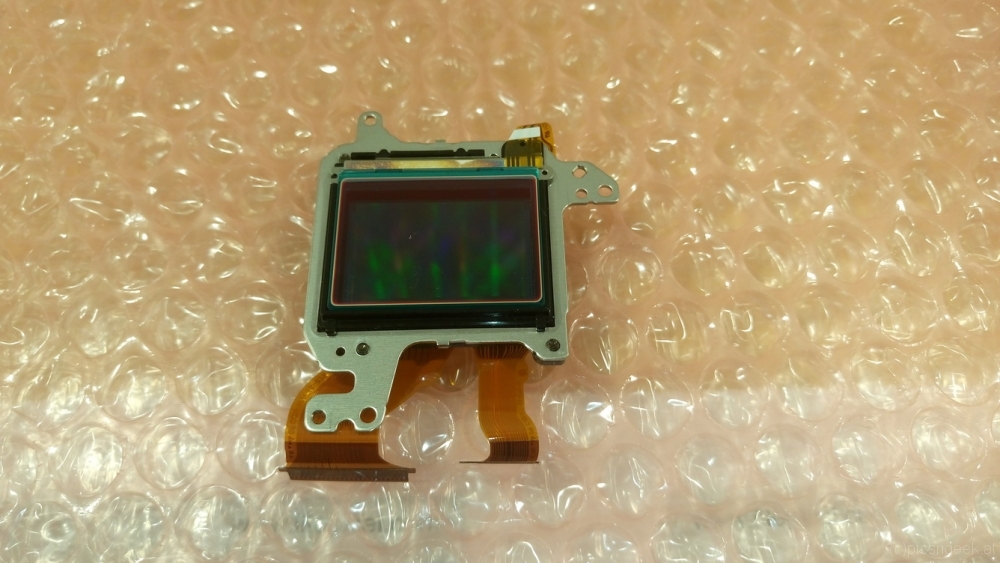
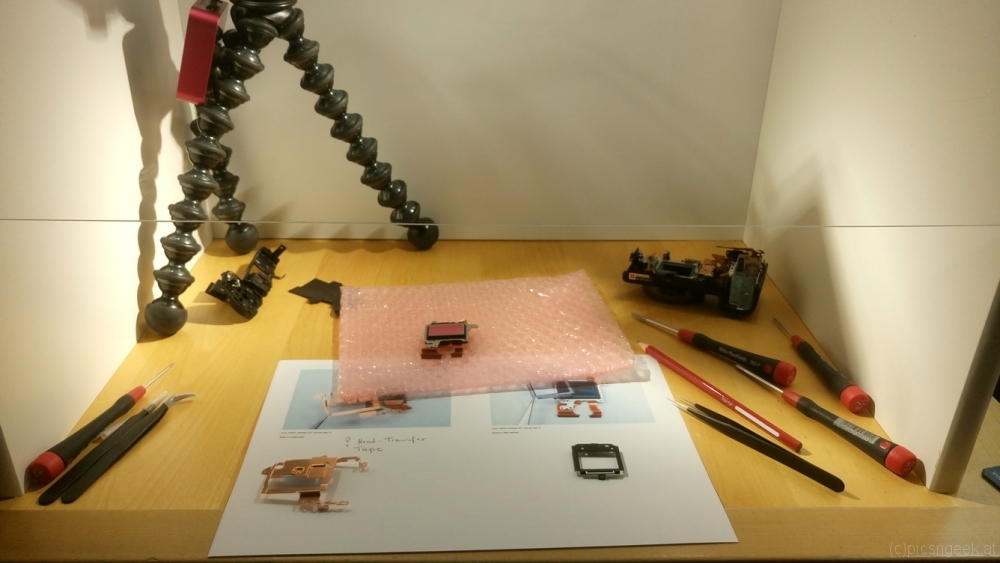
The modifications would imply to change the IR filter, which is attached in front of the imaging sensor. The whole procedure requires a service manual or a detailed description of how to disassemble the camera of choice. Fortunately I came across a very detailed step by step description of the disassembly process of the Sony Alpha 6000 camera. The description is (until now) available here from the company Lifepixel. They are also offering conversion services if you are not up to the task. One of the biggest challenges is to cope with the rather delicate ribbon cables. Pay as much attention as possible when disconnecting and connecting these cables! Further more, pay attention to the position of the On-Off power switch! If you change the position before reassembling, you may break the switch or the ribbon cable the switch sits on. If you do break this switch you are in serious trouble!
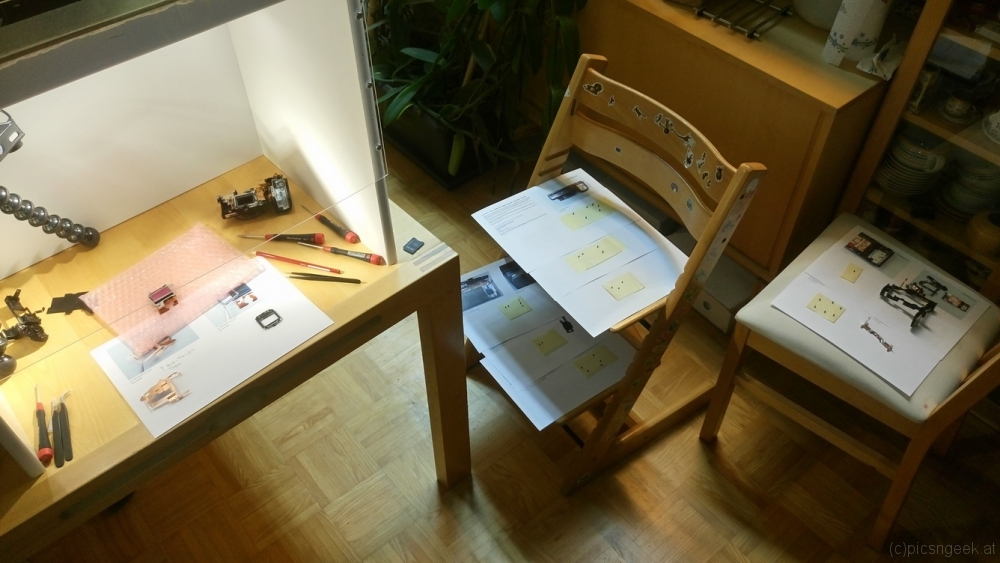
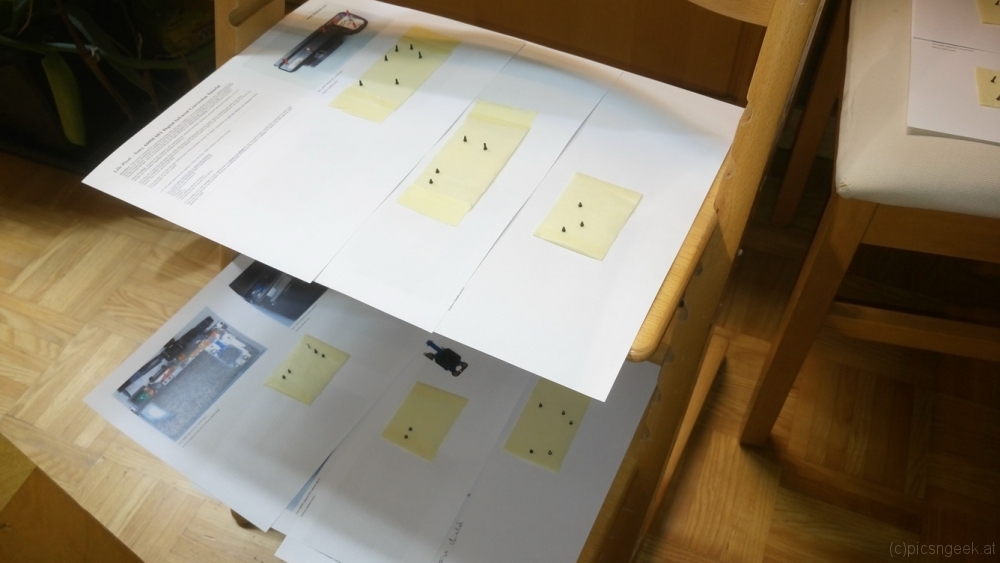
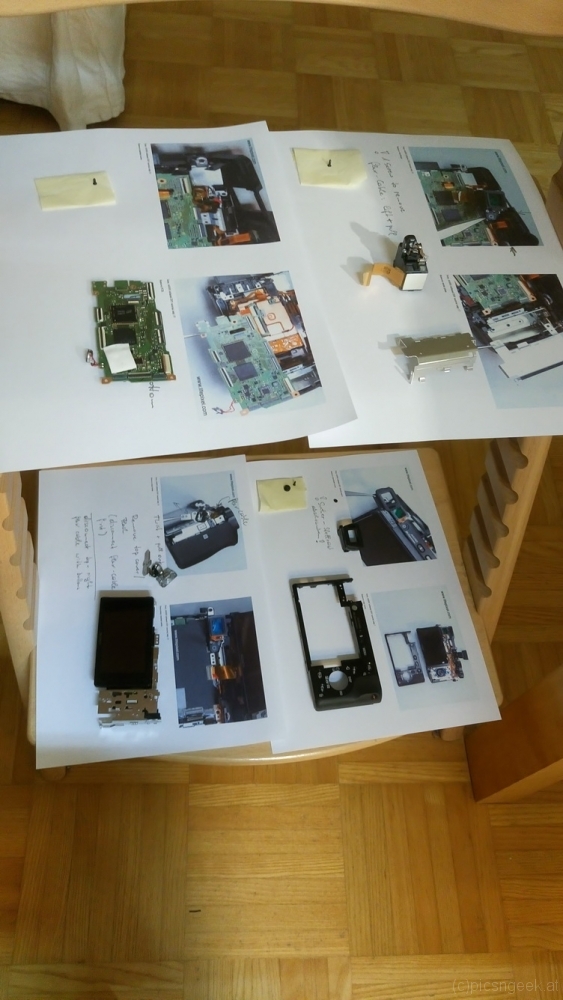
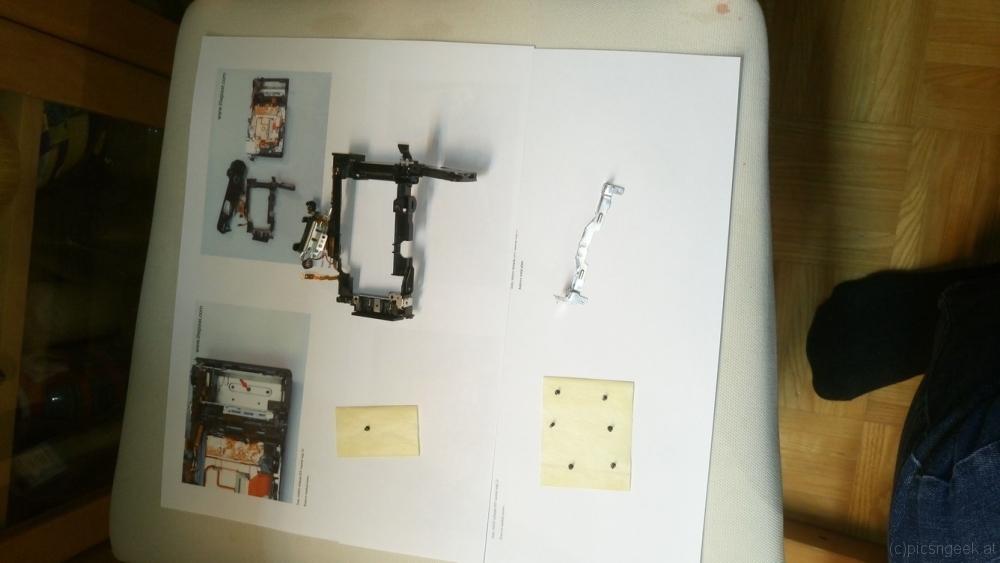
A hint for organization: During the modification process, one has to remove a whole lot of screws in different shapes and sizes. To keep all the screws and parts organized, I printed the complete step by step instructions with two steps per page (side by side). on the bottom of each page I attached a strip of masking tape, with the sticky side up. So I could place all the screws in the corresponding positions below each steps photo. Et voila! All parts are kept where they should be and matching the sequence.
Hint concerning electronics: You are dealing with highly sensitive electronic parts! You will create enough electrical charge to destroy the electronics when you move around! Use wrist band grounding wires and static precautions when operating with such sensitive devices!