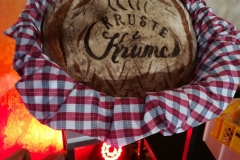
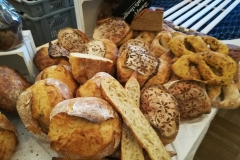
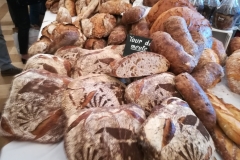
When baking your own bread, you get tempted to visit places with bread offerings. This time I visited the “Kruste & Krume” bread festival in Vienna. Located at the wonderful Kursalon Hübner (a Renaissance building from the middle of the 19th century, next to Stadtpark), the festival hosted more than 30 bakeries. Each one offering their portfolio of breads and sweets to purchase or even as samples. During the day, continuous demonstrations and first hand contact to master bakers as well as trainers made the festival a visit worth the time spent.
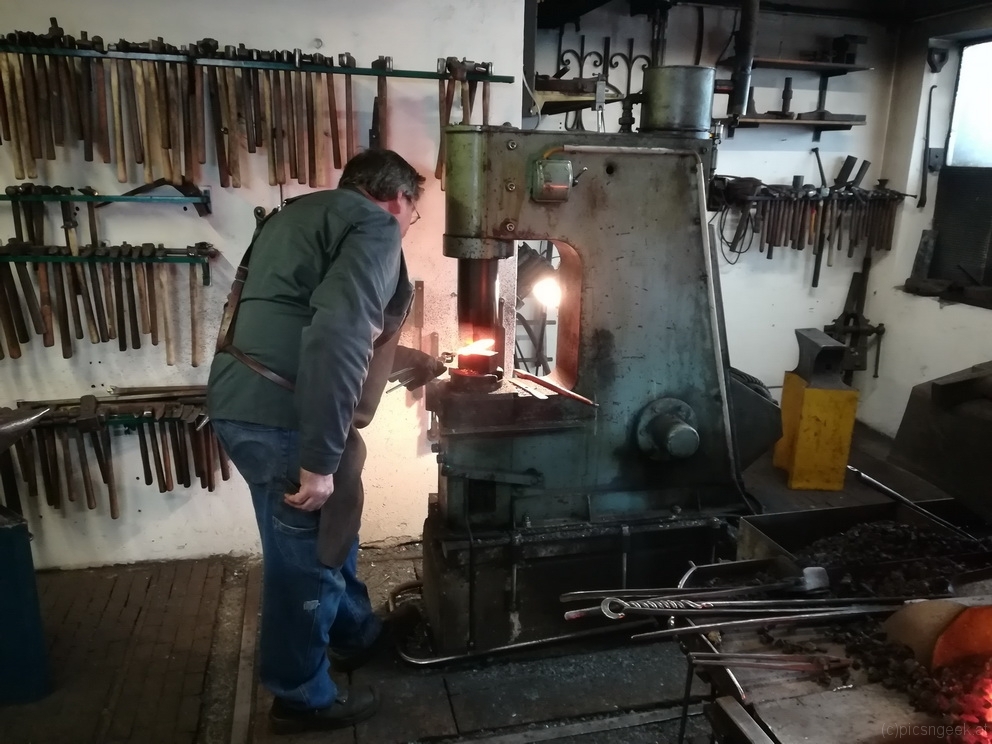
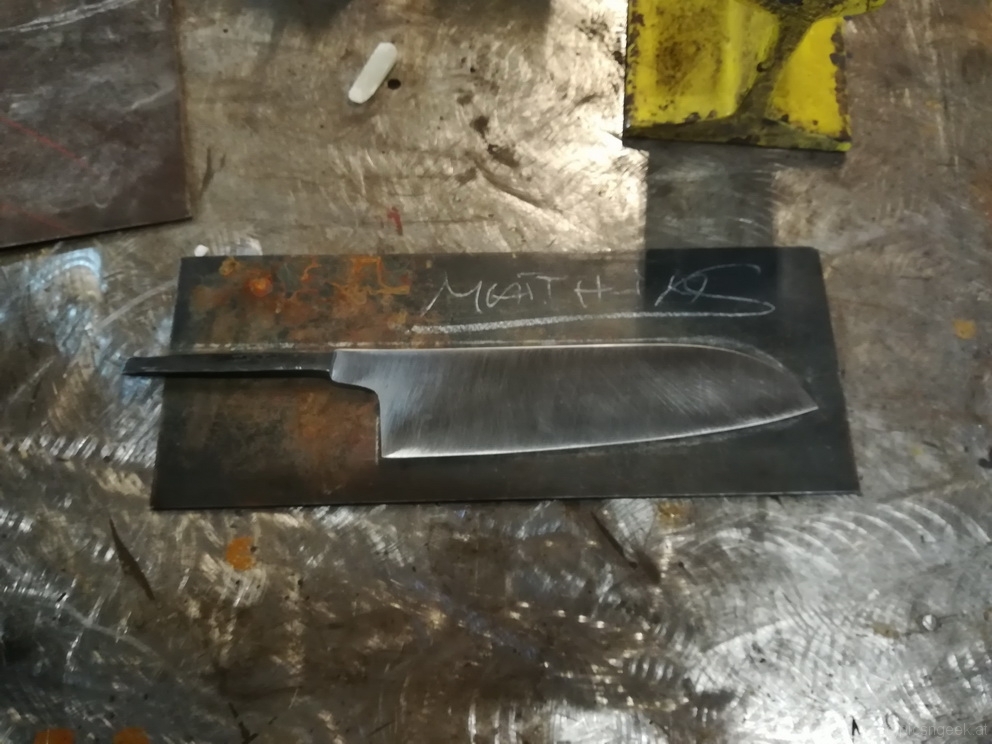
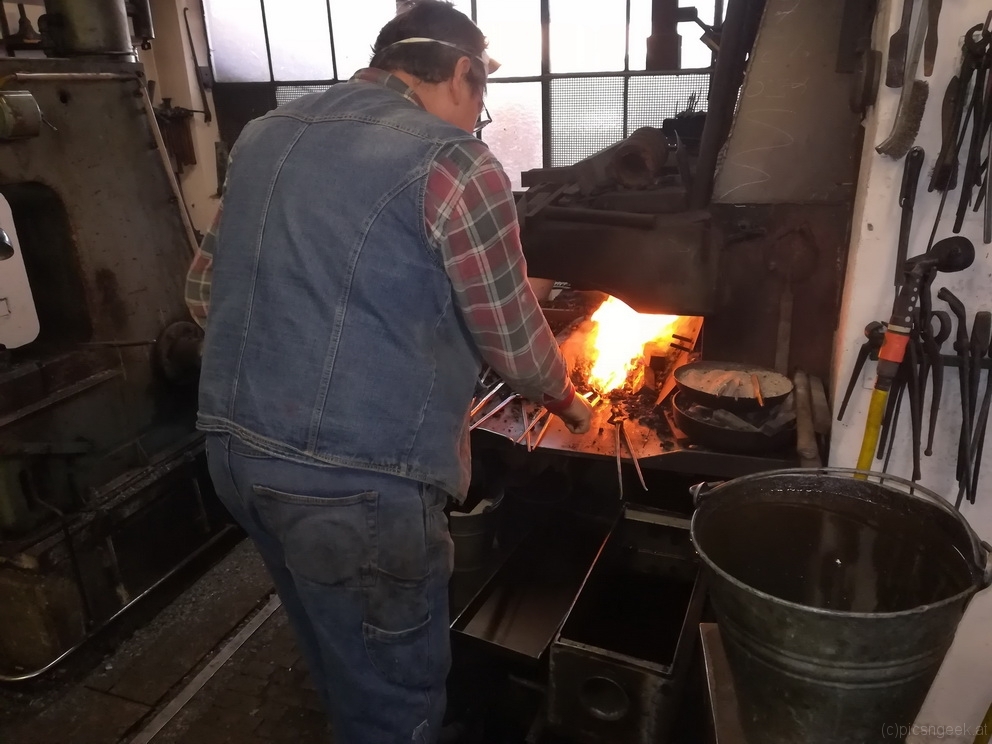
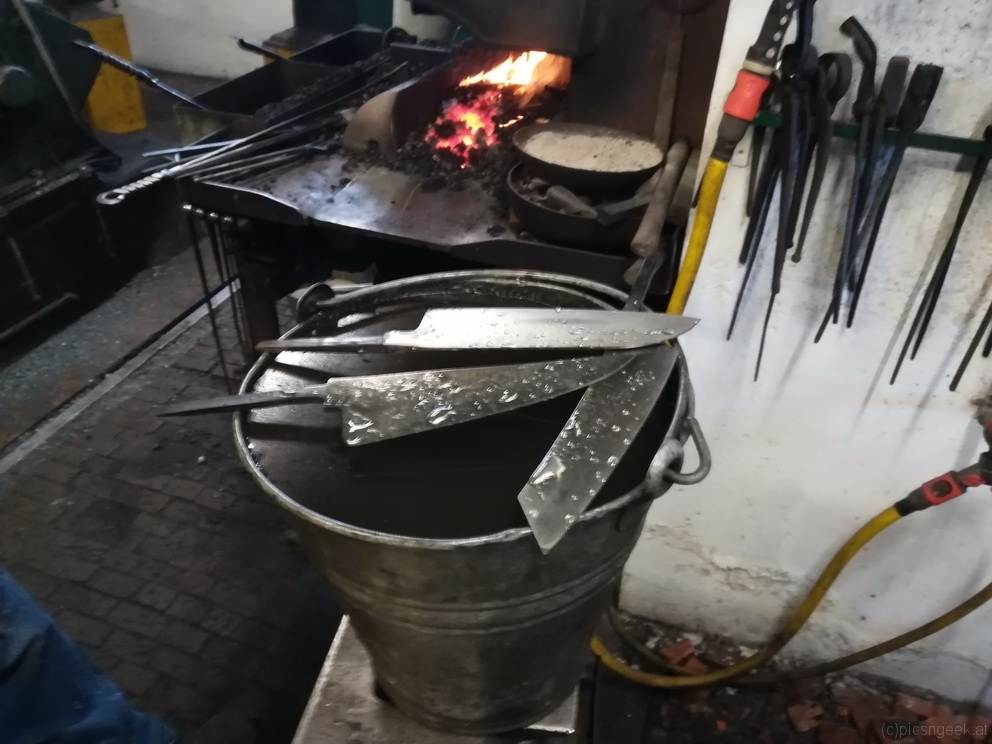
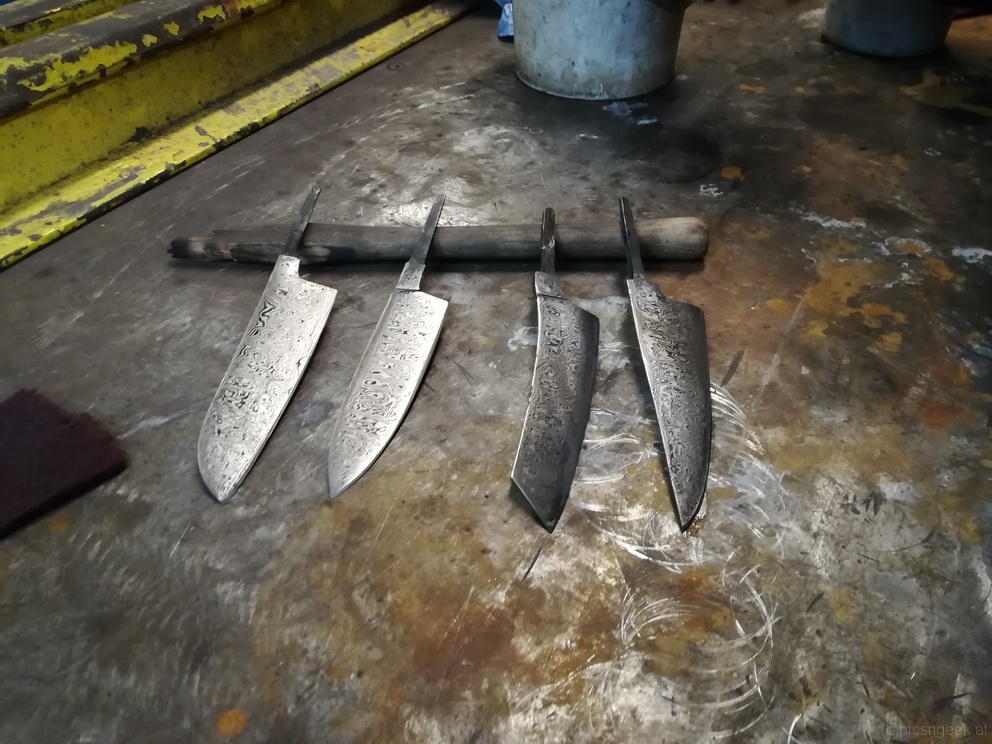
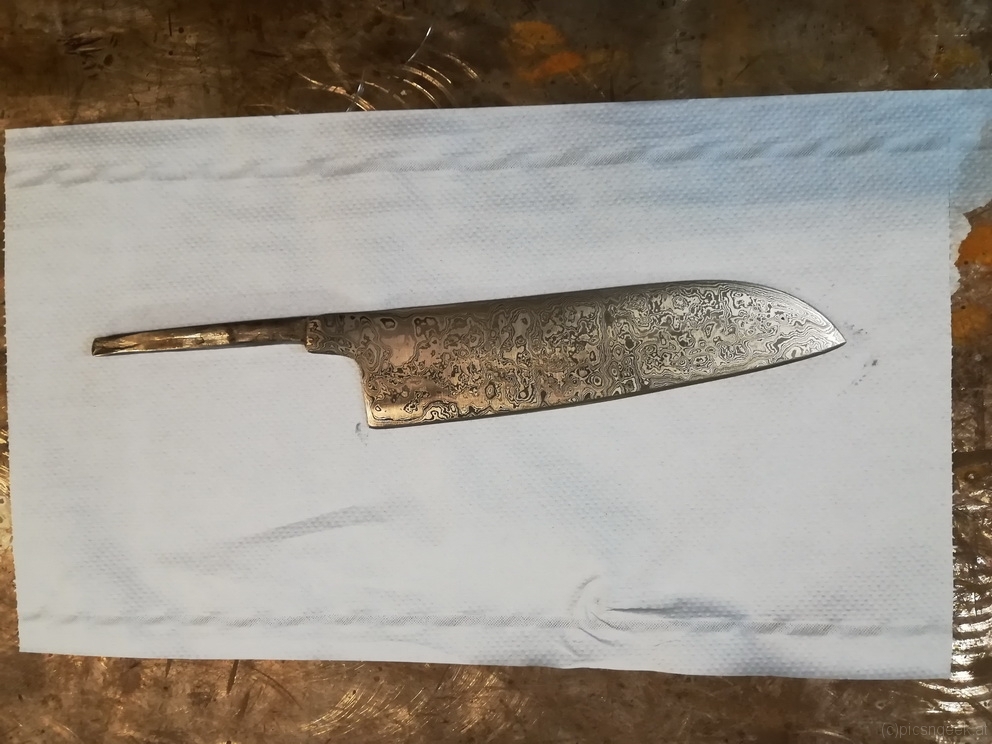
Damascus knive workshop
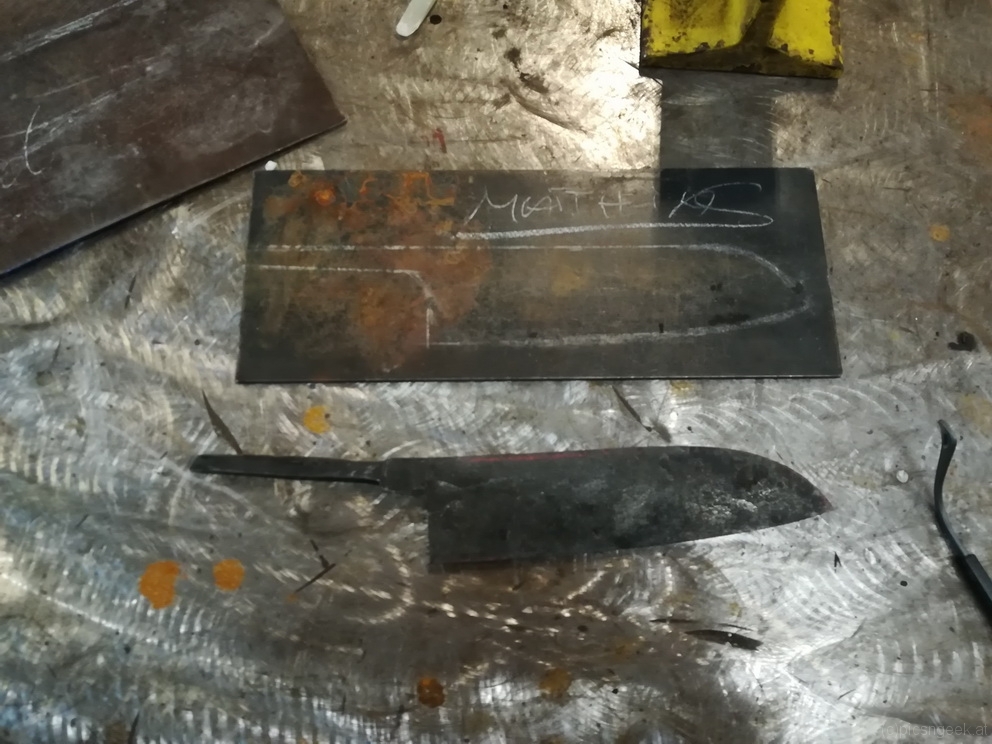
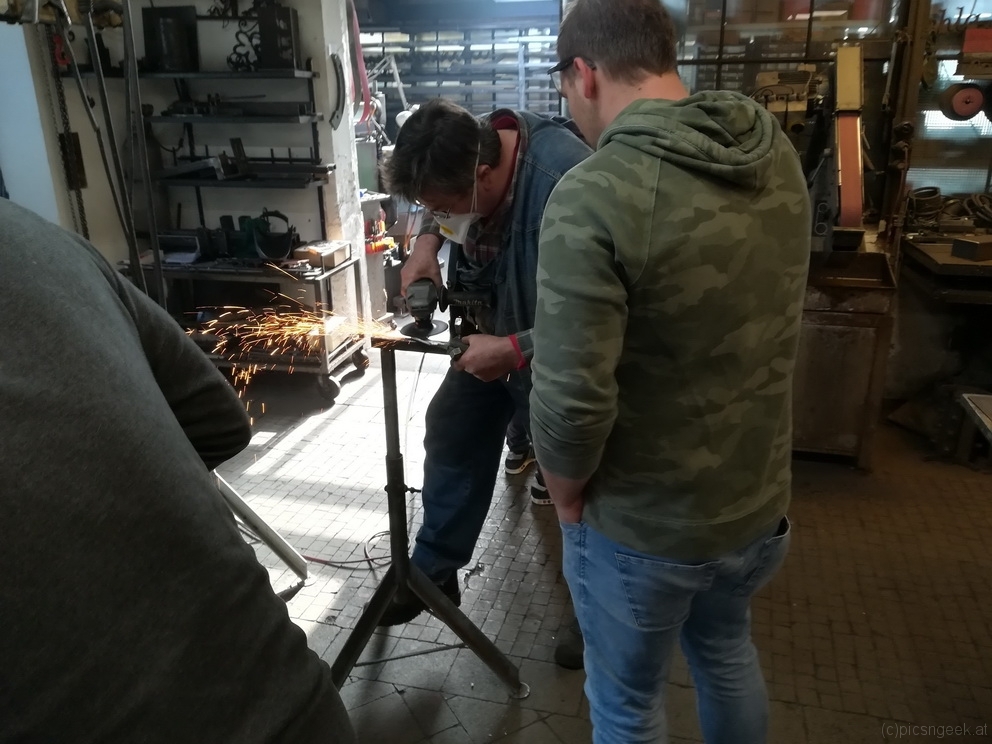
Today I could participate in a workshop to create my own damascus knive. With the guidance of the really well experienced smith, I could manage to forge a 189 layer blade out of 7 individual metal strips. (OK – to be honest, the essential parts of the forging were done by Walter, the smith). I am really pleased with the final result – my own kitchen knive in Santoku style…
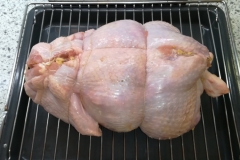
Turducken? Yes TurDuCken it is!
For new-year’s-eve we are having a couple of friends to celebrate with. The special occasion also requests a special treat. So… For a while I was amazed by the monstrous creation of a turducken, which I wanted to prepare for this evening. You don’t know what a turducken is?
Well, pick a turkey, duck and a chicken and stuff them within each other. Sounds cruel. Well, it is someway. As you start by completely deboning all three birds. Pay attention to leave all the flesh and skin in tac! I also forward the suggestion I read, to remove the skin from the duck – which is or becomes too greasy. Have a good amount of bread stuffing (like from the yummy Thanksgiving roast turkey) ready.
Now, starting with the duck, fill all cavities with stuffing. Close and re-shape the bird. Now place the duck inside (or on top of the opened) chicken. Fill any cavities with stuffing. Again, close and reshape. Finally, place the duck in the chicken inside (or on top of the opened) turkey. Add stuffing and close neatly. Use medium-thick twine to sew the turkey closed. Add some more twine all around for security and fix the drum-sticks as close to the meat as possible.
Now you are ready for roasting – or as I prefer it – low temperature cooking with a final touch of roasting.
My turducken, weighing in approximately 5kg, had a good 8 hours time at 110°C for a juicy and delicious result. *yummy*
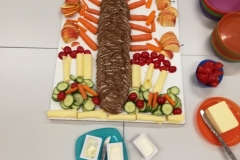
A healthy food tree for kids school break
This time a bunch of kids were up for a break with healthy food. How to prepare the food to look appealing? Get creative!
In the evening before, I made a good loaf of bread. The sliced bread will serve as a tree trunk. And all the good food (veggies and cheese) get’s distributed around to shape a tree or even a garden scenery with flowers and grass 🙂
Dig in kids!
Total solar eclipse 2017 timelapses from Riverton, Wyoming
After working through all the data collected from the solar eclipse in August, I combined the wide angle images (8mm lens) and the images captured through my 600mm travel telescope to timelapses. The wide-angle video is the result of more than 800 single exposures, covering the day from around 6am till 5pm. The most interresting part around totality is significantly slowed down, as totality would be over in a blink. During partial phase, I was so busy trying to fix my automated triggering system, that I did not realize the clouds until post processing. So it was really pleasing to see all the clouds above my site vanish moments before totality began. On the other hand, the remaining clouds increased the view of the shadow of the moon passing over, which is just amazing!
The inlay in the wide angle video is derived from the high res video.
I am really pleased with the results, but check for yourself!
Road Trip USA 2017 – timelapse
I condensed in this video the first 18 days on the road to a 5 minute movie. A lot of countryside besides the roads may be seen, but the video gives just a hint of all the beauty lying beyond, when you get out of the car an make a few paces. So, get out of the car and enjoy the places you would otherwise rush by 😉
The following map (generated in google maps with a few marker points along the route; the full path would exceed the maximum allowed waypoints) shows the coarse path we went:
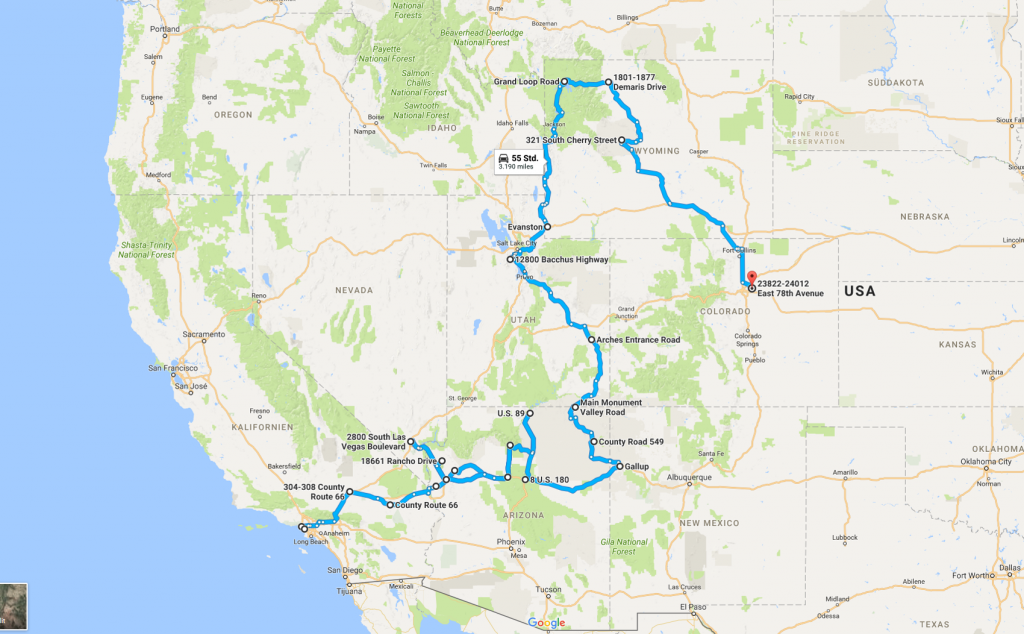
About the video:
– 4K action cam attached to the upper right corner of the windscreen with a suction cup mount
– camera captured a still image every 3 seconds
– covering 19 days (18 on the road)
– almost 80 hours driving
– more than 3500 miles covered in the video
– 94500 images in 257GB data
Monument Valley from night to day
In the night of 2017-08-14 I created a timelapse with the milky way travelling above Monument Valley. Clouds and the crescent moon did interfere the beautiful sight of the millions of stars above one of the most impressive sights in the US. On the other hand, an amazing sunrise compensated for the second half of the night 🙂
Roadtrip USA 2017
Holidays… Usually I like to go on holidays with minimum amount of planning (ahead). Though this time, planning started more than 6 months prior to departure. The reason for the long planning phase was the total solar eclipse of 2017 (also cited as “The Great American Eclipse”). Choosing the right place and combining the eclipse day with sight seeing, adventure, photography opportunities, etc. took quite some time.
The final tour plan consisted of 4 major themes:
- Route 66 (from LA to New Mexico)
- National Parks (escpecially Yellowstone)
- Solar Eclipse in Wind River park
- Recreation in Florida
Including Florida, we made a tour of impressive 5000 miles, 6 National Parks in 10 states. (If you are interrested in our tour detailes, drop me a message)
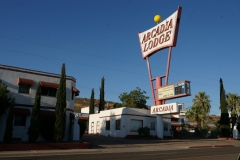
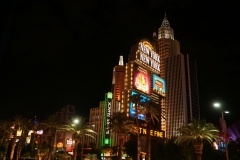
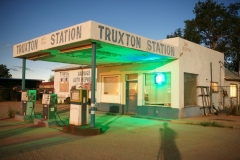
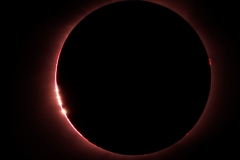
Here is a small set of photos, representing the wonderful places we’ve been to. (For the solar eclipse photos, see the previous post)
Total solar eclipse 2017 from Riverton, Wyoming
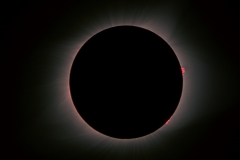
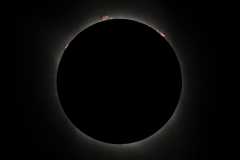
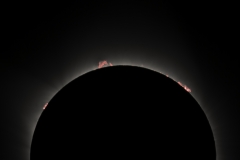
All the effort to travel around the world for just a few images… Well, it was really a challenge to carry the 60+kg equippment to Riverton, Wyoming. It was even more challenging to try to last-minute fix an error in my computer controlled camera trigger system. And last but not least, 2 cameras stopped capturing during totality… It would have been a total disappointment, if…
… if my best camera / lens combination I had set up wouldn’t have done the following 🙂
See for yourself, why I am absolutely happy:
Wooden tripod base for small telesope mounts
Several years ago I purchased my first telescope. The telescope had an EQ2 mount included. The EQ2 is an entry level mount, with an all in one mount and tripod base. The EQ2 served me for some time, until I got frustrated with the instability and bad and worn gears in my unit. So one day I replaced it with a goto mount. The last time I used it was for the 2006 solar eclipse in Turkey. Since then the whole thing had to sit and wait for a long time in the basement.
Several years passed until I added a Sky-Watcher Star Adventurer to my collection of gear (I am really happy with this little travel mount!). To use the Star Adventurer in its full extent, a sturdy tripod is required.
None of my photo tripods (neither aluminium nor carbon fiber) could provide a rigid platform to hold against the vibrations of wind or camera mirror flip. After reading several comments on tripods for the Star Adventurer, the direction was obvious to use a wooden tripod. I was already scanning the market for proper tripods, when I remembered the EQ2, which had quite a nice wooden tripod. The only problem to solve was, to replace the EQ2 head with a flat base. The base should provide a stable means to attach the Star Adventurer with one UNC 3/8 screw…
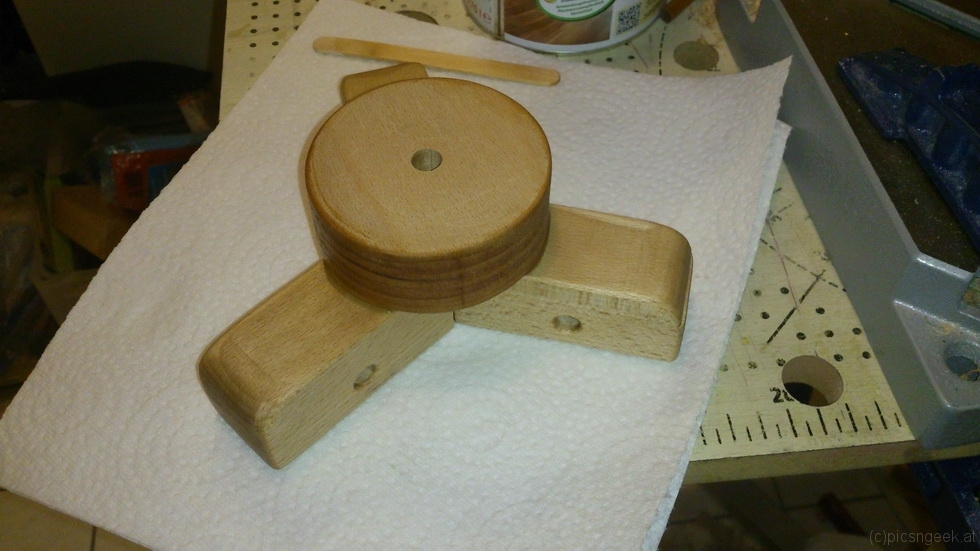
The design was straight forward: The construction exists of 2 parts. A 3-prongue base to attach to the tripod legs and a raised platform for the Star Adventurer. As I didn’t have a large enough piece of beech wood for the base, I used a 40mmx40mm beech wood block. The block was cut in 3 equal parts. These are mitered at 60°. On the other side, I rounded the top part (a rather aestetical finish) and drilled the hole for the bolt attaching the tripod leg.
The platform consists of one round disc of 40mm thick beech wood, which I cut out with a 100mm circular drill. The 4 parts were then glued together with 2 wooden pins joining each leg part, to enhance mechanical strength.
After drilling the required hole for the UNC 3/8 screw and the recessed hole for the screw head with washer, the whole part was sanded, cleaned and finished with hard oil. The platform top face received a rubber coating for a better hold of the Star Adventurer.
Parts used:
3x 40x40x100mm beech wood
1x 100x100x40mm beech wood (for platform)
6x 6mm wooden dowel
