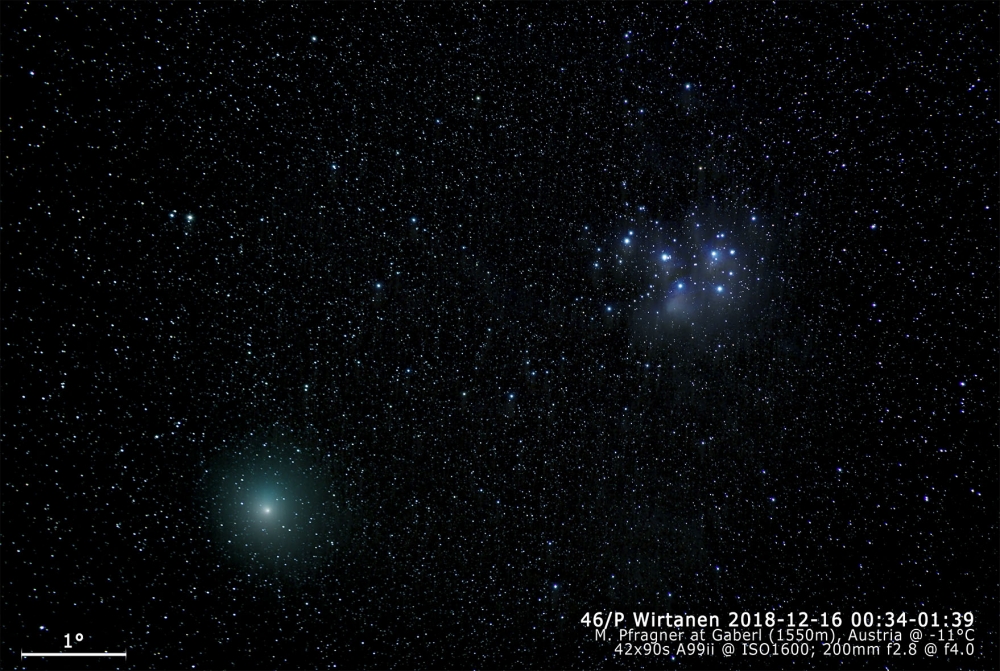
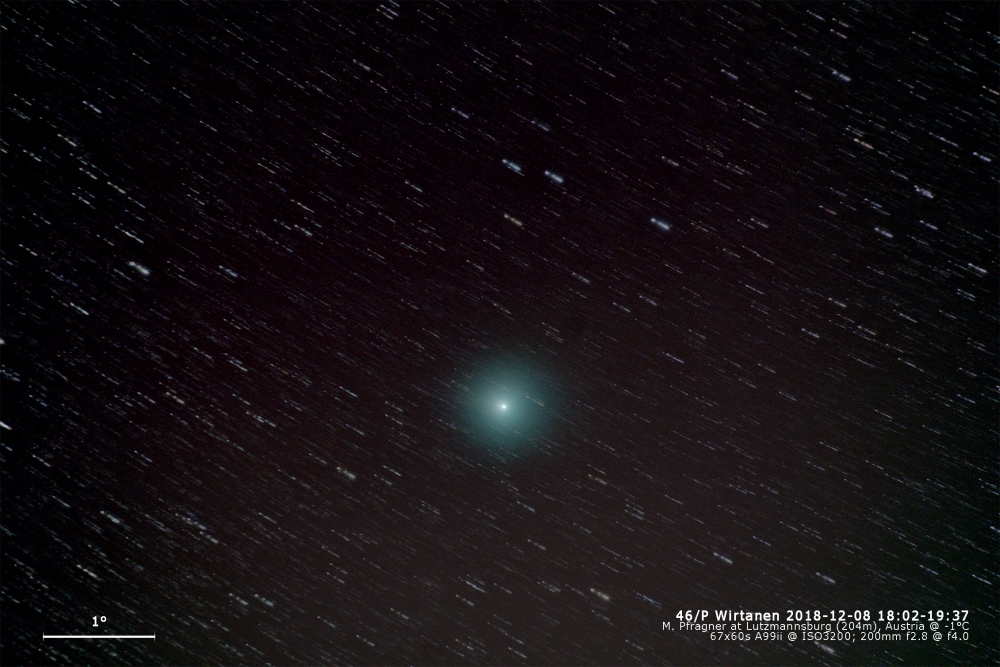
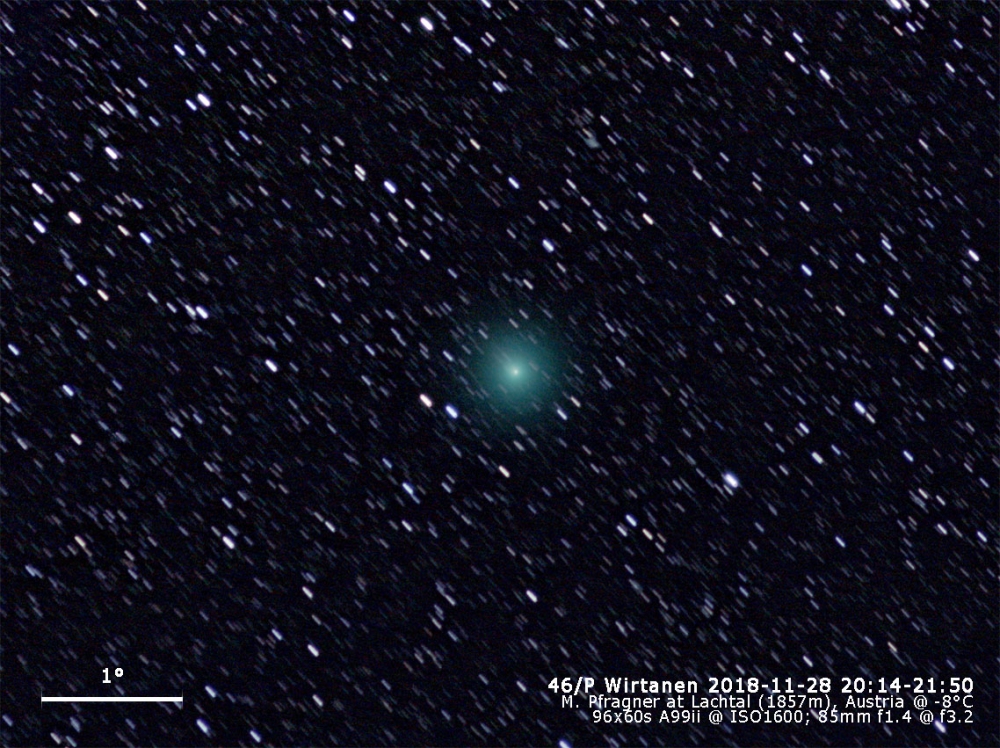
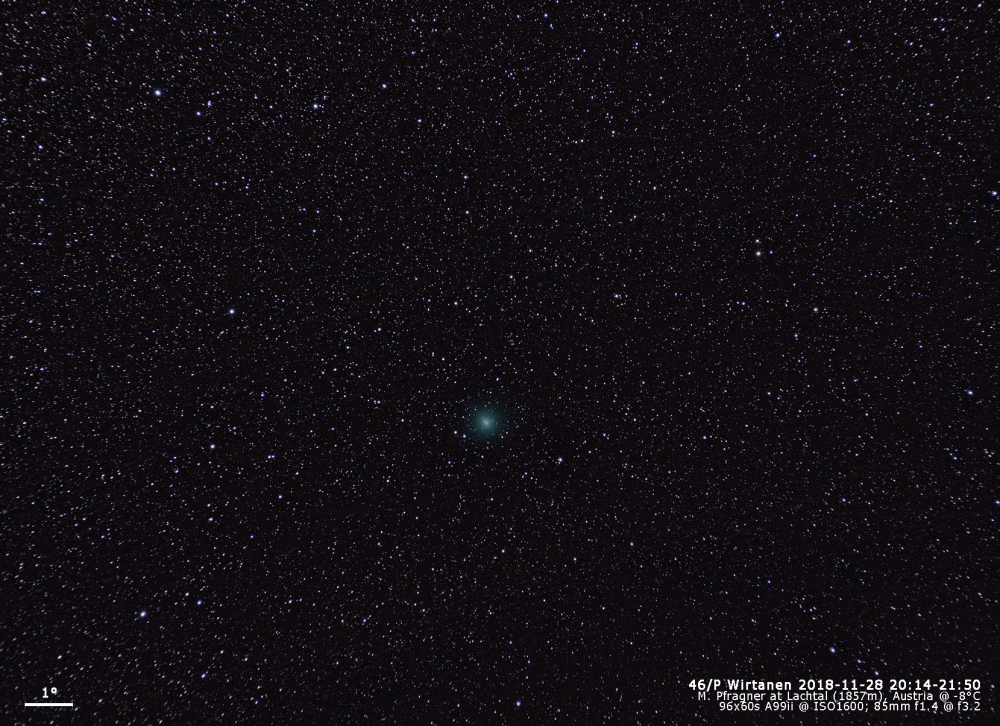
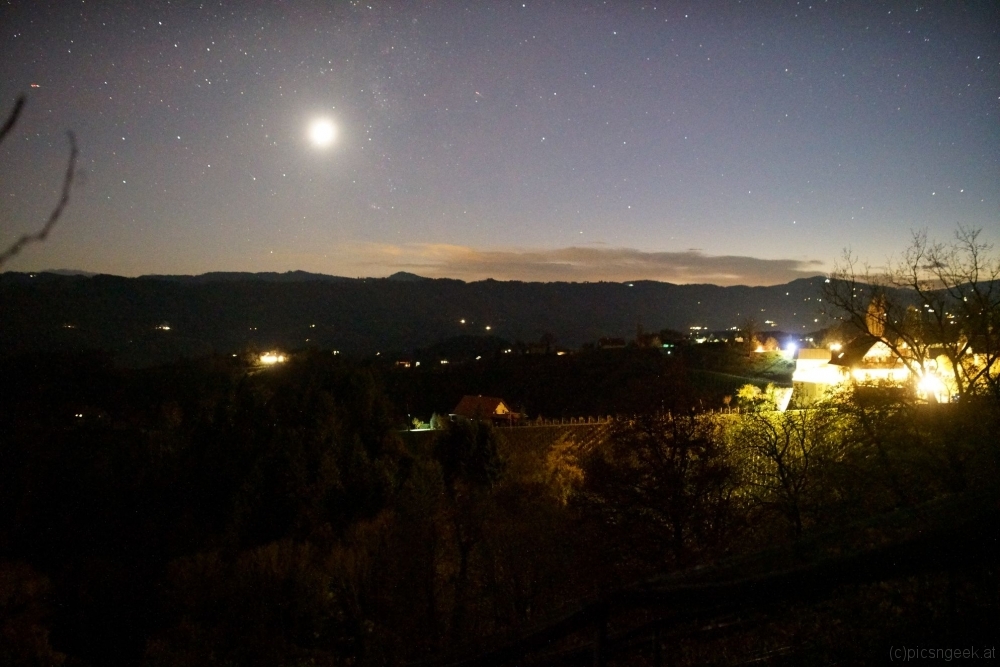
Finally the full moon is over. The first chance to properly see some fainter objects like the comet 46/P Wirtanen. Comet 46/P Wirtanen started to rise more and more from the horizon. At November 10 the comet reached only 10° above the horizon. Now it is at approximately 20°. As for one day on November 28 the sticky clouds opened up above Austria. So I packed my gear and headed to the mountains. I ended up at a snow covered mountain top near Lachtal at 1857m a.s.l. At -8°C seeing, transparency and sky darknes were exceptionally! A really treat to observe 🙂
I set up my camera with a 85mm lens and captured 90 minutes of data until the moon rose. I chose the 85mm as I expected to see a tail extending from the comet. But as it seems, the tail is not extening sideways (seen from Earth) at the moment.
I am really pleased with the results and hope for another chance of good weather within the next few days…
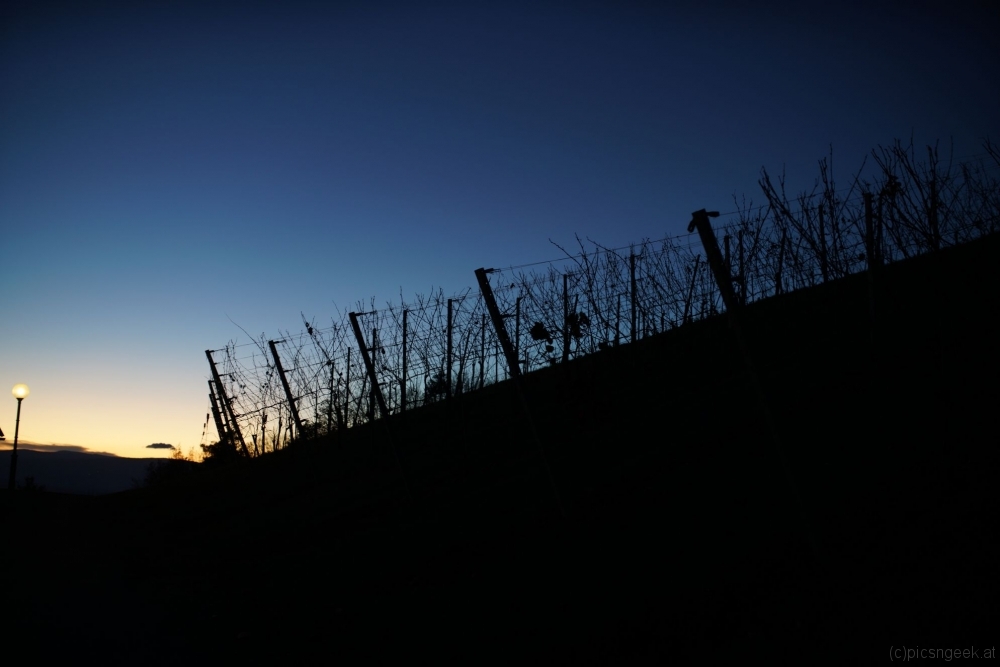
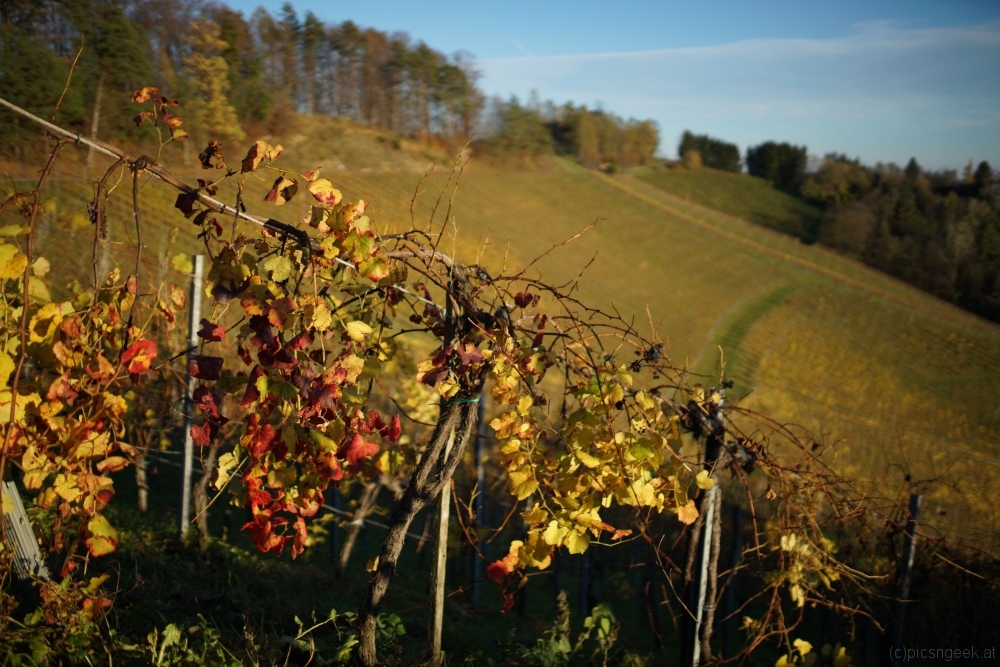
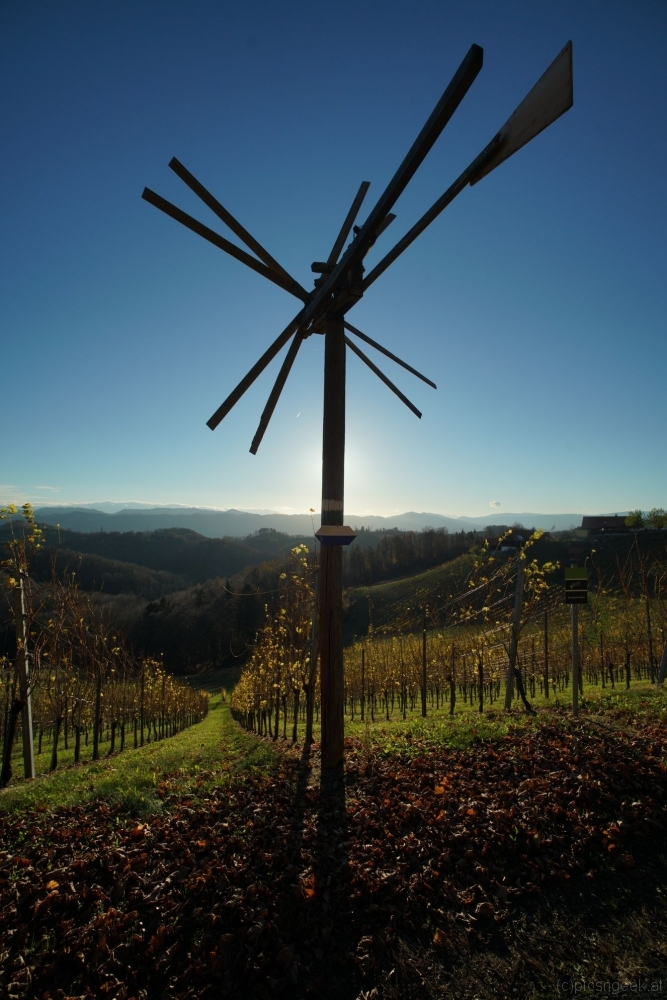
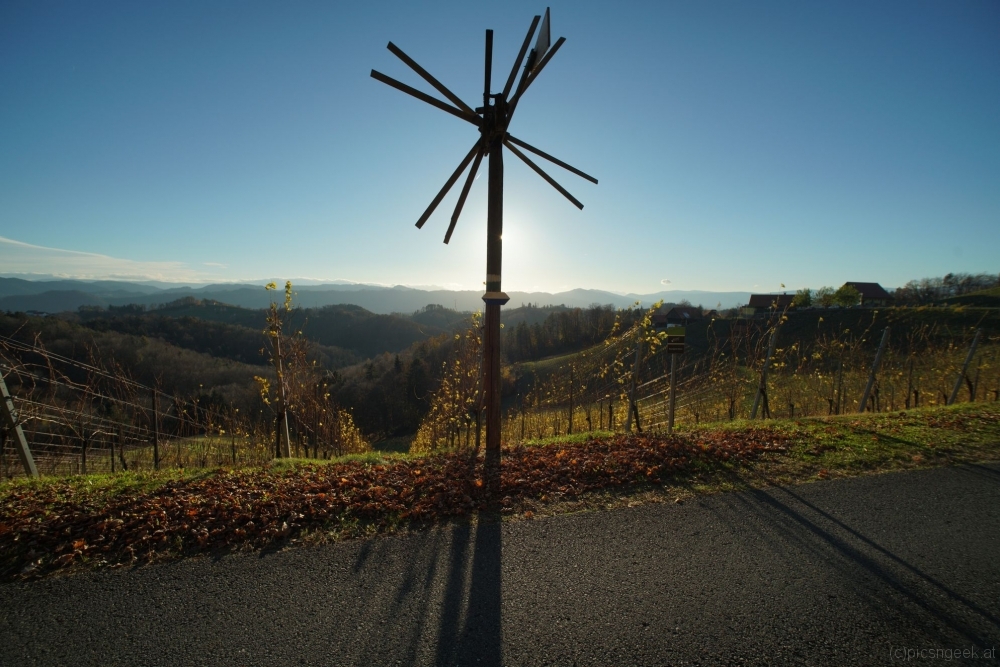
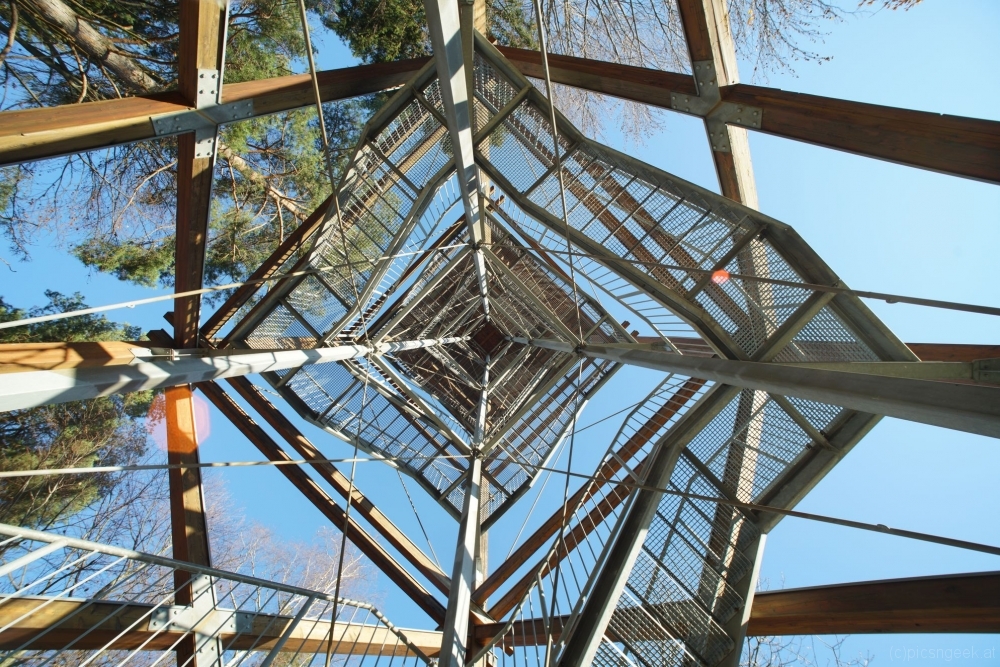
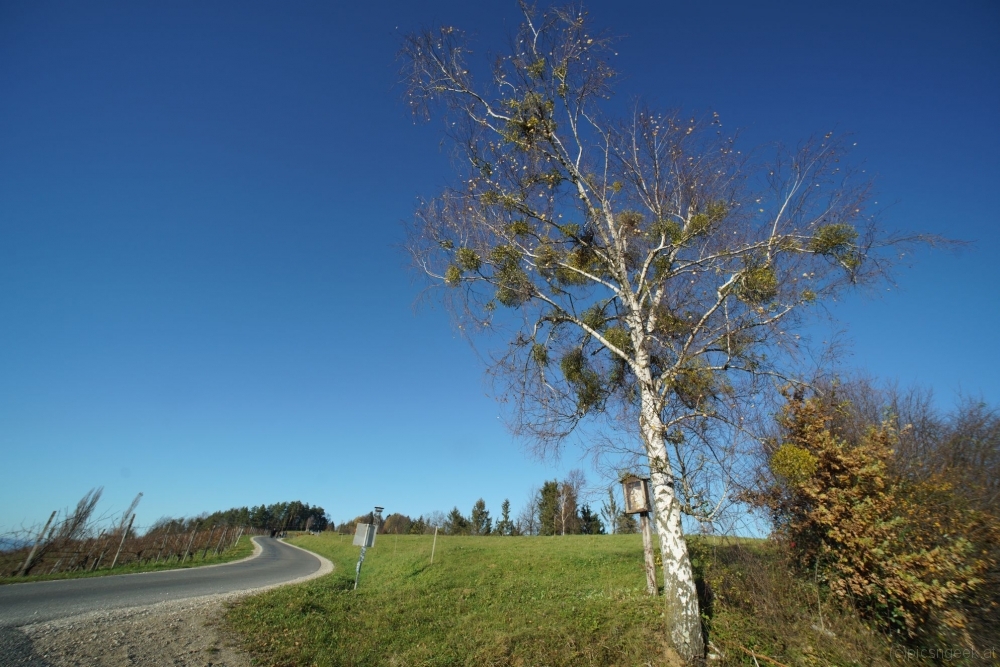
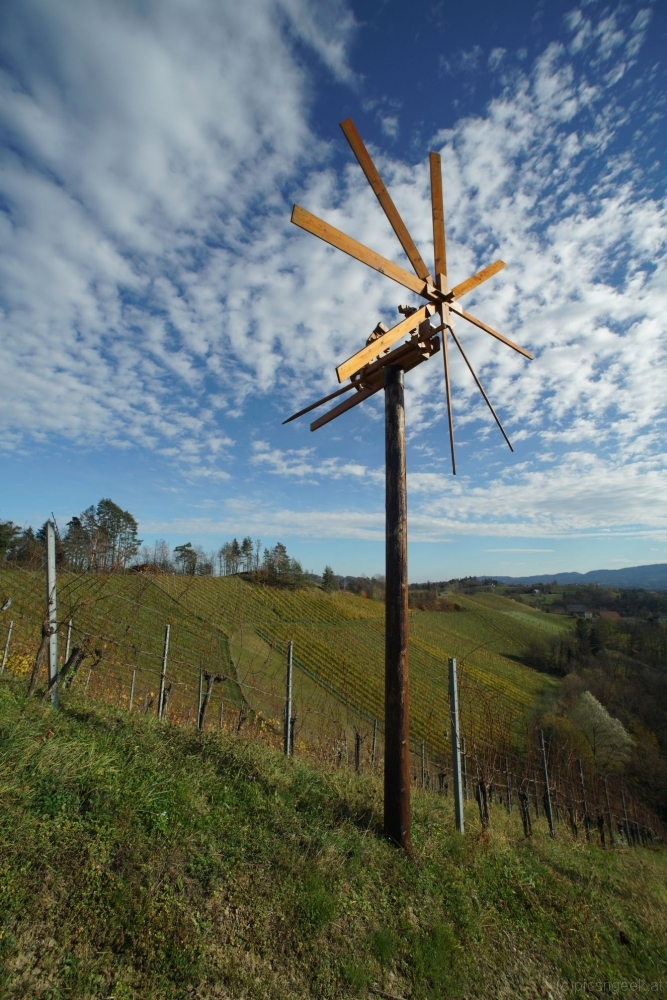
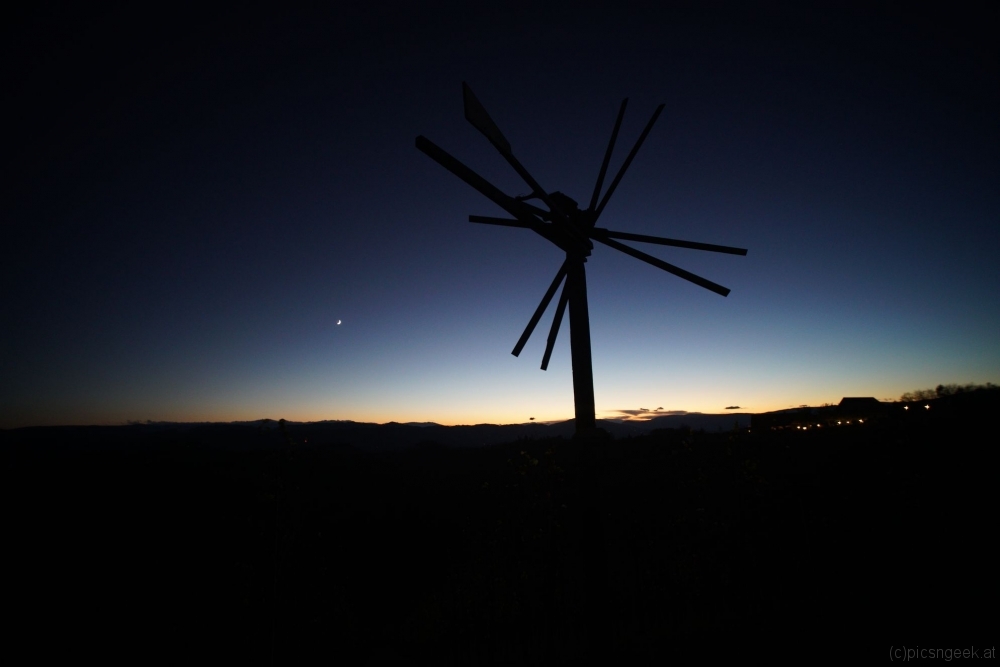
Autumn in Styria @ Klapotetzstrasse
The southern parts of Austria, along the border to Slovenia, are known for its wine. The wine is grown on the slopes of nearly every hill. To prevent birds from feasting excessively on the wine, farmers installed huge versions of noise making ratchets, called Klapotetz. These devices, the largest are up to 16 meters in height, reach back at least to the 18th century. They are found especially dense around the Klapotetzstrasse.
It is a really wonderful reagion to spend some time. In autumn, when colours are rich, seems to be the best time to be there…
2018-11-10 Milky way above the observatory – slider movie
I went to the observatory (see previous post) to capturing some deep sky photos. When the camera was capturing in the meantime I set up my slider. The slider was configured to travel an inclined track with 6m length. The plan was to show the milky way above the observatory, travelling away from the dome.
This is the 3 hour hyperlapse:
First glimpse of Comet 46/P Wirtanen
I was eagerly waiting for the first chance to see the promising comet 46/P Wirtanen. As I was scheduled for a public viewing session at the local observatory, I set up my camera on the 50cm telescope after the last visitor left. Before slewing to the comet (which was still extremely low above the horizon), I wanted to try a few night time jewels: M27 (Dumbbell Nebula), core of M31 (Andromeda Galaxy) and M57 (Ring Nebula).
Afterwards I slewed the telescope to comet 46/P Wirtanen. The comet had risen to 10°. Weather was quite OK, but that low, there is a lot of bright haze. Visually I had no chance to see anything. So I tried to take a few shots and see, if I could process the results…
Well… unfortunately there is something mis-configured as I endet up with really huge stars in the range of 12 arcseconds. So there is not that much detail within the pictures as I would have expected. The comet is there and looks promising. But from the observatory location, it has to rise significantly above the horizon…
Here are the results:
A day at Herberstein zoo
Camera slider – night shot with inclined setup
After finishing the slider, I was eager to test the whole thing. To test the capabilities, I went for an inclined setup with 3,5m length and 1m height difference. Well, the footage proofs a good overall performance. But unfortunately the motor is not strong enough to drive the slider cart all too well uphill. OK. The motor is without reduction gear and the motor may drive the slider cart at up to 1,2m/s… So for inclined setups, I have to add a reduction gear / worm gear drive or counter-weight system…
Sequence 1: 10s exposures, going up. Slider stalls due to overload
Sequence 2: 1s exposures at high ISO (it was too late in the night 😉 ), going down
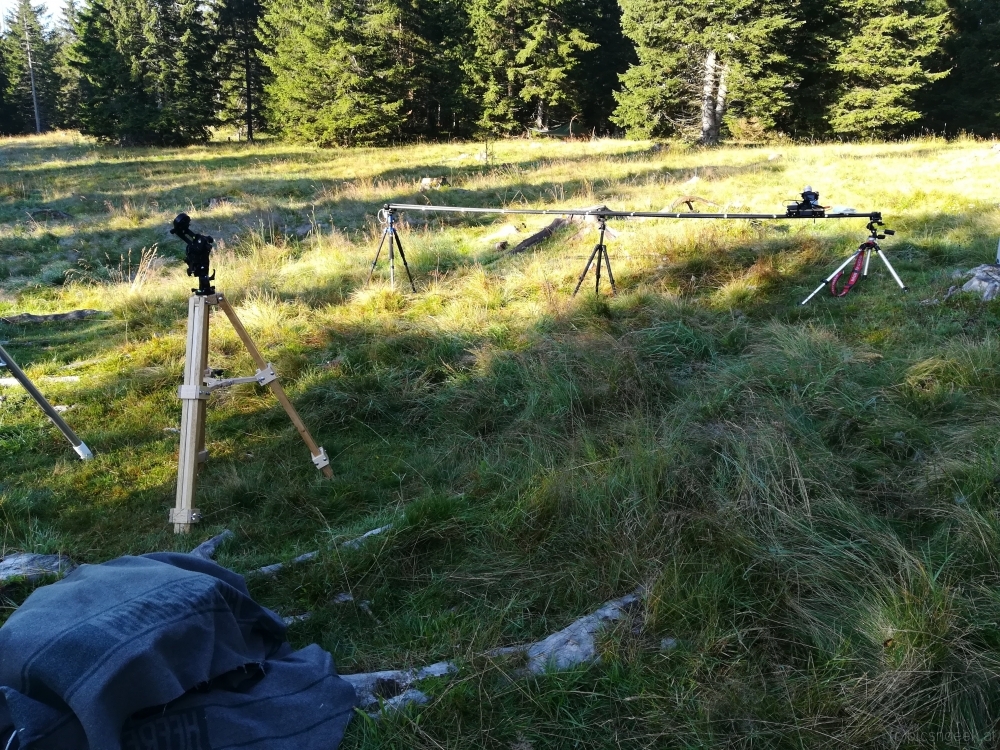
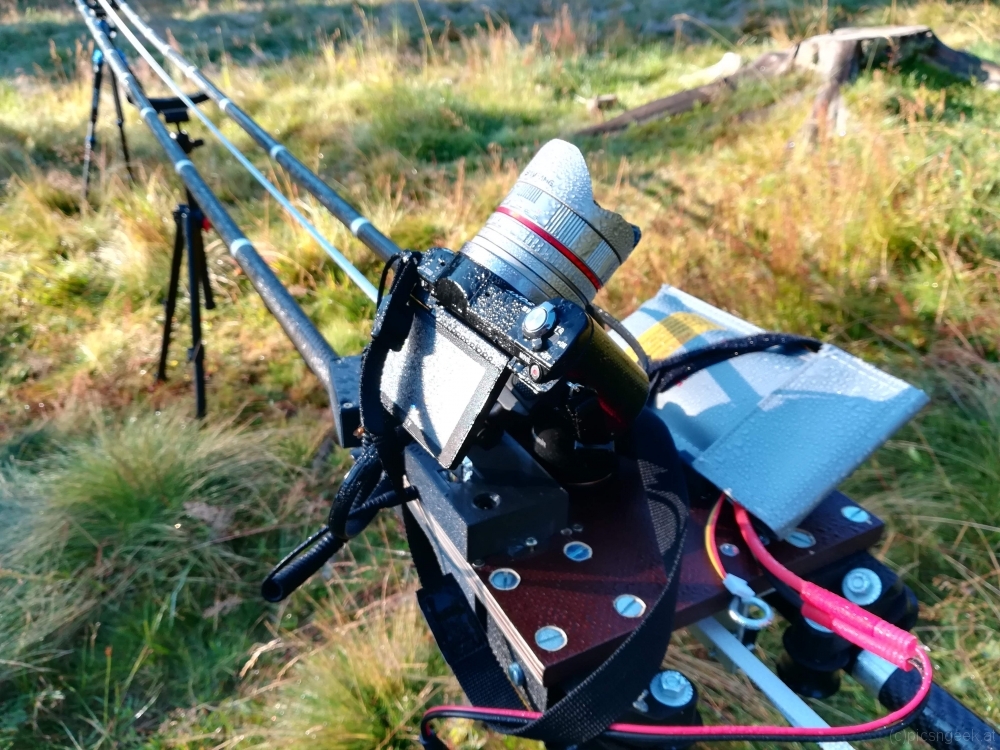
poor quality photo of the setup
Camera slider – build complete :-)
After several hours of designing, 3d printing, drilling, soldering and assembling, my camera slider is ready to use! All components are neatly packed within cases, so that the only wires visible are the power supply from the LiPo battery pack and the shutter release cable to the camera. I have several extensions in mind, like a pan-tilt unit. But for the moment, I will test and use the setup as is. The next improvements will be more on the firmware, for more features: non-linear movement, slow start, slow finish, pre-defined profiles, … for more impressive movies.
Now, concluding the build, I have the following parts in the final setup:
- 12 U-groove wheels, matching the carbon fiber tubes (3D printed plus ball bearings)
- 4 wheel carriages, each holding 3 U-groove wheels (3D printed)
- 1 case for the microcontroller and motor driver (3D printed)
- 1 case for shutter release, power supply and connectors (3D printed)
- 1 hand-controller case (3D printed)
- 1 battery bracket (3D printed)
- 2 end-assemblies (5 parts each, 3D printed)
- 2 supports (3 parts each, 3D printed)
- 1 NEMA17 stepper motor
- 1 A4988 stepper motor driver
- 1 Arduino Nano (Atmel 328 microcontroller)
- 1 4×20 LCD
- 1 Joystick module
- 1 DC-DC converter
- 2 micro switches with long lever as end switches
- GT2 10mm timing belt with wire reinforcement
- 1 GT2 10mm 20 teeth pulley wheel
- 4 GT2 10mm idler wheels
- A whole bunch of M3 to M6 screws and nuts
- 40x3mm flat aluminium
- 30x50x3mm L-shaped aluminium
- carbon fiber tubes
The project was really a fun to make. Even more, the resulting slider provides flexibility and transportability! I may configure the slider in any length, depending on the available tubes. The tubes I use, are 37cm in length and have aluminium screw-in adapters to fit one to the other. I have a bag, which I used as personal item in air travel. The bag holds the complete setup for up to 5 meters (exkluding tripods). The bag weighs in at approximately 5kg – so it is a light weight setup for the length possible.
Camera Slider – first night test
At night, with long(er) exposures, the slider concept to stop for each frame, proofs to be perfect!
A test at night with 10 second single exposures:
Crisp and clear images due to stop-motion. But not yet fluid motion (there seems to be a bug in the motor control).
To be continued 🙂
Camera Slider – first real test
After several days of building and coding, the slider was ready to perform a first real world test. Even if the electronics have not yet been encased (all the wires are going wild around the platform), this was proof of concept…
Damascus knife – building the handle
A few weeks ago, I built a damaskus knife blade (see Damascus knive workshop). Now I finally had time to build the handle. Part of the delay accounted for the decision in material and design of the handle. After some serious research and window shopping, I found the perfect combination I would love to have: desert iron wood and silver.
Desert iron wood is a very dense and hard wood. The core parts have a deep red color with wonderful dark texture. But it is not at all easy to find a piece at reasonable prices. Luckily I found an online store, offering a block of desert iron wood with matching size and texture to my likings.
The bolster shall be like a cap, continuing the shape of the handle. As a material I use sterling silver.
The shape of the handle should become rather minimalistic. Further more, I wanted to have some resemblance to traditional Japanese handles. Therefore I chose a prolongued octagonal shape, which gradually gains a bit in height from the bolster to the end.
To build the handle, I started with the wood. I drilled a hole at the exact position to center the blade. Then I used small files to match the hole with the tang, which has a rectangular shape and is a bit off-centered to the rest of the blade. This was really time consuming, as the desert iron wood clogged the files within a few strokes. But finally, after a few hours of work, I had a perfect fit for the tang. I let approximately 5mm of the tang still protruding the handle, to have more strength in the final assembly by hammering the handle on to the blade.
The next step was to make the recessed front, where the bolster will fit in. I cut a line at exactly 10mm from the front edge. Then I filed away 1mm of wood, as I will use 1mm sheet sterling silver. From a strip of 11mm width I formed a ring with an octagonal shape matching the handle, using parallel pliers. The ring is soldered with hard sterling silver solder. After filing and sanding the edges to have perfectly flat sides, I cut a sheet of silver with a bit of excess border. The ring is soldered to the sheet, again using hard solder. After cleaning and filing away the excess material, I could drill and file the hole for the tang. This again was a bit time consuming, to create a perfect fit…
Finally, I sanded and polished the silver bolster, gave the desert iron wood a last fine sanding. Then I mixed a bit of epoxy with desert iron wood file dust. I added glue to the bolster and into the hole for the tang. So I would have a really strong bonding betreen all the parts. I hammered the bolster to the handle (which was only necessary for the final 2mm). Following immediately I inserted the knifes tang to the handle. Using a rubber hammer, I pushed the tang into the final position within the handle.
Meanwhile I set an oven to approximately 70° Celsius for increased strentgh and faster hardening of the epoxy. After cleaning away any excess epoxy with acetone, I set the whole knife in the oven for curing.
Hint: If there is any epoxy pushed out of the joints during curing, you may use a small soldering iron to work the exopy off the surface. The remaining thin film of epoxy may be removed with acetone. If you are careful, you will most likely have a scratch free surface afterwards!
The last thing to do is a thin coating of hard oil.
After more than 20 hours of work (including forging the blade), the knife is ready 🙂 The final result is a perfectly balanced knife due to the heavy wood handle. The center of balance lies exatly in front of the bolster. The blade will hopefully last for a very long time and provide perfect cuts due to approximately 56-58 HRC.