During the last years I frequently ran into trouble with the stock Sony batteries. Neither of the camera – battery combinations I had, were capable of imaging more than approximately 4 to 5 hours (some cameras drained their batteries within less than 2 hours). So I tried to determine the optimum means of powering a Sony camera for several hours without the need to change batteries. Here is, what I came up with:
Option 1: Batteries with increased capacity
Several after market companies offer compatible batteries with increased capacity. These batteries are also offered at more than competitive price tags.
In my experience, most of these batteries do not provide the capacity as imprinted. There are units, which significantly exceed the stock batteries. But you may also get a battery, which is outperformed by the stock battery – even though it is offered at twice the capacity.
If you are lucky and you have a well performing battery, you may extend the time in operation by 10%-50%.
| Pro | Con |
| – economic price – up to 50% longer operation – no external units required | – does not last a whole night – capacity labelling may be misleading |
Option 2: USB power supply
Several – and at least the new models – have a USB port, which is capable of powering the camera during usage. This is a great way to have your camera last for hours. This is also a truly economic way, as you simply plug a USB power bank to the camera.
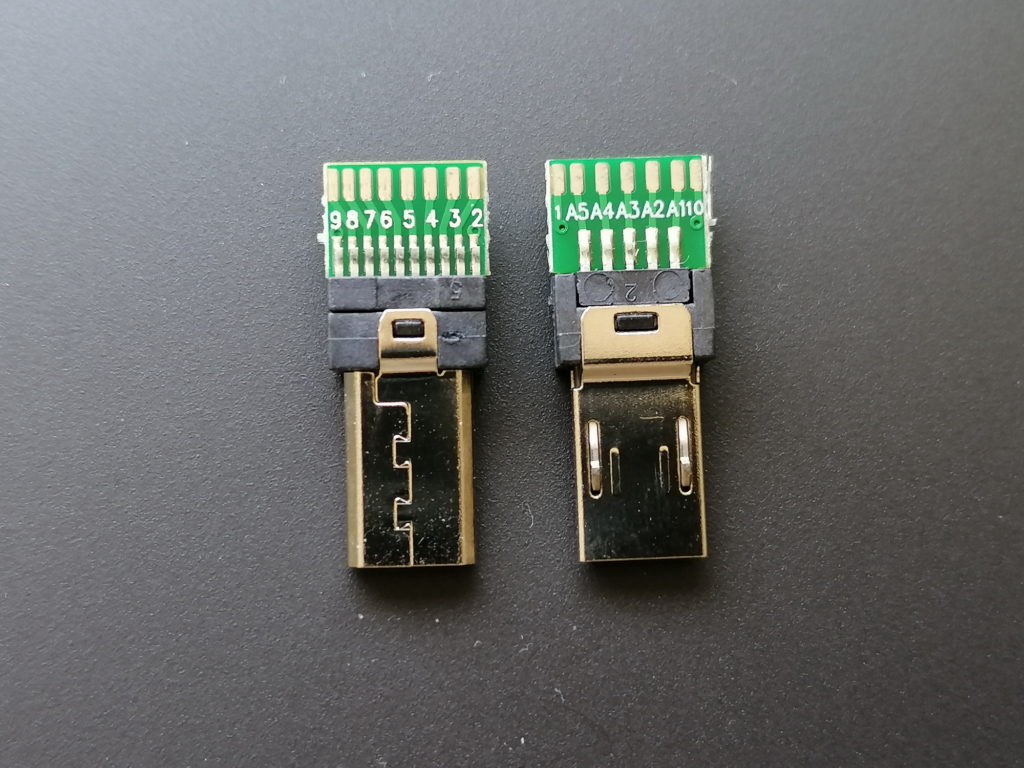
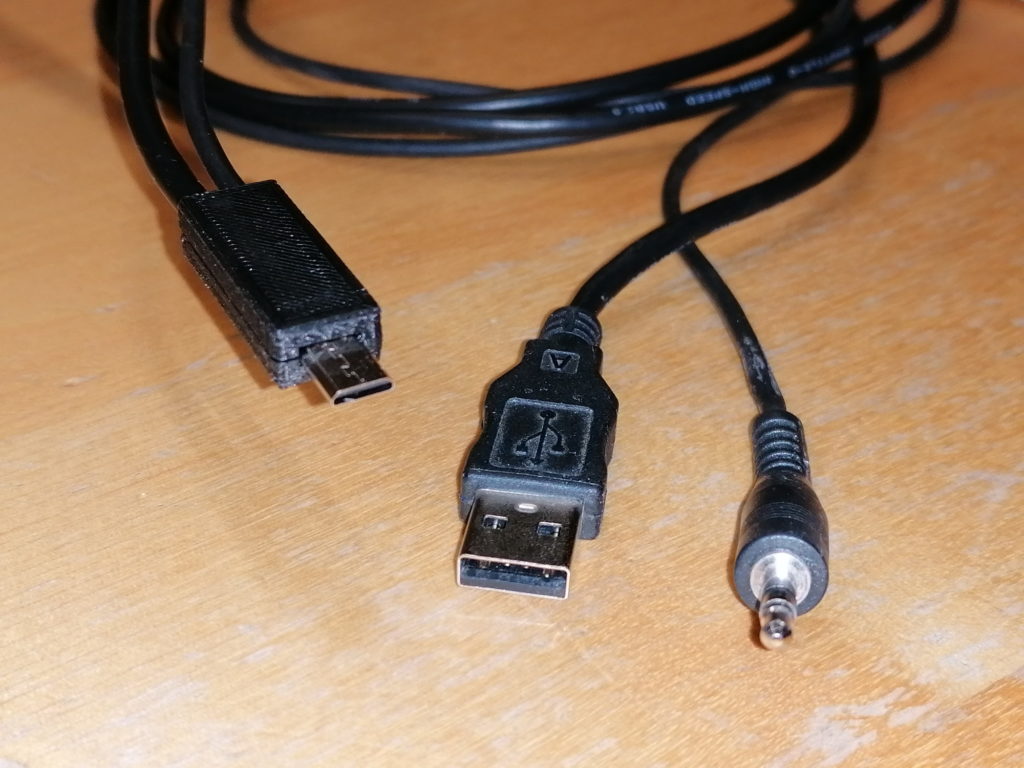
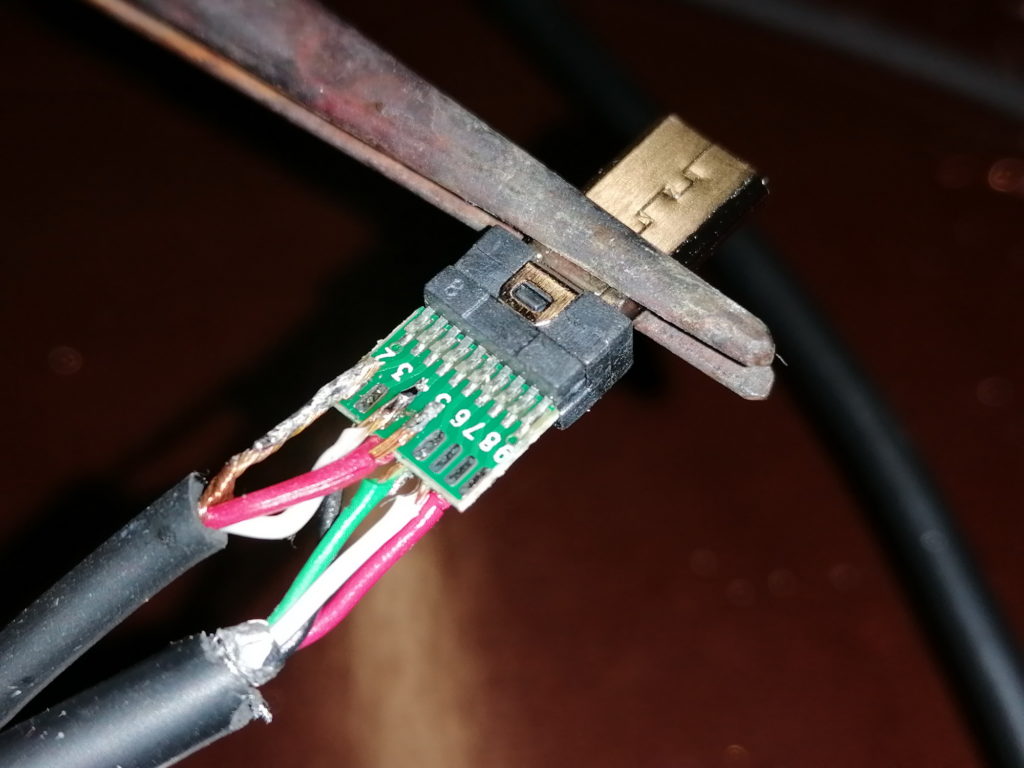
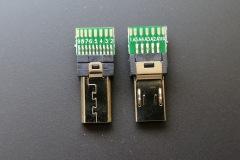
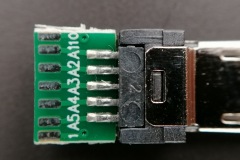
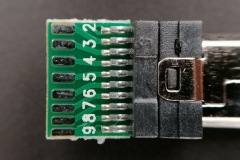
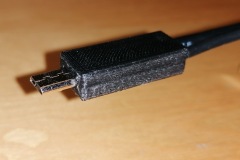
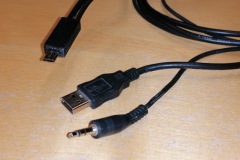
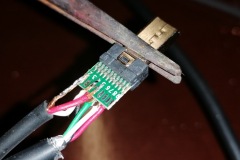
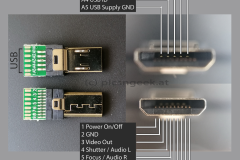
Be aware, that you may need a special splitter cable, to simultaneously run a trigger and the USB power supply through the Multi-Port connector! See here, how such a cable may look like: Combined charger and trigger cable for Sony mirrorless cameras like A6400
But to my experience with a Sony A6400, the USB port is not capable of providing sufficient power in heavy use situations. When I had the camera shoot 3000-7000 images in 1 second intervals, I ended up with a (almost) drained battery. So the camera was constantly discharging and charging the battery. The discharge rate was higher than the charging rate. This caused the camera to significantly heat up – which is highly discouraged in astrophotography!
Further more, at least the battery is set under unneccessary stress.
| Pro | Con |
| – really cheap – may last the whole night – may be “hot plugged” | – camera may heat up – special cable may be required – battery stress |
Option 3: Vertical Grip
The majority of the higher end and high end cameras may be equipped with a vertical grip unit. The vertical grip units are typically fitted to the battery slot instead of the battery. To power the camera, the vertical grip incorporates a tray for 2 battereries. This doubles the capacity possible. But depending on the camera, if you keep the remote trigger port constantly in focus / pre-fire mode, the camera may not switch to the second battery. So you may end up with a camera in power-safe mode and an exhausted battery as well as a fully charged one…
Further more, you have to keep in mind, that the vertical grip units are quite heavy (adding a couple 100g in weight). This may be an issue to your setup!
| Pro | Con |
| – no external components – easy to handle | – vertical grips are not quite cheap – battery capacity only doubled – higher weight |
Option 4: External power supply
Some Sony cameras have a power in connector. This is a proprietary connector, which was already in use back in the Konica/Minolta aera. The connector is flat, with both poles on the opposite sides. On one side, there is a small bar, to prevent reverse plugging. So, technically, no big deal. Unfortunately the connectors are not available individually. But nowadays, you get really cheap power supplies with matching connectors online.
If you are a DIY person: it is really easy to build or use such a connector; Simply provide 7.2V from a mains supply, step converter or lithium batteries ;-).
To my experience, in-camera batteries are disconnected from the camera, when you plug in the external supply. So, if you plug or unplug the external supply, the camera restarts. If you leave the plug in the camera and cut the supply voltage, the camera is not operable (due to disconnected battery)
| Pro | Con |
| – easy to handle – easy to build yourself – cheap – perfect for studio / fixed setup | – designed for mains connection – does not charge in-camera batteries – disconnects in-camera battery (no backup, if mains fails) |
Option 5: Battery dummy
Dummy batteries are a great sollution for long lasting scenarios. You replace the camera battery with a plastic dummy, which has a DC plug. You simply provide 7.2-8V from any means of power supply you have. This may be a mains adapter, USB power bank with step-up adapter, a 12V car socket with step-down adapter or a lithium battery pack with 2 batteries in series. There are even some dummy batteries with included USB to 7.2V converter. But they may lack the power neccessary to drive the camera (some cameras are specified with 7.2V 2A input, which is way above the typical extended USB power scheme of 5V 2.1A.
As there are so many ways to provide the power needed, it is a very versatile option. But you have to be careful in selecting the right dummy. Some dummy units do not lock perfectly in the battery slot. So the dummy may fall out of the camera, or it disconnects. Some may have very stiff cables, which pose a lot of stress to the battery compartment lid (which is a true pain to replace!)
Hints:
– You may never want to charge the dummy battery! This may pose a high risk of damage!
– provide a well stabilized, battery-like voltage for best performance
– if the dummy disconnects or is not supplied, the camera is off immediately
| Pro | Con |
| – versatile – quite cheap – may last several hours to days | – may disconnect – not every dummy is well made |
Summary
Depending on the situation, I choose any of these options – or even stick to replacing the batteries frequently. But my personal favorite for long lasting sessions is Option 5 in combination with a 2S 2P or 3P lithium pack (2 or 3 parallel, 2 in series). This power pack provides 7,4V straight off (no converter needed) with far more than 4 times the capacity of the stock battery. Up until now, I never ran into drained batteries, even under -10C conditions after 10 hours shooting.
