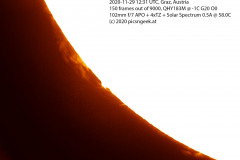
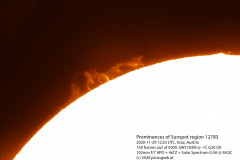
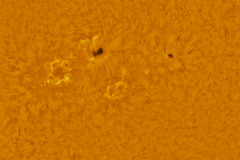
My solar imaging setup has a quite high magnification. Even though I use a 20 Megapixel QHY183 camera, I may only frame less than a third of the disk diameter at once. This is really neat for prominences and sunspots. But I may not record the whole solar disk. Therefore my only way to go is a panorama or mosaic.
The tricky part of recording a mosaic of the sun is, that you don’t have too much time to complete. First, the sun rotates (even the 25 days period may cause defects at high resolution imaging). Second, some features like granulation or prominences may change within minutes.
For high quality results, the lucky imaging approach has to be used. Meaning, each individual recording for a tile should consist of as many images (lets call them frames, as the data is recorded as a video) as possible. In post processing, only the best frames will be selected and combined for low noise results.
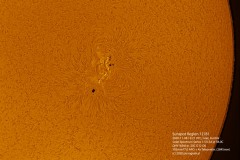
Last weekend I ran the first real test for a giant mosaic image of the sun in H-alpha. I recorded each individual tile with SharpCap. I had to use the seeing filter due to a rather slow USB connected drive. Each tile consists of a set of only 100 out of 2000. From these 100 selected images, only 4 were used to create the final image tiles (which proofed to be a wrong decision, as noise levels remained quite high).
To record the complete surface, I needed to capture 12 tiles. So I ended up using 48 individual frames out of 24.000. After crunching through the 30+GB of data recorded on disk (which was only 5% of the images captured) for several hours, I finally have a stunning picture of the sun in high resolution 🙂
Processing steps:
1) Stacking in AutoStakkert!3
2) Stitching in Photoshop (manually, as neither Photoshop, nor Hugin were able to align the tiles)
3) Gradient removal in Photoshop
4) Wavelet sharpening in PixInsight
5) Histogram optimization in PixInsight
6) Cleaning of edges and border of image in Photoshop
7) Colorization in Photoshop
If you want to fully enjoy this image, here is the 7500×7500 pixel version.
