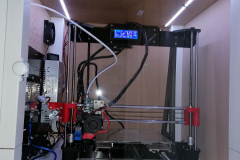
When 3D printer filament is exposed to normal ambient humidity, the material gets brittle and hard – if not impossible – to print. Depending on the filament and ambient humidity, it may take several hours to days, until an effect may be noticed. To avoid – or at least extend the time – until printing get’s affected, filament should be stored in dry conditions.
One proposed way is, to re-pack the filament as soon as printing has finished. This method may be adequate for occasional printer habits. But still, after several uses, the filament shows negative influence caused by humidity.
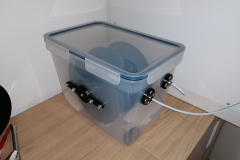
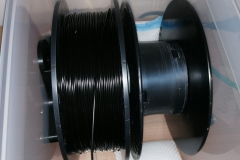
A far more practical way (in my opinion) is, to install the filament in a dry-box, from which the printer is fed the material without unpacking. Therefore, an air-tight container, sufficiently large enough, is required.
There are some types of dry-boxes commercially available. Some have included heating, to even better keep the filament in optimum conditions. But most of them bare a rather steep price tag (70-100 EUR).
So, why not build one yourself? Even better, if it costs less than 20 EUR? Thanks to IKEA, one of the recent additions to their kitchen supplies is the 10.6L 365+ food container. The container is air-tight, which is perfect for a dry-box. This container is large enough to fit 2x 1kg spools of filament. And the best part is, it costs 8 EUR at the time of writing.
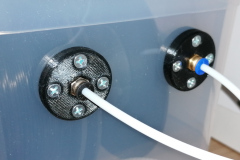
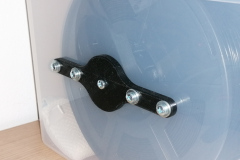
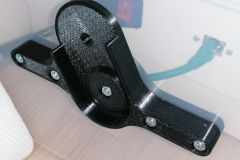
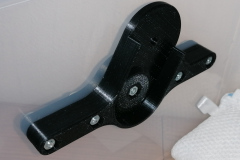
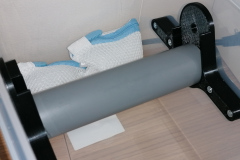
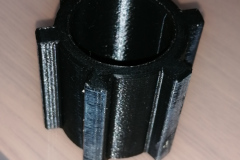
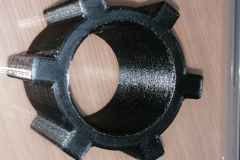
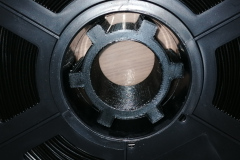
To create a perfect dry-box, a few 3D printed parts as well as a short piece of 40mm water pipe complete the construction. The connection to the printer is established by a PTFE tube, which is fixed in a PC4-6 quick lock.
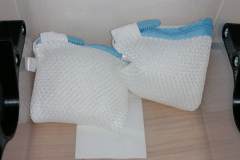
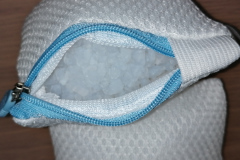
To ensure a long lasting performance of my filament, I toss in 3-4 bags of silica gel (or silica based cat litter granulate) with 200-300g in total. Now, I may leave my filament installed for weeks without any issues.


