Motorized camera slider

For quite some time I would like to create night time movies in hyperlapses. For me, the most stunning results may be created by moving the camera along a linear path by the use of motorized sliders. Motorized sliders, which are more than 2 meters long, have an impressive price tag. Further more, these tools are bulky and heavy, especially when the setup attached to weighs in a few kilos.
Therefore I decided to build my own with a few goals in mind:

  • light weight
  • portable
  • variable length
  • suitable for a load of a few kilos
  • wider range of speeds
  • extendable for rotation axis
  • direct control for camera(s)

To achieve all or most of these goals, I came up with a design built around carbon fiber tubes with aluminum screw-in fixtures. Appropriate tubes may be built from scratch or are readily available for camera gimbals. I chose the camera gimbal extensions, as there is no big price difference to buying stock material. Further more, they come in a handy size of +/- 40cm in length.
The end supports will have to hold the tubes as well as a gear belt, along which the slider cart will be driven. For long setups, I created supports, to prevent bending and excessive stress to the tubes. Both types of support will have legs as well as tripod mount screw holes (3/8 UNC thread)
The slider cart consists of 4 blocks holding 3 pulley wheels each. The blocks are attached to a base plate (in test setup a plywood sheet). In the middle of the base plate lies the motor unit consisting of a steper motor and 4 guiding wheels to create enough tension for the gear belt to be driven by the motor.

All in all, the shopping list is really limited, as most parts were 3D-printed. What I had to purchase or use (most parts were already to be found in the workshop) was:

  • carbon fiber rods (at least 8)
  • 24 ball bearings type 626 2RS (6x19x6 mm)
  • GT2x10mm belt matching the desired length
  • GT2 20 tooth drive gear
  • 4 guide wheels without teeth for 10mm belt
  • 1 NEMA 14 stepper motor, <3V nominal voltage
  • several M5 and M6 screws, washers and nuts
  • 3/8 UNC thread taper
  • approximately 0.5m of 40x3mm Aluminum sheet
  • 25cm of 30x50x3mm Aluminum L shaped profile
  • Arduino, Stepper motor controller like A4988, 12-18V (lithium) battery
  • 1 can of rubber spray like Plasti-Dip (c)

Most of the time I spent was in CAD constructing the parts. Printing took about 3 days. The pulley wheels have to be sanded for a smooth surface before coating with rubber. The remaining time was spent in cutting, drilling and tapering the aluminum parts, before all parts could be attached together.

The first test run was more than pleasing. See for yourself:

The next thing to do is to create a control box with all the features implemented for every day use 🙂
Total solar eclipse 2017 timelapses from Riverton, Wyoming

After working through all the data collected from the solar eclipse in August, I combined the wide angle images (8mm lens) and the images captured through my 600mm travel telescope to timelapses. The wide-angle video is the result of more than 800 single exposures, covering the day from around 6am till 5pm. The most interresting part around totality is significantly slowed down, as totality would be over in a blink. During partial phase, I was so busy trying to fix my automated triggering system, that I did not realize the clouds until post processing. So it was really pleasing to see all the clouds above my site vanish moments before totality began. On the other hand, the remaining clouds increased the view of the shadow of the moon passing over, which is just amazing!
The inlay in the wide angle video is derived from the high res video.

I am really pleased with the results, but check for yourself!

Road Trip USA 2017 – timelapse

I condensed in this video the first 18 days on the road to a 5 minute movie. A lot of countryside besides the roads may be seen, but the video gives just a hint of all the beauty lying beyond, when you get out of the car an make a few paces. So, get out of the car and enjoy the places you would otherwise rush by 😉

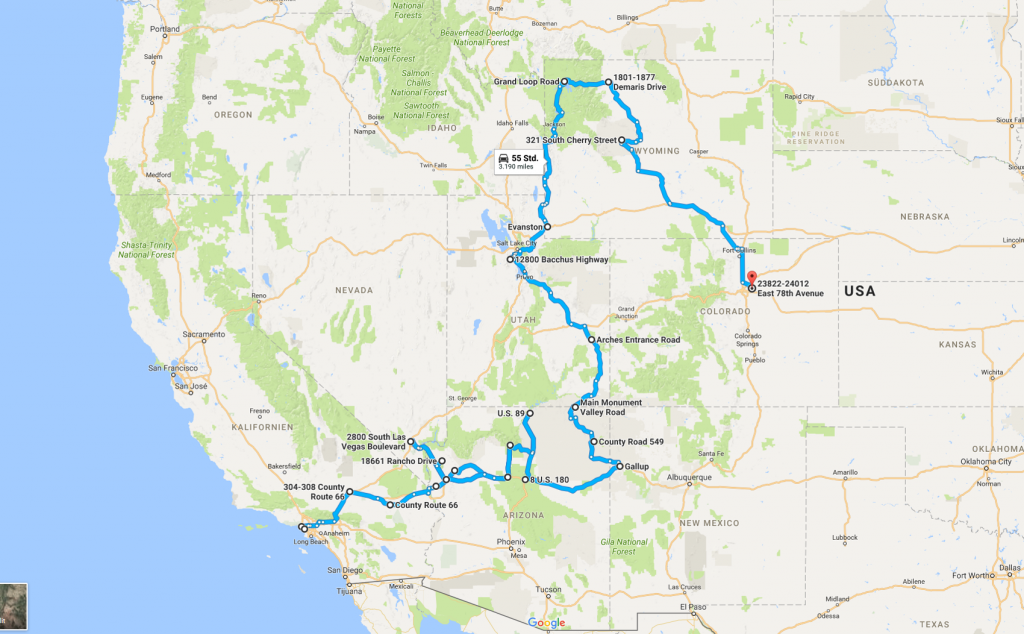
The following map (generated in google maps with a few marker points along the route; the full path would exceed the maximum allowed waypoints) shows the coarse path we went:

About the video:
– 4K action cam attached to the upper right corner of the windscreen with a suction cup mount
– camera captured a still image every 3 seconds
– covering 19 days (18 on the road)
– almost 80 hours driving
– more than 3500 miles covered in the video
– 94500 images in 257GB data

Monument Valley from night to day

In the night of 2017-08-14 I created a timelapse with the milky way travelling above Monument Valley. Clouds and the crescent moon did interfere the beautiful sight of the millions of stars above one of the most impressive sights in the US. On the other hand, an amazing sunrise compensated for the second half of the night 🙂

Roadtrip USA 2017

Holidays… Usually I like to go on holidays with minimum amount of planning (ahead). Though this time, planning started more than 6 months prior to departure. The reason for the long planning phase was the total solar eclipse of 2017 (also cited as “The Great American Eclipse”). Choosing the right place and combining the eclipse day with sight seeing, adventure, photography opportunities, etc. took quite some time.

The final tour plan consisted of 4 major themes:

  • Route 66 (from LA to New Mexico)
  • National Parks (escpecially Yellowstone)
  • Solar Eclipse in Wind River park
  • Recreation in Florida

Including Florida, we made a tour of impressive 5000 miles, 6 National Parks in 10 states. (If you are interrested in our tour detailes, drop me a message)

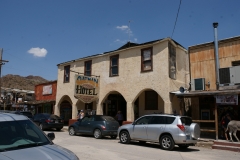
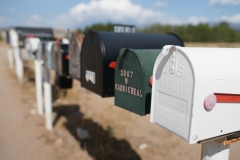
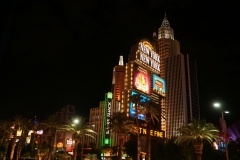
Here is a small set of photos, representing the wonderful places we’ve been to. (For the solar eclipse photos, see the previous post)

Total solar eclipse 2017 from Riverton, Wyoming

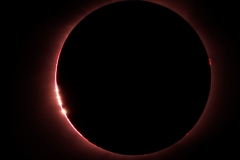
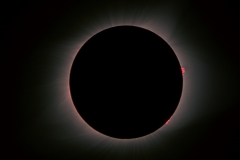
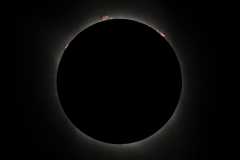
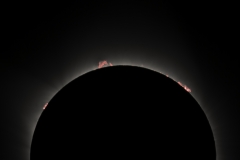
All the effort to travel around the world for just a few images…  Well, it was really a challenge to carry the 60+kg equippment to Riverton, Wyoming. It was even more challenging to try to last-minute fix an error in my computer controlled camera trigger system. And last but not least, 2 cameras stopped capturing during totality… It would have been a total disappointment, if…

… if my best camera / lens combination I had set up wouldn’t have done the following 🙂
See for yourself, why I am absolutely happy:

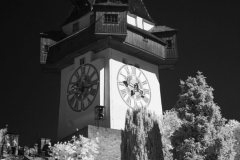
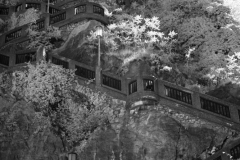
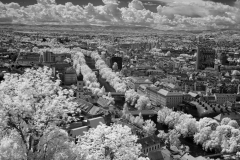
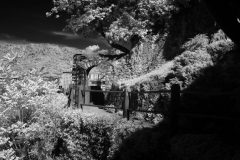
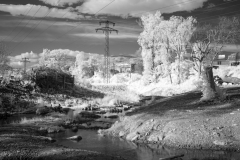
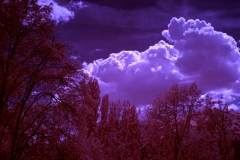
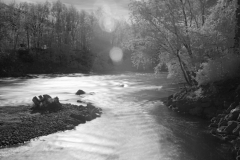
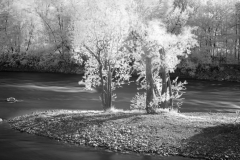
IR or Full-Spectrum modification of a Sony Alpha 6000 camera

For quite a while I was looking for a camera, capable of better capturing the 656nm light of the H-alpha emissions from deep sky objects like gas nebulae or the suns prominences. Further more I was curious about infra red daylight photography. First, I thought I should buy an astronomy camera with very low noise due to active cooling. Unfortunately, such cameras are with a reasonable price tag. Further more, the astronomical cameras require an external power supply as well as a computer for control and data acquisition. Having such a camera would therefore only be reasonable, when I would spend several nights each month to capture images.

Then I thought, there are several regular DLSR cameras available (directly or by modification) which are capable of infrared or even full spectrum photography. These cameras or the modifications are available at attractive prices. Further more, the camera would be compact, easy to handle and suitable during daytime as well. There are 2 drawbacks in deep sky photography, which only really become relevant, when capturing very faint and distant objects at higher ambient temperatures:

  1. no active cooling
    the camera has a higher thermal noise. To compensate for this, more images have to be captured
  2. less color or black and white resolution
    Astronomical cameras usually have 16 Bits per channel, DSLRs have 12-14 Bits per channel. This is 4 to 16 times less detail, which is not so much of a problem, when capturing brighter objects

The modifications would imply to change the IR filter, which is attached in front of the imaging sensor. The whole procedure requires a service manual or a detailed description of how to disassemble the camera of choice. Fortunately I came across a very detailed step by step description of the disassembly process of the Sony Alpha 6000 camera. The description is (until now) available here from the company Lifepixel. They are also offering conversion services if you are not up to the task. One of the biggest challenges is to cope with the rather delicate ribbon cables. Pay as much attention as possible when disconnecting and connecting these cables! Further more, pay attention to the position of the On-Off power switch! If you change the position before reassembling, you may break the switch or the ribbon cable the switch sits on. If you do break this switch you are in serious trouble!

A hint for organization: During the modification process, one has to remove a whole lot of screws in different shapes and sizes. To keep all the screws and parts organized, I printed the complete step by step instructions with two steps per page (side by side). on the bottom of each page I attached a strip of masking tape, with the sticky side up. So I could place all the screws in the corresponding positions below each steps photo. Et voila! All parts are kept where they should be and matching the sequence.

Hint concerning electronics: You are dealing with highly sensitive electronic parts! You will create enough electrical charge to destroy the electronics when you move around! Use wrist band grounding wires and static precautions when operating with such sensitive devices!

Cutting filter glass for camera IR or full spectrum modification

Upon preparations for my Sony A6000 camera full spectrum modification, I didn’t find any reasonably priced IR-filter replacement. Most of the offerings I found have been way above any reasonable price. So I decided to try cutting my filter replacement myself…

I did some research on cutting filter glass. Most of the guides I found used window glass cutters to score and break the glass apart. This technique is in my opinion perfect with most ordinary glasses. Though filter glass, which is hardened and coated does not break evenly. You seem to get very rough edges, which would not be in acceptable tolerances for me. Cutting a larger piece and grinding down to desired size would be the only option with this method.
An other method I found for cutting glass (in general) was, to use diamond plated cutting wheels. All the results I have seen, provided nice cuts. So this should be the technique to go for…

I previousely did use 1 inch diameter diamond cutting wheels on several occations. But for cutting a nice and clean line, I purchased a set of 50mm diamond plated cutting wheels with less than a millimeter thickness. These were available online for less than 10 EUR.

Preparations and cutting:

The easiest way to mark the outline of the desired filter is, to stick a strip of masking tape on both sides of the filter. This has two benefits:
1) you can easily mark the lines with a pencil or waterproof pen
2) the surface of the filter is protected against scratches and durst

Now research the dimensions required and draw the rectangle on the tape. When you are done, go to your sink, take a medium sized flat container and fill it with water to approximately 1 cm level. Attach the cutting wheel to a battery powered electric drill (water + electricity is too dangerous!!!)
Use a very low speed to turn the cutting wheel. Now dip the filter in the water and bring it with very low pressure to the cutting wheel. Cut all four edthes from one corner to the other. Cutting is impressively easy and fast. Results are absolutely pleasing 🙂

This site uses cookies. By continuing to use the site (including navigation and scrolling), you agree to the use of cookies. more information

The cookie settings on this website are set to "allow cookies" to give you the best browsing experience possible. If you continue to use this website without changing your cookie settings or you click "Accept" below then you are consenting to this.

Close