Damascus knife – building the handle

A few weeks ago, I built a damaskus knife blade (see Damascus knive workshop). Now I finally had time to build the handle. Part of the delay accounted for the decision in material and design of the handle. After some serious research and window shopping, I found the perfect combination I would love to have: desert iron wood and silver.
Desert iron wood is a very dense and hard wood. The core parts have a deep red color with wonderful dark texture. But it is not at all easy to find a piece at reasonable prices. Luckily I found an online store, offering a block of desert iron wood with matching size and texture to my likings.
The bolster shall be like a cap, continuing the shape of the handle. As a material I use sterling silver.

The shape of the handle should become rather minimalistic. Further more, I wanted to have some resemblance to traditional Japanese handles. Therefore I chose a prolongued octagonal shape, which gradually gains a bit in height from the bolster to the end.

To build the handle, I started with the wood. I drilled a hole at the exact position to center the blade. Then I used small files to match the hole with the tang, which has a rectangular shape and is a bit off-centered to the rest of the blade. This was really time consuming, as the desert iron wood clogged the files within a few strokes. But finally, after a few hours of work, I had a perfect fit for the tang. I let approximately 5mm of the tang still protruding the handle, to have more strength in the final assembly by hammering the handle on to the blade.
The next step was to make the recessed front, where the bolster will fit in. I cut a line at exactly 10mm from the front edge. Then I filed away 1mm of wood, as I will use 1mm sheet sterling silver. From a strip of 11mm width I formed a ring with an octagonal shape matching the handle, using parallel pliers. The ring is soldered with hard sterling silver solder. After filing and sanding the edges to have perfectly flat sides, I cut a sheet of silver with a bit of excess border. The ring is soldered to the sheet, again using hard solder. After cleaning and filing away the excess material, I could drill and file the hole for the tang. This again was a bit time consuming, to create a perfect fit…

Finally, I sanded and polished the silver bolster, gave the desert iron wood a last fine sanding. Then I mixed a bit of epoxy with desert iron wood file dust. I added glue to the bolster and into the hole for the tang. So I would have a really strong bonding betreen all the parts. I hammered the bolster to the handle (which was only necessary for the final 2mm). Following immediately I inserted the knifes tang to the handle. Using a rubber hammer, I pushed the tang into the final position within the handle.
Meanwhile I set an oven to approximately 70° Celsius for increased strentgh and faster hardening of the epoxy. After cleaning away any excess epoxy with acetone, I set the whole knife in the oven for curing.

Hint: If there is any epoxy pushed out of the joints during curing, you may use a small soldering iron to work the exopy off the surface. The remaining thin film of epoxy may be removed with acetone. If you are careful, you will most likely have a scratch free surface afterwards!

The last thing to do is a thin coating of hard oil.
After more than 20 hours of work (including forging the blade), the knife is ready 🙂 The final result is a perfectly balanced knife due to the heavy wood handle. The center of balance lies exatly in front of the bolster. The blade will hopefully last for a very long time and provide perfect cuts due to approximately 56-58 HRC.

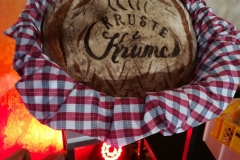
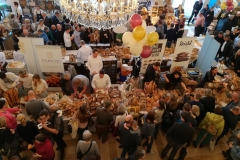
Kruste & Krume – The Vienna bread festival

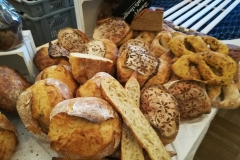
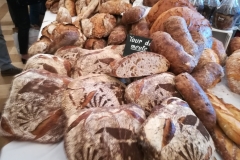
When baking your own bread, you get tempted to visit places with bread offerings. This time I visited the “Kruste & Krume” bread festival in Vienna. Located at the wonderful Kursalon Hübner (a Renaissance building from the middle of the 19th century, next to Stadtpark), the festival hosted more than 30 bakeries. Each one offering their portfolio of breads and sweets to purchase or even as samples. During the day, continuous demonstrations and first hand contact to master bakers as well as trainers made the festival a visit worth the time spent.

Turducken? Yes TurDuCken it is!

For new-year’s-eve we are having a couple of friends to celebrate with. The special occasion also requests a special treat. So… For a while I was amazed by the monstrous creation of a turducken, which I wanted to prepare for this evening. You don’t know what a turducken is?

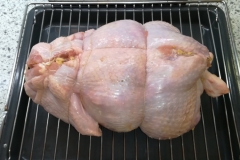
Well, pick a turkey, duck and a chicken and stuff them within each other. Sounds cruel. Well, it is someway. As you start by completely deboning all three birds. Pay attention to leave all the flesh and skin in tac! I also forward the suggestion I read, to remove the skin from the duck – which is or becomes too greasy. Have a good amount of bread stuffing (like from the yummy Thanksgiving roast turkey) ready.
Now, starting with the duck, fill all cavities with stuffing. Close and re-shape the bird. Now place the duck inside (or on top of the opened) chicken. Fill any cavities with stuffing. Again, close and reshape. Finally, place the duck in the chicken inside (or on top of the opened) turkey. Add stuffing and close neatly. Use medium-thick twine to sew the turkey closed. Add some more twine all around for security and fix the drum-sticks as close to the meat as possible.
Now you are ready for roasting – or as I prefer it – low temperature cooking with a final touch of roasting.
My turducken, weighing in approximately 5kg, had a good 8 hours time at 110°C for a juicy and delicious result. *yummy*


A healthy food tree for kids school break

This time a bunch of kids were up for a break with healthy food. How to prepare the food to look appealing? Get creative!
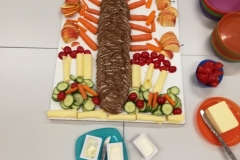
In the evening before, I made a good loaf of bread. The sliced bread will serve as a tree trunk. And all the good food (veggies and cheese) get’s distributed around to shape a tree or even a garden scenery with flowers and grass 🙂
Dig in kids!

Food for kids – attractive presentation

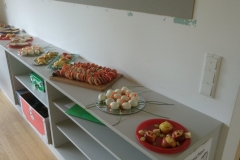
How to encourage kids to eat more veggies? Prepare the food in an attractive an appealing way. Most of the kids will dig in even fruit and vegetables they usually won’t eat voluntarily…

On the menu:
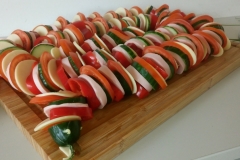
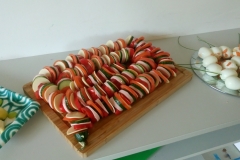
A giant snake (Cucumber, round cuts of cheese, tomato, sausage, sweet pepper)
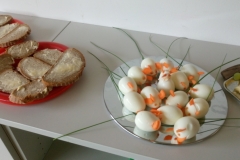
Egg-mice (boiled eggs, slices of carrot for ears, pepper grains or ketchup dots for eyes and a entire chive stalk for the tail)
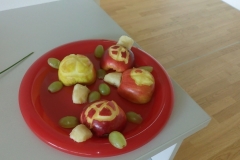
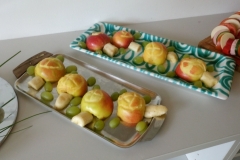
Apple-Banana-Grape turtles (apple cut in halve with ornaments cut, a chunk of banana for the head and 2 grapes halved for the legs)

The fun part is, kids will likely assist when preparing the food 🙂

TBS Vendetta drone in a cake

A good friend invited a larger group to his birthday party. We decided to give him as a present a TBS Vendetta quadrocopter (racing drone). But how to hide the present in an appropriate way? Well… let me think about it for a second…

Every time I’m invited, I bring a cake to the party. So why not use the cake as a decoy or gift wrapping?

Fortunately the drone is packed in a very neat box. Therefore I could create a cake with a hollow core, matching the size of the box. I inserted a rectangular frame with aluminium foil and filled a larger load of choccolate dough all around and above.
After baking, I wrapped the drone box in cling foil, added a cardboard sheet to the top with more cling foil as protection. The package went inside the cake. The cake received a good amount of white choccolate mousse as frosting. For the decoration, I added several choccolate bananas, cookies, M&Ms and the like to mimic a drone. Real drone propellers did the rest for the presentation 🙂

This site uses cookies. By continuing to use the site (including navigation and scrolling), you agree to the use of cookies. more information

The cookie settings on this website are set to "allow cookies" to give you the best browsing experience possible. If you continue to use this website without changing your cookie settings or you click "Accept" below then you are consenting to this.

Close