Damascus knive workshop

Today I could participate in a workshop to create my own damascus knive. With the guidance of the really well experienced smith, I could manage to forge a 189 layer blade out of 7 individual metal strips. (OK – to be honest, the essential parts of the forging were done by Walter, the smith). I am really pleased with the final result – my own kitchen knive in Santoku style…


Wooden tripod base for small telesope mounts

DSC_0456

Picture 1 of 5

Several years ago I purchased my first telescope. The telescope had an EQ2 mount included. The EQ2 is an entry level mount, with an all in one mount and tripod base. The EQ2 served me for some time, until I got frustrated with the instability and bad and worn gears in my unit. So one day I replaced it with a goto mount. The last time I used it was for the 2006 solar eclipse in Turkey. Since then the whole thing had to sit and wait for a long time in the basement.
Several years passed until I added a Sky-Watcher Star Adventurer to my collection of gear (I am really happy with this little travel mount!). To use the Star Adventurer in its full extent, a sturdy tripod is required.
None of my photo tripods (neither aluminium nor carbon fiber) could provide a rigid platform to hold against the vibrations of wind or camera mirror flip. After reading several comments on tripods for the Star Adventurer, the direction was obvious to use a wooden tripod. I was already scanning the market for proper tripods, when I remembered the EQ2, which had quite a nice wooden tripod. The only problem to solve was, to replace the EQ2 head with a flat base. The base should provide a stable means to attach the Star Adventurer with one UNC 3/8 screw…

The design was straight forward: The construction exists of 2 parts. A 3-prongue base to attach to the tripod legs and a raised platform for the Star Adventurer. As I didn’t have a large enough piece of beech wood for the base, I used a 40mmx40mm beech wood block. The block was cut in 3 equal parts. These are mitered at 60°. On the other side, I rounded the top part (a rather aestetical finish) and drilled the hole for the bolt attaching the tripod leg.
The platform consists of one round disc of 40mm thick beech wood, which I cut out with a 100mm circular drill. The 4 parts were then glued together with 2 wooden pins joining each leg part, to enhance mechanical strength.
After drilling the required hole for the UNC 3/8 screw and the recessed hole for the screw head with washer, the whole part was sanded, cleaned and finished with hard oil. The platform top face received a rubber coating for a better hold of the Star Adventurer.

Parts used:
3x 40x40x100mm beech wood
1x 100x100x40mm beech wood (for platform)
6x 6mm wooden dowel

Constructing a clean chamber for camera and lens repairs

When I started to modify second hand camera lenses, I soon found it rather difficult to keep dust away. Especially when I had to disassemble the lens for stuck aperture or compact cameras, I struggled to reassemble without dust on the lenses.
Some time later, I bought a Sony Alpha 6000 camera to modify for full spectrum (see seperate post). This triggered me to research for and build a clean room chamber…

A clean chamber may be constructed in several ways. The most compact and easiest way would be a transparent plastic container with attached rubber gloves. This would be OK for some tasks, but not for a mechanical repair or modification due to the huge amount of parts and tools to work with.
So I decided to go for a biomedical laboratory style system, which uses excess pressure ventilation with clean air. You can think of this as a larger box with a slit on the base of one side, where you operate. A ventilation system creates – preferably a laminar – air flow from the top, which exits through the slit. Before work begins, ventilation is turned on and all surfaces within the chamber are cleaned twice with a couple of minutes setting time inbetween, to remove as much dust as possible. When you move your hands or operate any objects within the chamber, do it slow! Clean all objects, tools and your hands before entering the chamber. The continuous air flow will now prevent dust from entering the chamber and you are good to go.

Construction:
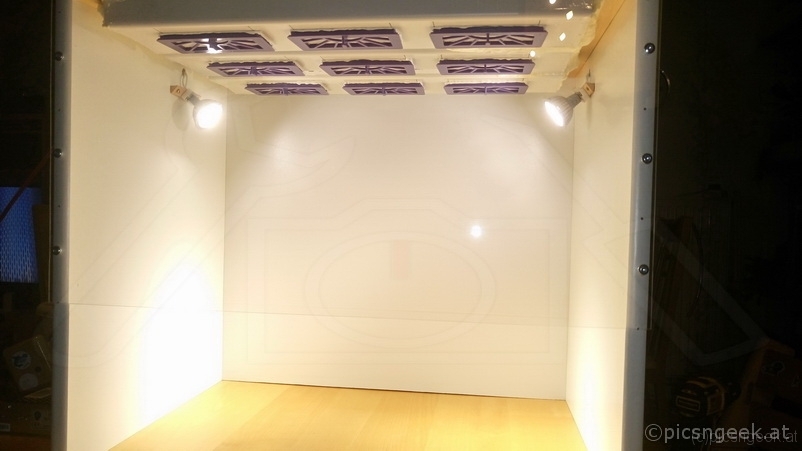
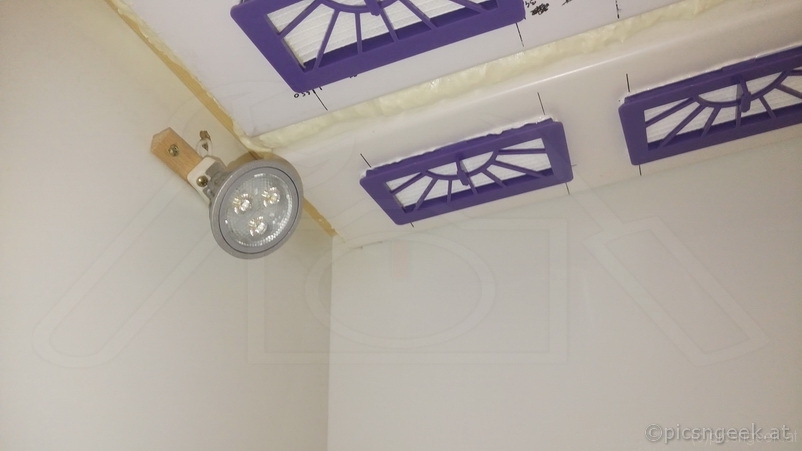
I used 4 sheets of decorative chipboard and a sheet of acrylic glass to contruct the chamber. All board were simply screwed together. In the top board I cut holes for the ventilation. Further more I installed 2 LED lights.
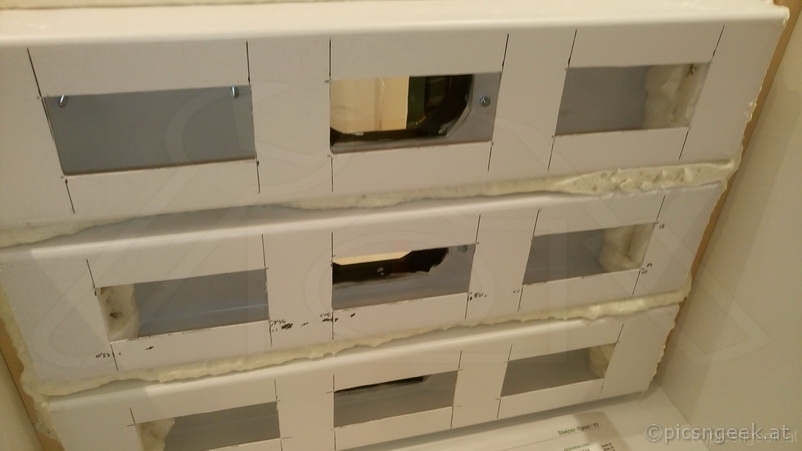
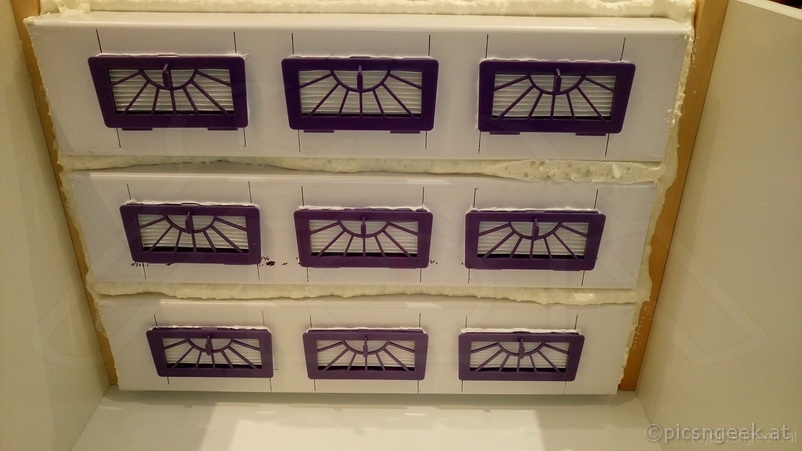
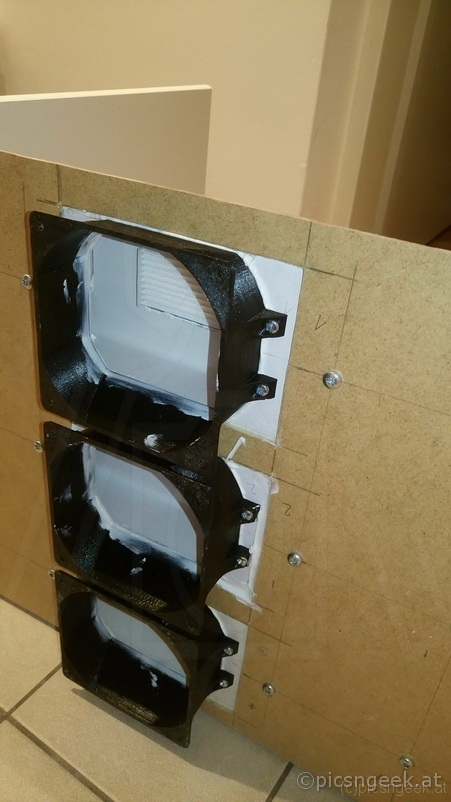
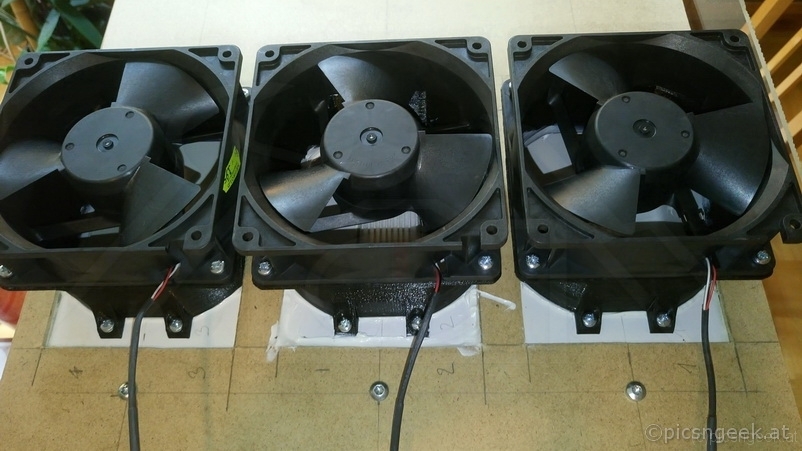
The ventilation is constructed of 3 seperate units. Each unit has a high volume 12V propeller attached to a flat duct system. The adapter for the propeller was CAD designed and 3D printet (available here). In each of the flat duct systems I installed 3 HEPA filters as outlets. So in the complete setup, there are 3 fans with 130cfm (220 m3/h) each (feeding through 9 HEPA filters) and 2 LED

lights. All components are powered by 12V, which makes the electrical setup safe and easy.
Hint on the HEPA filters: I bought the small filter cartridges for vaccuum cleaner robots, on ebay for a dollar each.

Parts used:
2x 40x60cm decorative chipboard (19mm thick)
1x 60x80cm decorative chipboard (19mm thick)
1x 40x80cm decorative chipboard or MDF board (6mm thick)
1x 40x80cm acrylic glass, 5mm thick
3x 120x120mm fan, 130cfm
3x 70cm flat duct 60x100mm
3x 3d printed fan adapter
6x End-caps for flat duct (or plastic sheets to fit)
9x HEPA filters cartridges
2x 3W GU10.3 LED lamp
2x GU10.3 mounts
1x 12V 5A power supply
several screws
mounting adhesive

Total cost was approximately 60 EUR

This site uses cookies. By continuing to use the site (including navigation and scrolling), you agree to the use of cookies. more information

The cookie settings on this website are set to "allow cookies" to give you the best browsing experience possible. If you continue to use this website without changing your cookie settings or you click "Accept" below then you are consenting to this.

Close