
I went to the observatory (see previous post) to capturing some deep sky photos. When the camera was capturing in the meantime I set up my slider. The slider was configured to travel an inclined track with 6m length. The plan was to show the milky way above the observatory, travelling away from the dome.
This is the 3 hour hyperlapse:
First glimpse of Comet 46/P Wirtanen
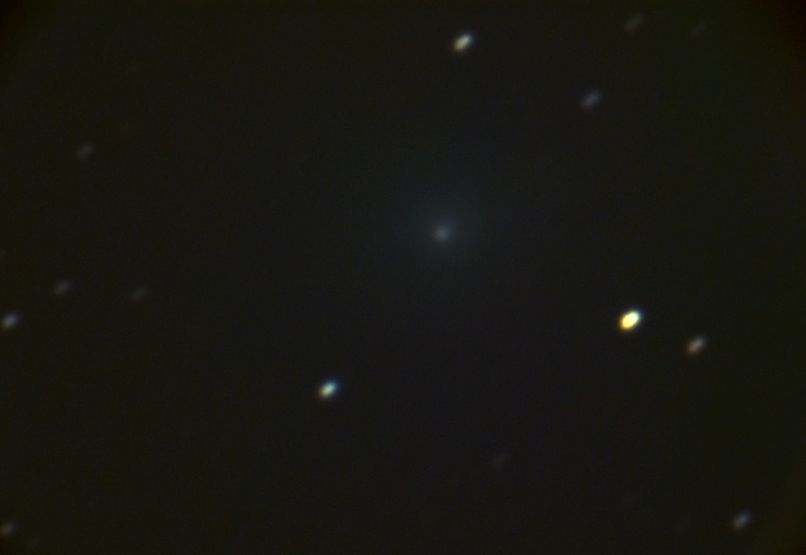
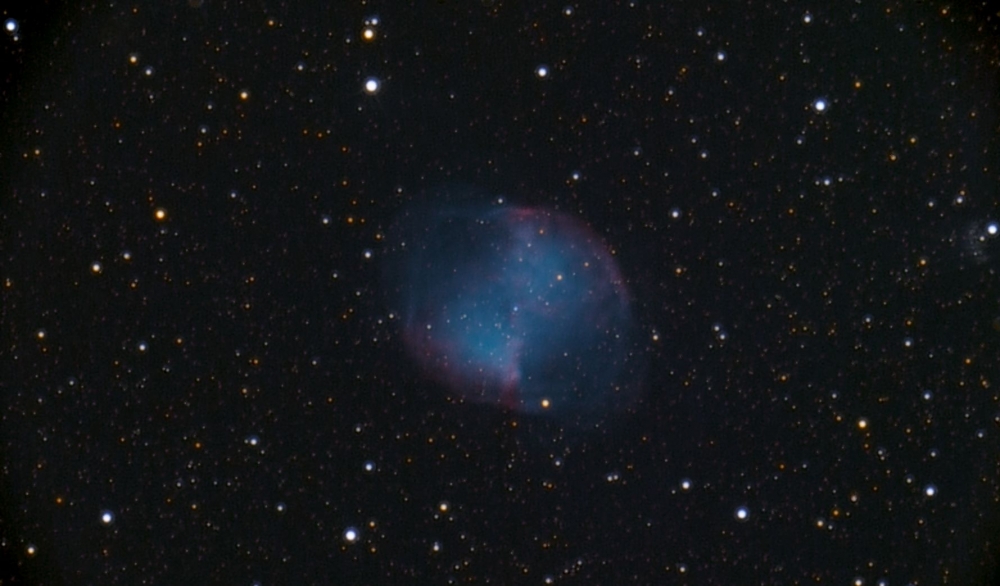
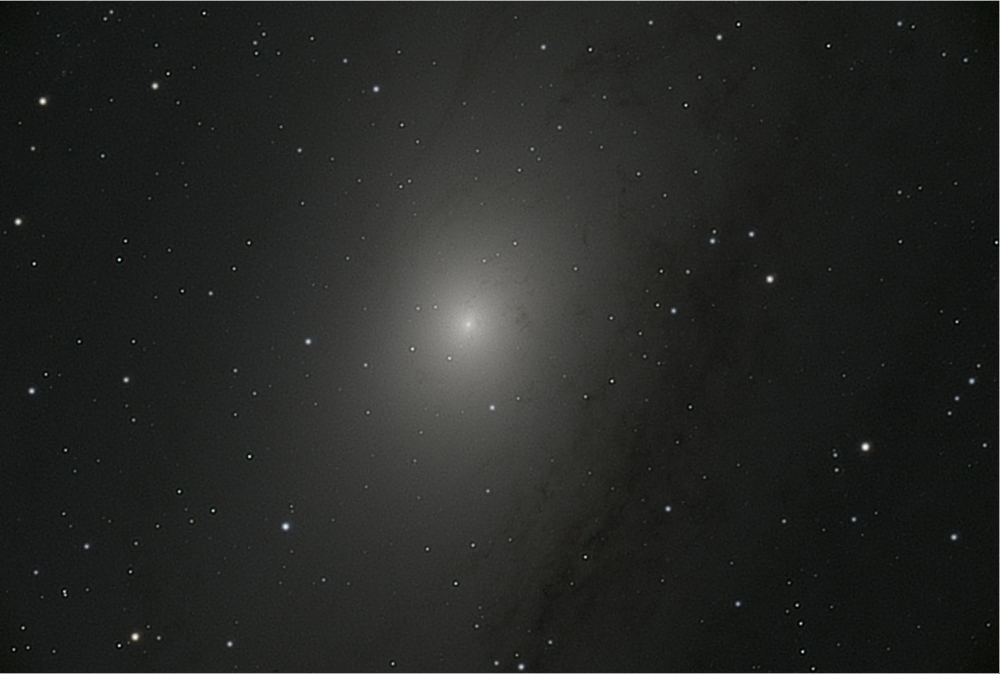
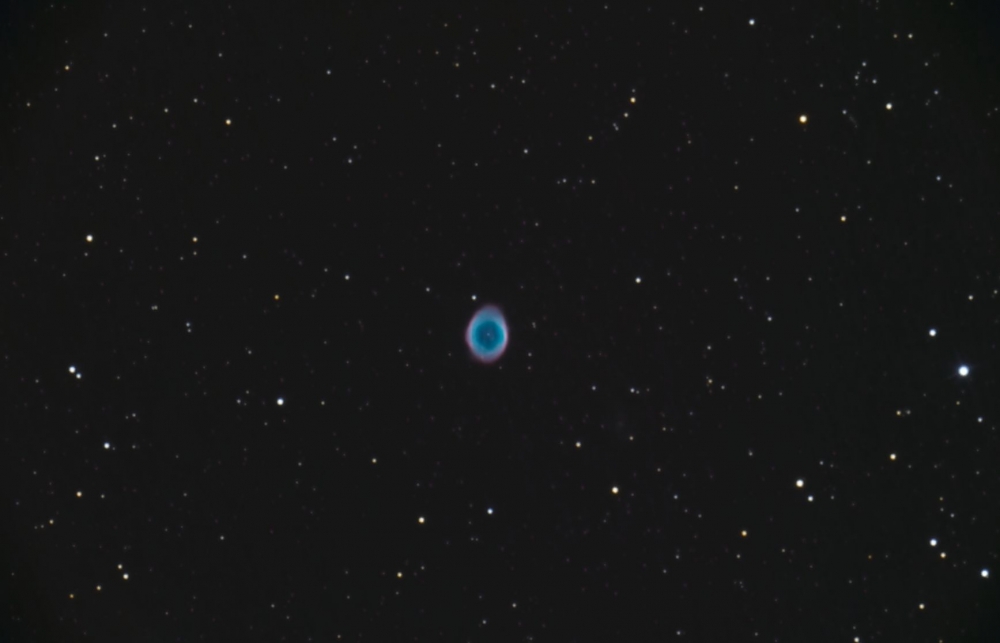
I was eagerly waiting for the first chance to see the promising comet 46/P Wirtanen. As I was scheduled for a public viewing session at the local observatory, I set up my camera on the 50cm telescope after the last visitor left. Before slewing to the comet (which was still extremely low above the horizon), I wanted to try a few night time jewels: M27 (Dumbbell Nebula), core of M31 (Andromeda Galaxy) and M57 (Ring Nebula).
Afterwards I slewed the telescope to comet 46/P Wirtanen. The comet had risen to 10°. Weather was quite OK, but that low, there is a lot of bright haze. Visually I had no chance to see anything. So I tried to take a few shots and see, if I could process the results…
Well… unfortunately there is something mis-configured as I endet up with really huge stars in the range of 12 arcseconds. So there is not that much detail within the pictures as I would have expected. The comet is there and looks promising. But from the observatory location, it has to rise significantly above the horizon…
Here are the results:
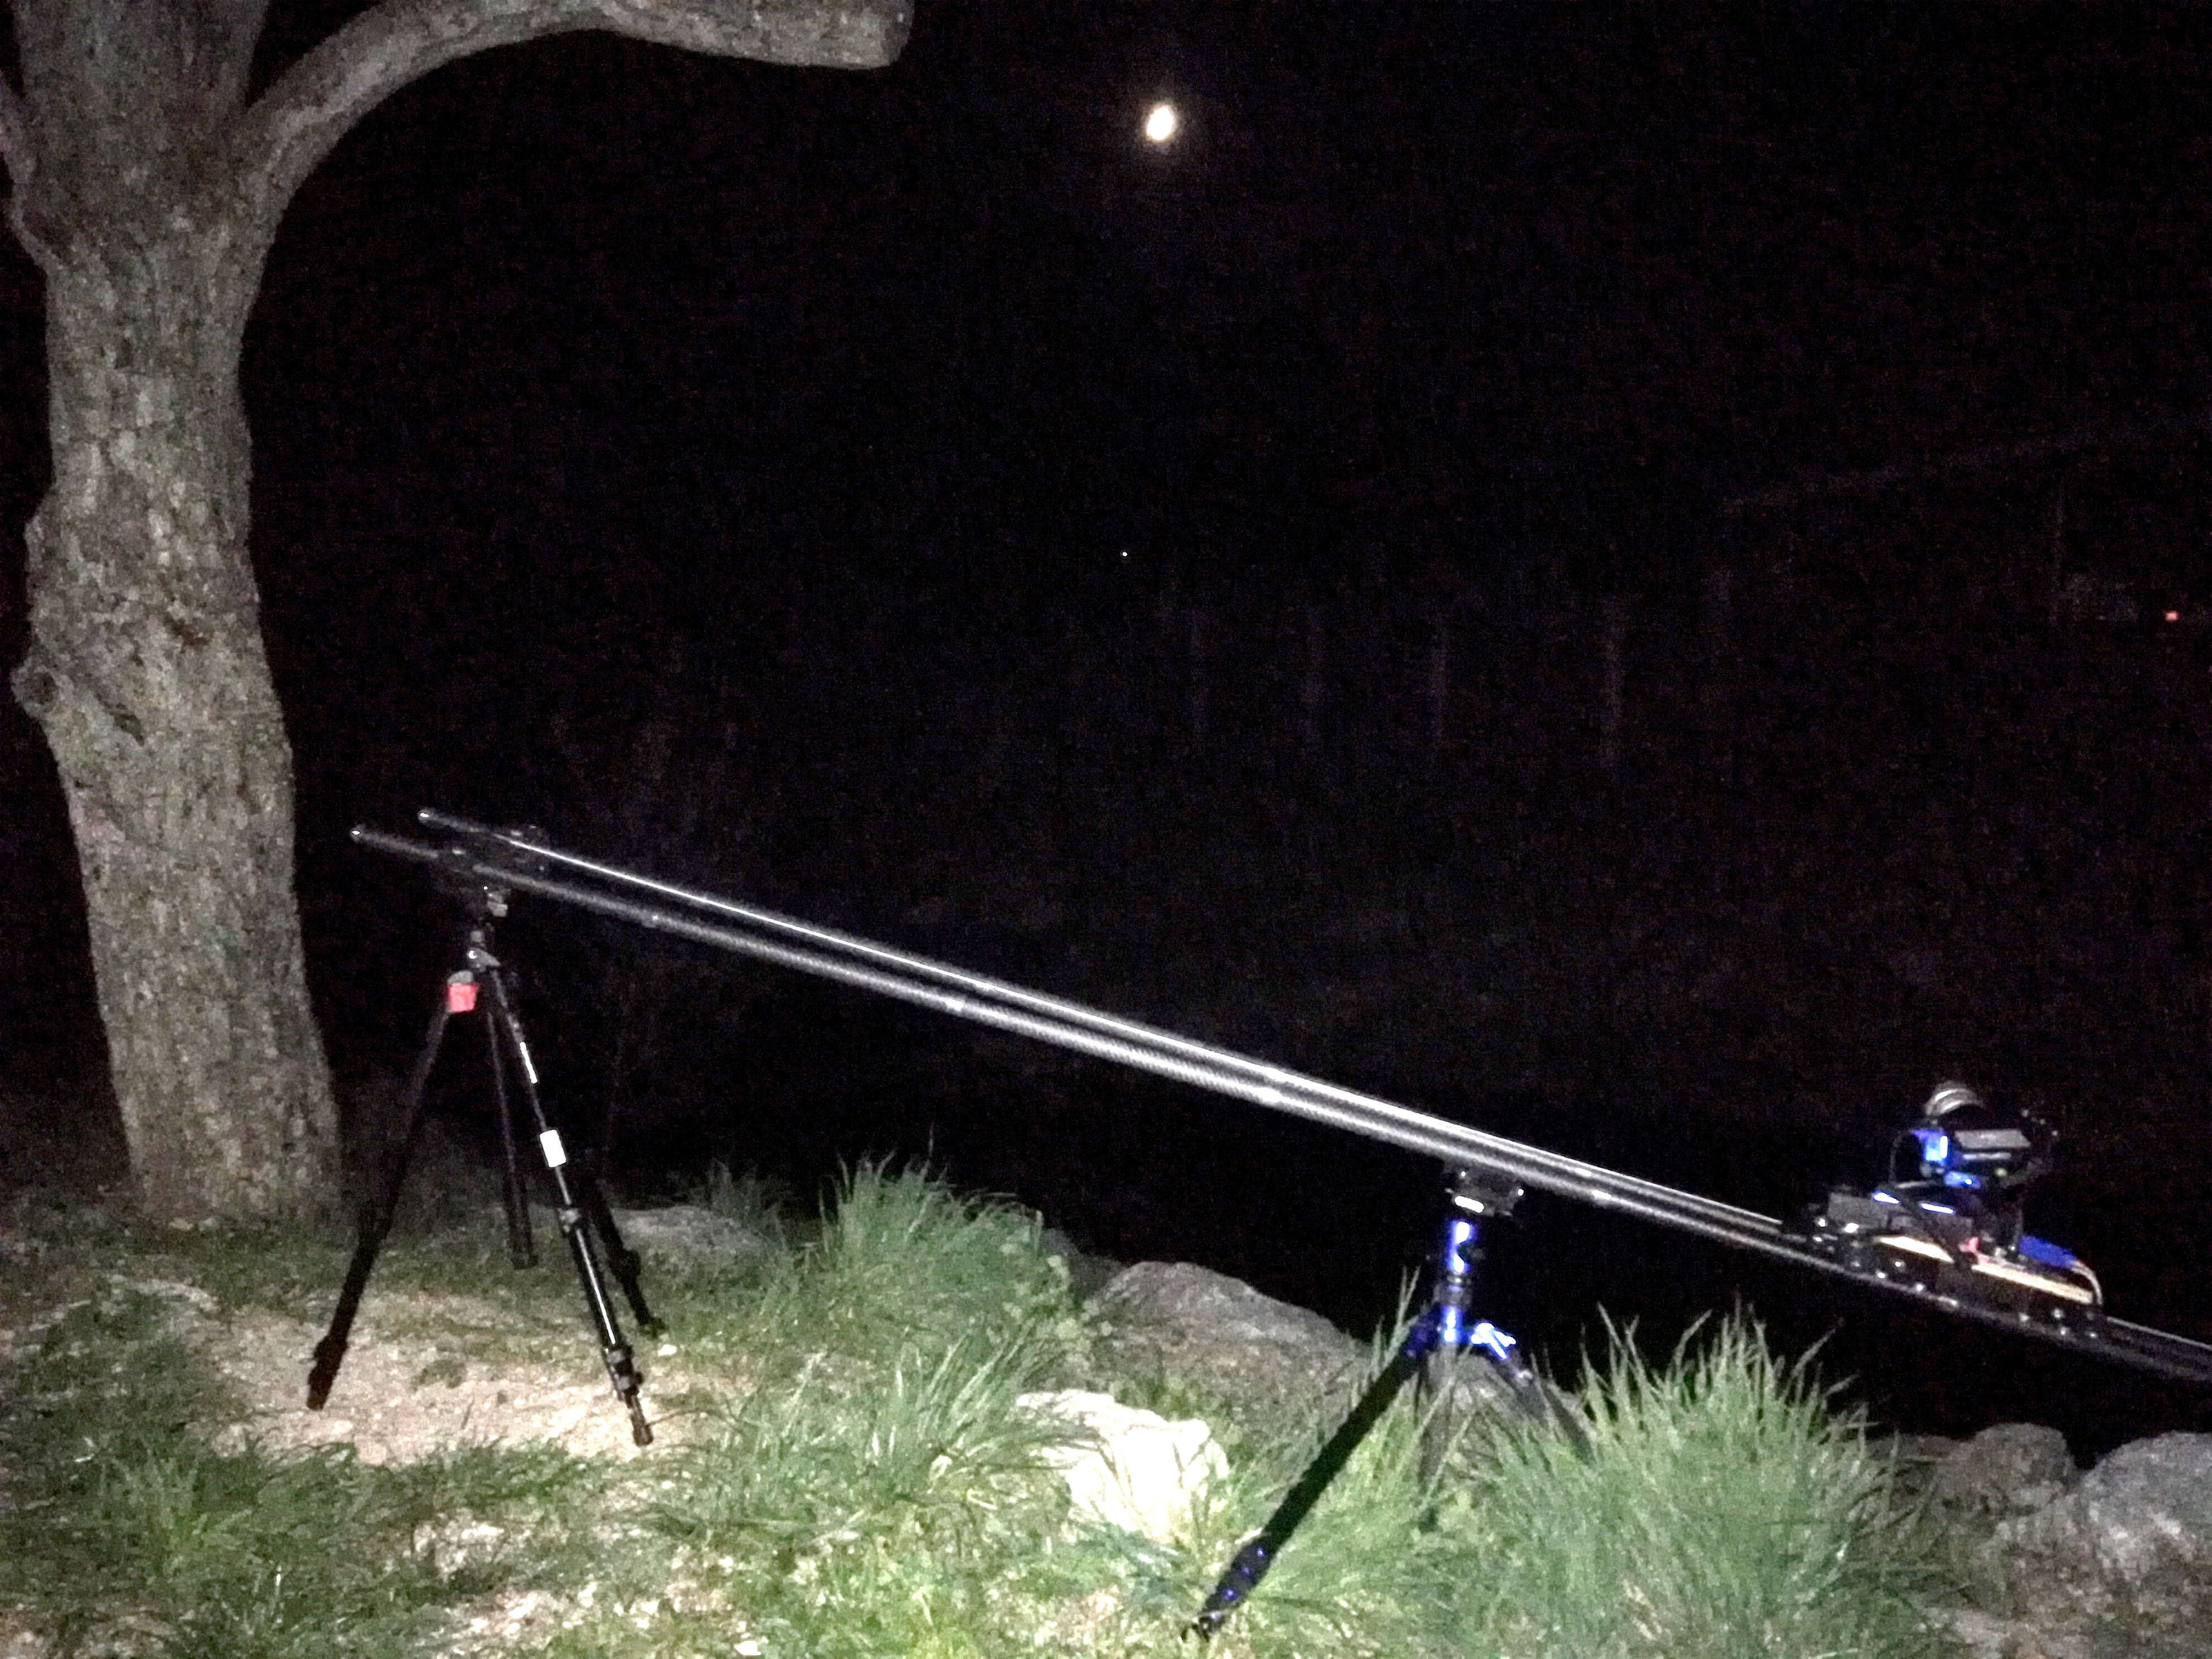
Camera slider – night shot with inclined setup
After finishing the slider, I was eager to test the whole thing. To test the capabilities, I went for an inclined setup with 3,5m length and 1m height difference. Well, the footage proofs a good overall performance. But unfortunately the motor is not strong enough to drive the slider cart all too well uphill. OK. The motor is without reduction gear and the motor may drive the slider cart at up to 1,2m/s… So for inclined setups, I have to add a reduction gear / worm gear drive or counter-weight system…
Sequence 1: 10s exposures, going up. Slider stalls due to overload
Sequence 2: 1s exposures at high ISO (it was too late in the night 😉 ), going down
poor quality photo of the setup
Camera slider – build complete :-)
After several hours of designing, 3d printing, drilling, soldering and assembling, my camera slider is ready to use! All components are neatly packed within cases, so that the only wires visible are the power supply from the LiPo battery pack and the shutter release cable to the camera. I have several extensions in mind, like a pan-tilt unit. But for the moment, I will test and use the setup as is. The next improvements will be more on the firmware, for more features: non-linear movement, slow start, slow finish, pre-defined profiles, … for more impressive movies.
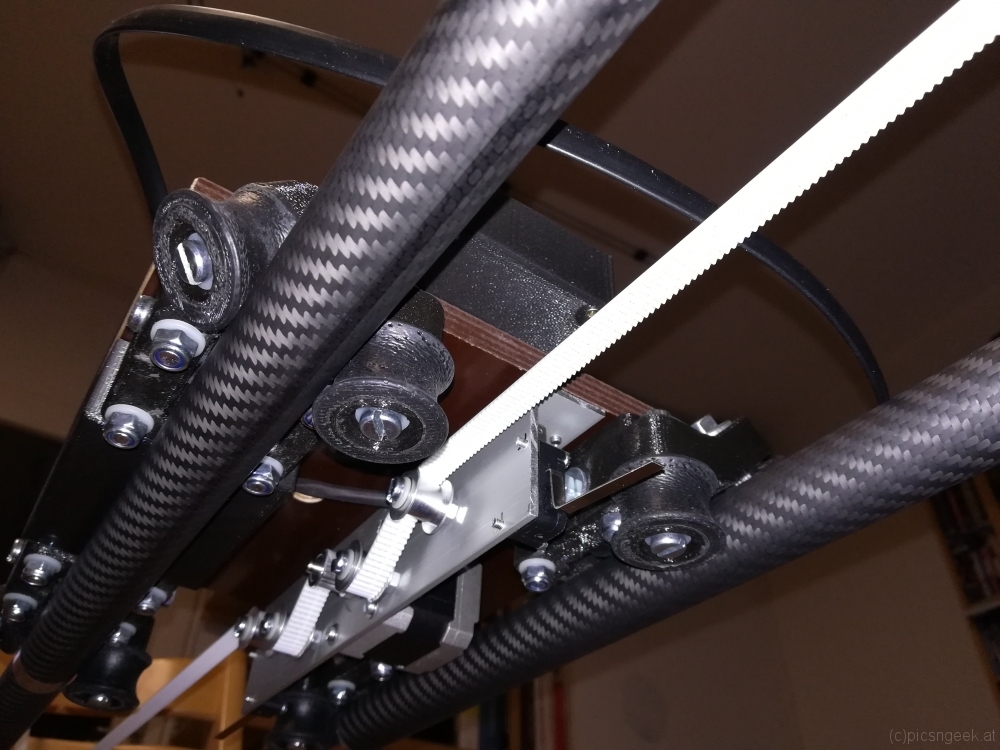
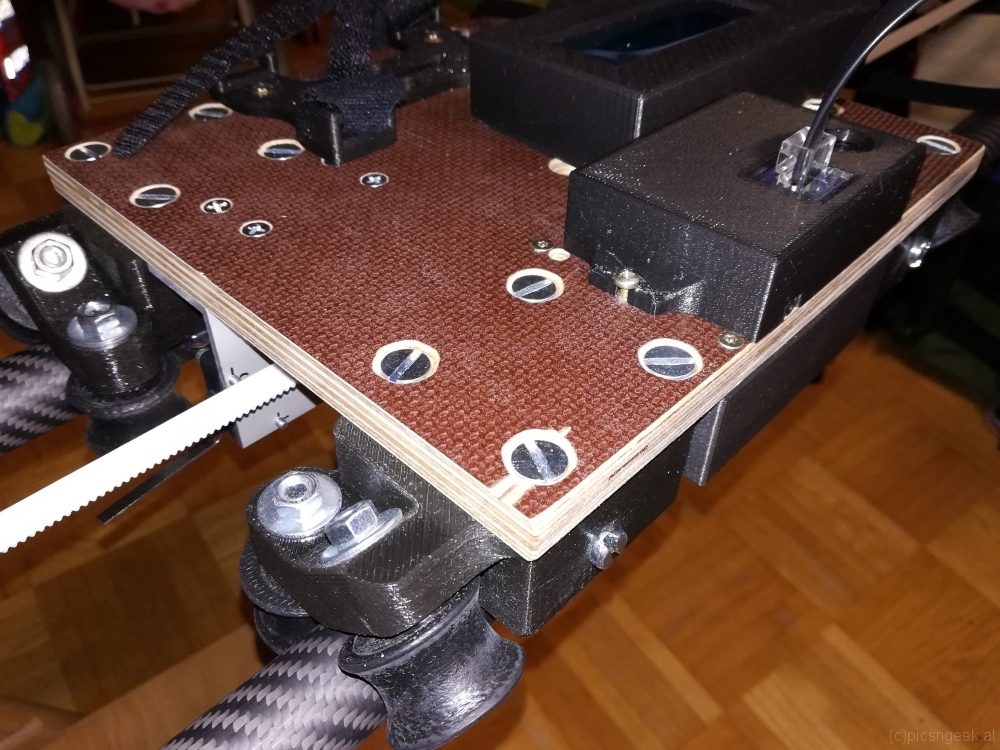
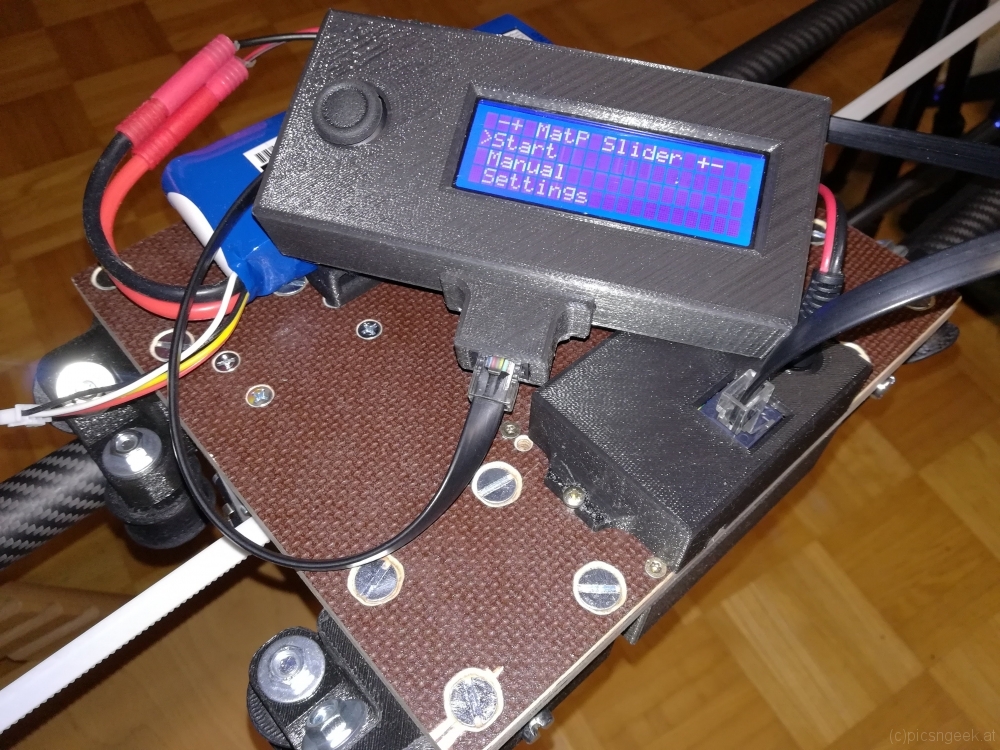
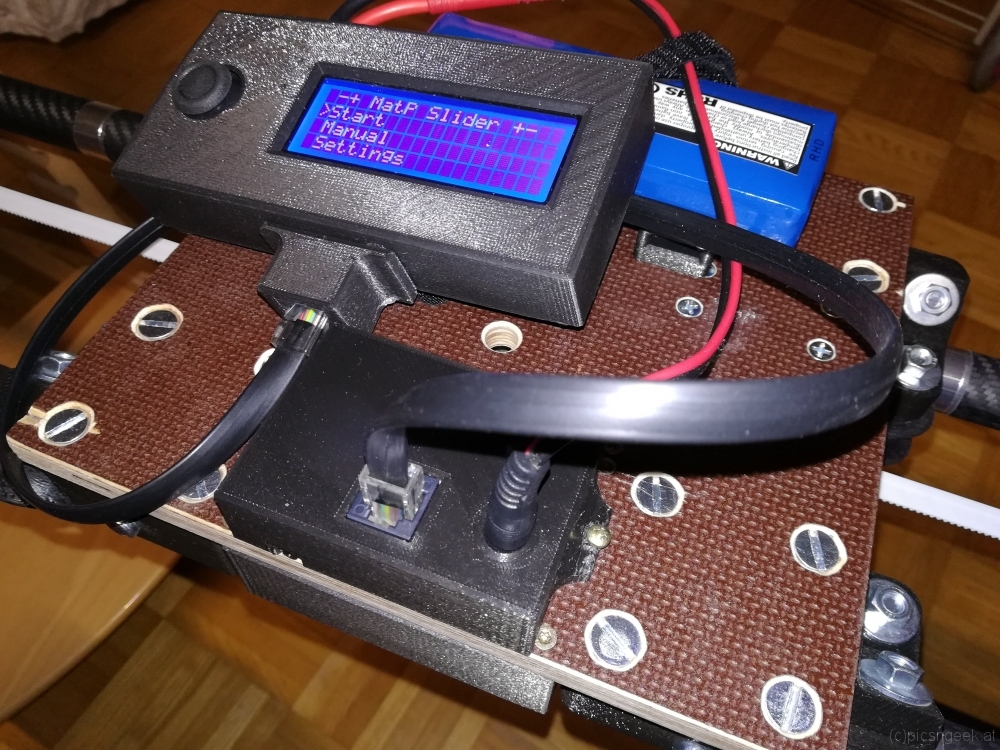
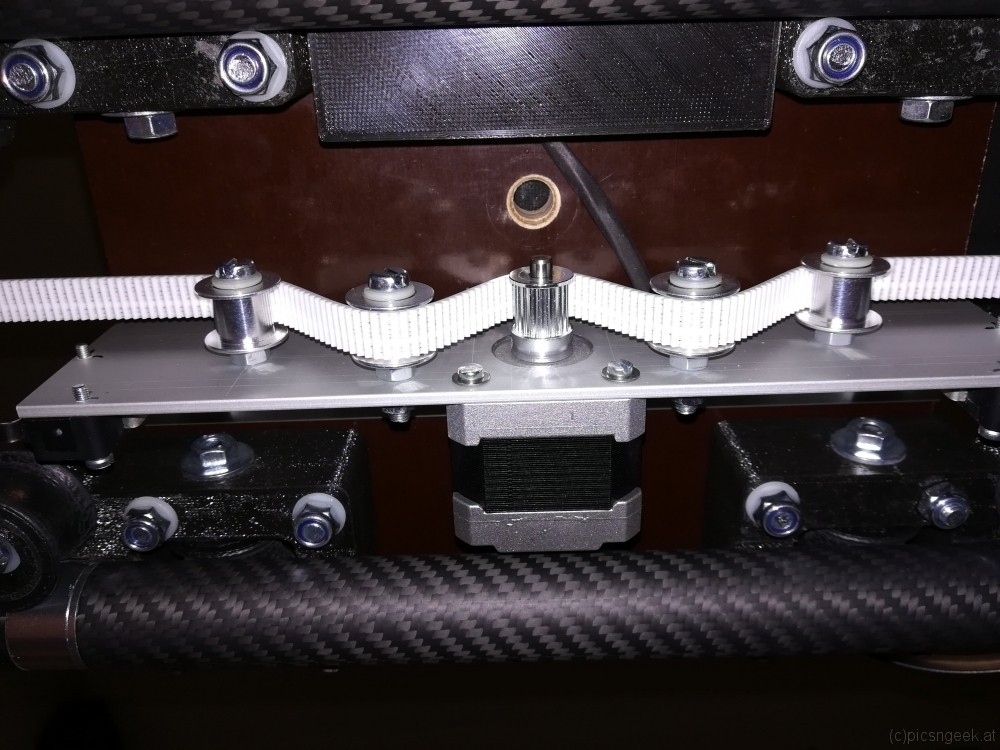
Now, concluding the build, I have the following parts in the final setup:
- 12 U-groove wheels, matching the carbon fiber tubes (3D printed plus ball bearings)
- 4 wheel carriages, each holding 3 U-groove wheels (3D printed)
- 1 case for the microcontroller and motor driver (3D printed)
- 1 case for shutter release, power supply and connectors (3D printed)
- 1 hand-controller case (3D printed)
- 1 battery bracket (3D printed)
- 2 end-assemblies (5 parts each, 3D printed)
- 2 supports (3 parts each, 3D printed)
- 1 NEMA17 stepper motor
- 1 A4988 stepper motor driver
- 1 Arduino Nano (Atmel 328 microcontroller)
- 1 4×20 LCD
- 1 Joystick module
- 1 DC-DC converter
- 2 micro switches with long lever as end switches
- GT2 10mm timing belt with wire reinforcement
- 1 GT2 10mm 20 teeth pulley wheel
- 4 GT2 10mm idler wheels
- A whole bunch of M3 to M6 screws and nuts
- 40x3mm flat aluminium
- 30x50x3mm L-shaped aluminium
- carbon fiber tubes
The project was really a fun to make. Even more, the resulting slider provides flexibility and transportability! I may configure the slider in any length, depending on the available tubes. The tubes I use, are 37cm in length and have aluminium screw-in adapters to fit one to the other. I have a bag, which I used as personal item in air travel. The bag holds the complete setup for up to 5 meters (exkluding tripods). The bag weighs in at approximately 5kg – so it is a light weight setup for the length possible.
Camera Slider – first night test
At night, with long(er) exposures, the slider concept to stop for each frame, proofs to be perfect!
A test at night with 10 second single exposures:
Crisp and clear images due to stop-motion. But not yet fluid motion (there seems to be a bug in the motor control).
To be continued 🙂
Camera Slider – first real test
After several days of building and coding, the slider was ready to perform a first real world test. Even if the electronics have not yet been encased (all the wires are going wild around the platform), this was proof of concept…
Motorized camera slider
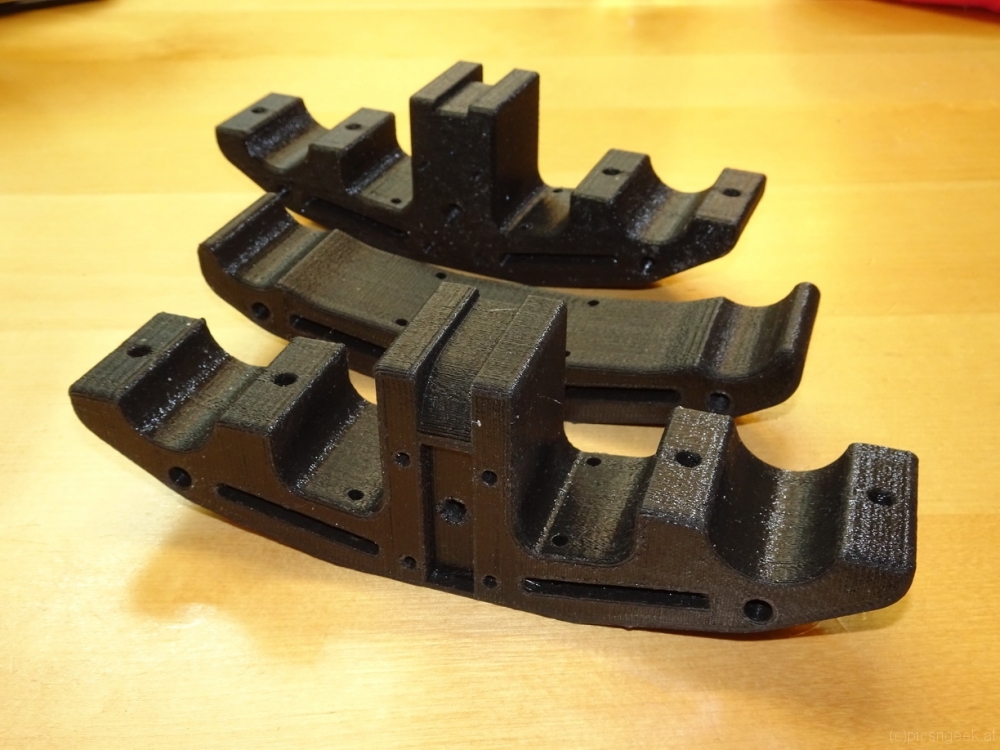
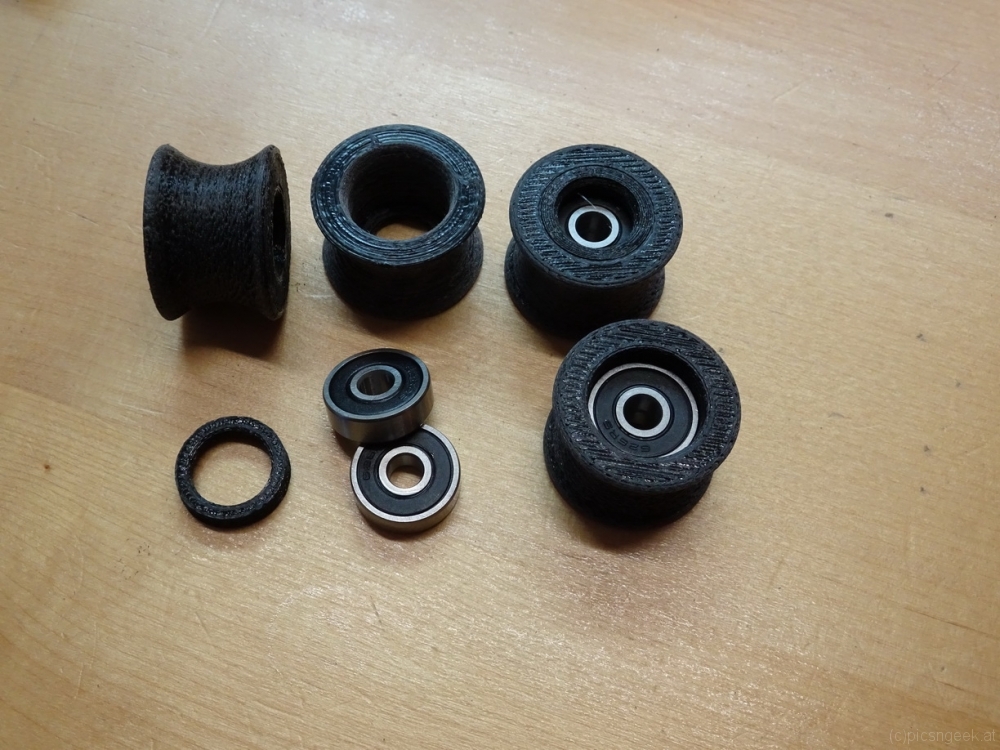
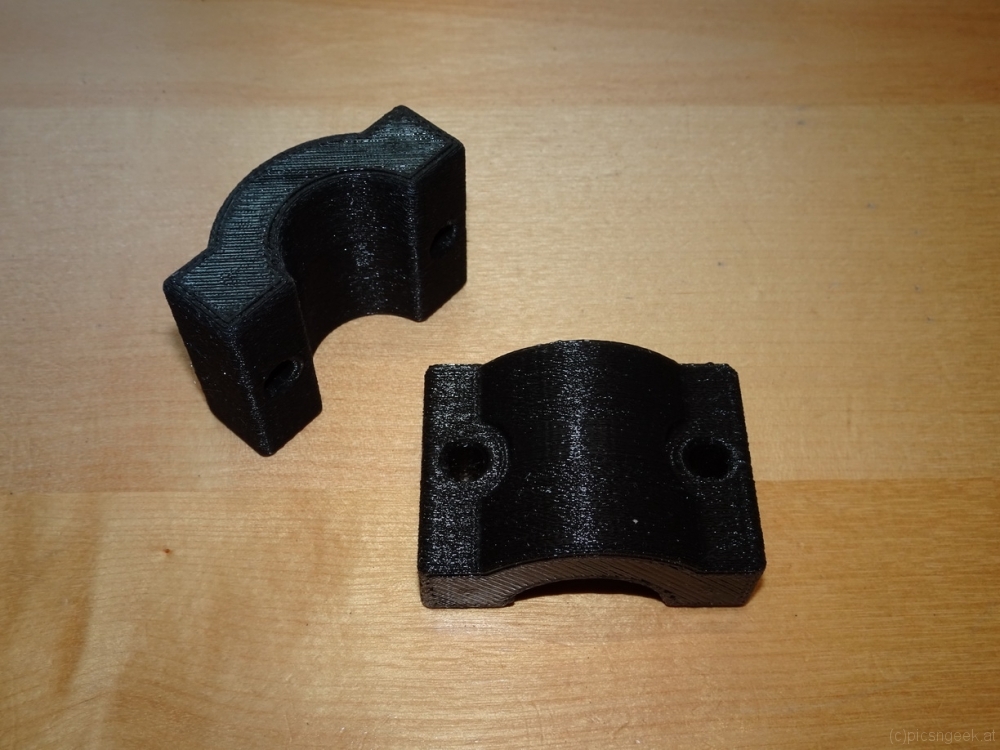
For quite some time I would like to create night time movies in hyperlapses. For me, the most stunning results may be created by moving the camera along a linear path by the use of motorized sliders. Motorized sliders, which are more than 2 meters long, have an impressive price tag. Further more, these tools are bulky and heavy, especially when the setup attached to weighs in a few kilos.
Therefore I decided to build my own with a few goals in mind:
- light weight
- portable
- variable length
- suitable for a load of a few kilos
- wider range of speeds
- extendable for rotation axis
- direct control for camera(s)
To achieve all or most of these goals, I came up with a design built around carbon fiber tubes with aluminum screw-in fixtures. Appropriate tubes may be built from scratch or are readily available for camera gimbals. I chose the camera gimbal extensions, as there is no big price difference to buying stock material. Further more, they come in a handy size of +/- 40cm in length.
The end supports will have to hold the tubes as well as a gear belt, along which the slider cart will be driven. For long setups, I created supports, to prevent bending and excessive stress to the tubes. Both types of support will have legs as well as tripod mount screw holes (3/8 UNC thread)
The slider cart consists of 4 blocks holding 3 pulley wheels each. The blocks are attached to a base plate (in test setup a plywood sheet). In the middle of the base plate lies the motor unit consisting of a steper motor and 4 guiding wheels to create enough tension for the gear belt to be driven by the motor.
All in all, the shopping list is really limited, as most parts were 3D-printed. What I had to purchase or use (most parts were already to be found in the workshop) was:
- carbon fiber rods (at least 8)
- 24 ball bearings type 626 2RS (6x19x6 mm)
- GT2x10mm belt matching the desired length
- GT2 20 tooth drive gear
- 4 guide wheels without teeth for 10mm belt
- 1 NEMA 14 stepper motor, <3V nominal voltage
- several M5 and M6 screws, washers and nuts
- 3/8 UNC thread taper
- approximately 0.5m of 40x3mm Aluminum sheet
- 25cm of 30x50x3mm Aluminum L shaped profile
- Arduino, Stepper motor controller like A4988, 12-18V (lithium) battery
- 1 can of rubber spray like Plasti-Dip (c)
Most of the time I spent was in CAD constructing the parts. Printing took about 3 days. The pulley wheels have to be sanded for a smooth surface before coating with rubber. The remaining time was spent in cutting, drilling and tapering the aluminum parts, before all parts could be attached together.
The first test run was more than pleasing. See for yourself:
The next thing to do is to create a control box with all the features implemented for every day use 🙂
Total solar eclipse 2017 timelapses from Riverton, Wyoming
After working through all the data collected from the solar eclipse in August, I combined the wide angle images (8mm lens) and the images captured through my 600mm travel telescope to timelapses. The wide-angle video is the result of more than 800 single exposures, covering the day from around 6am till 5pm. The most interresting part around totality is significantly slowed down, as totality would be over in a blink. During partial phase, I was so busy trying to fix my automated triggering system, that I did not realize the clouds until post processing. So it was really pleasing to see all the clouds above my site vanish moments before totality began. On the other hand, the remaining clouds increased the view of the shadow of the moon passing over, which is just amazing!
The inlay in the wide angle video is derived from the high res video.
I am really pleased with the results, but check for yourself!
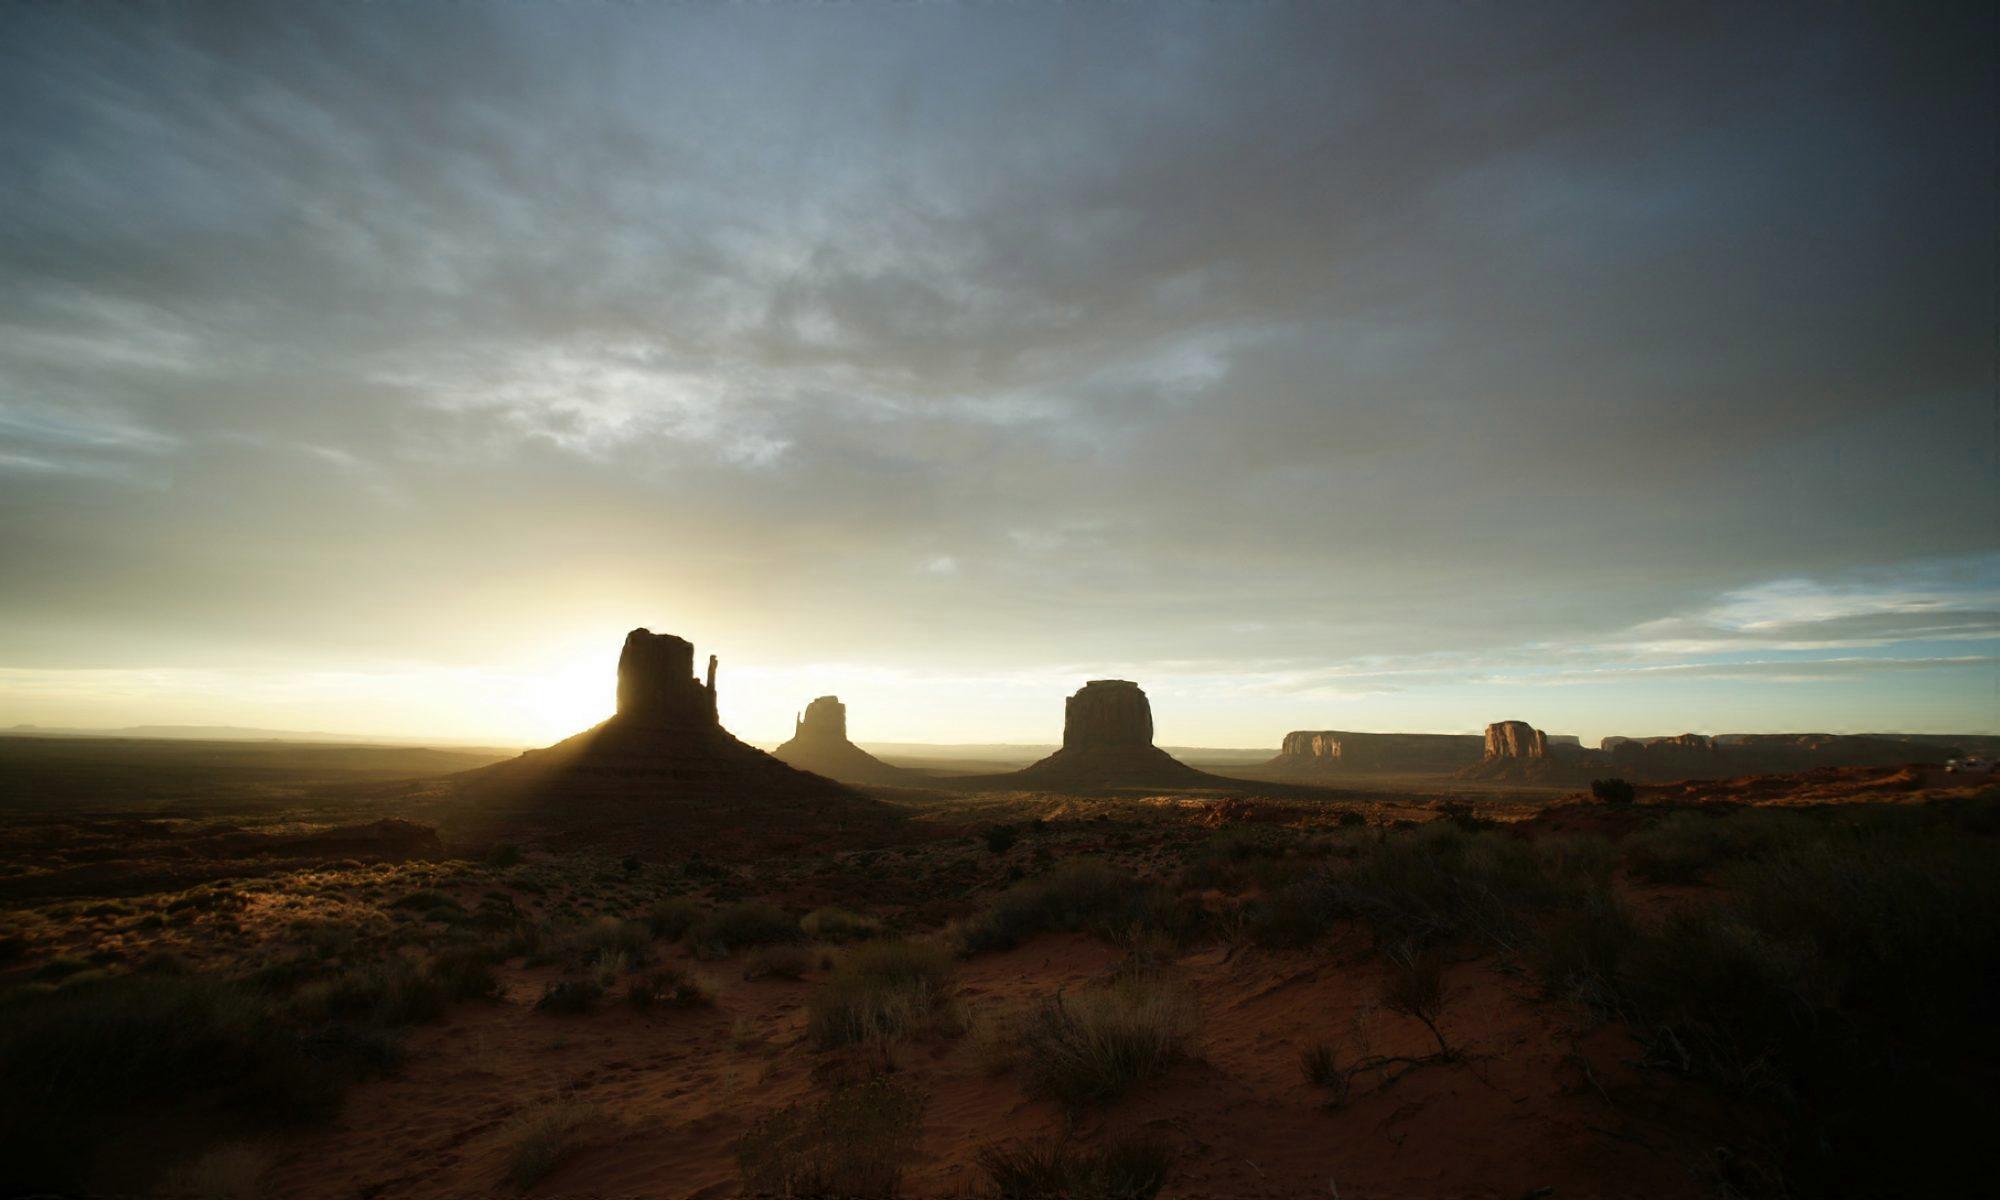
Monument Valley from night to day
In the night of 2017-08-14 I created a timelapse with the milky way travelling above Monument Valley. Clouds and the crescent moon did interfere the beautiful sight of the millions of stars above one of the most impressive sights in the US. On the other hand, an amazing sunrise compensated for the second half of the night 🙂
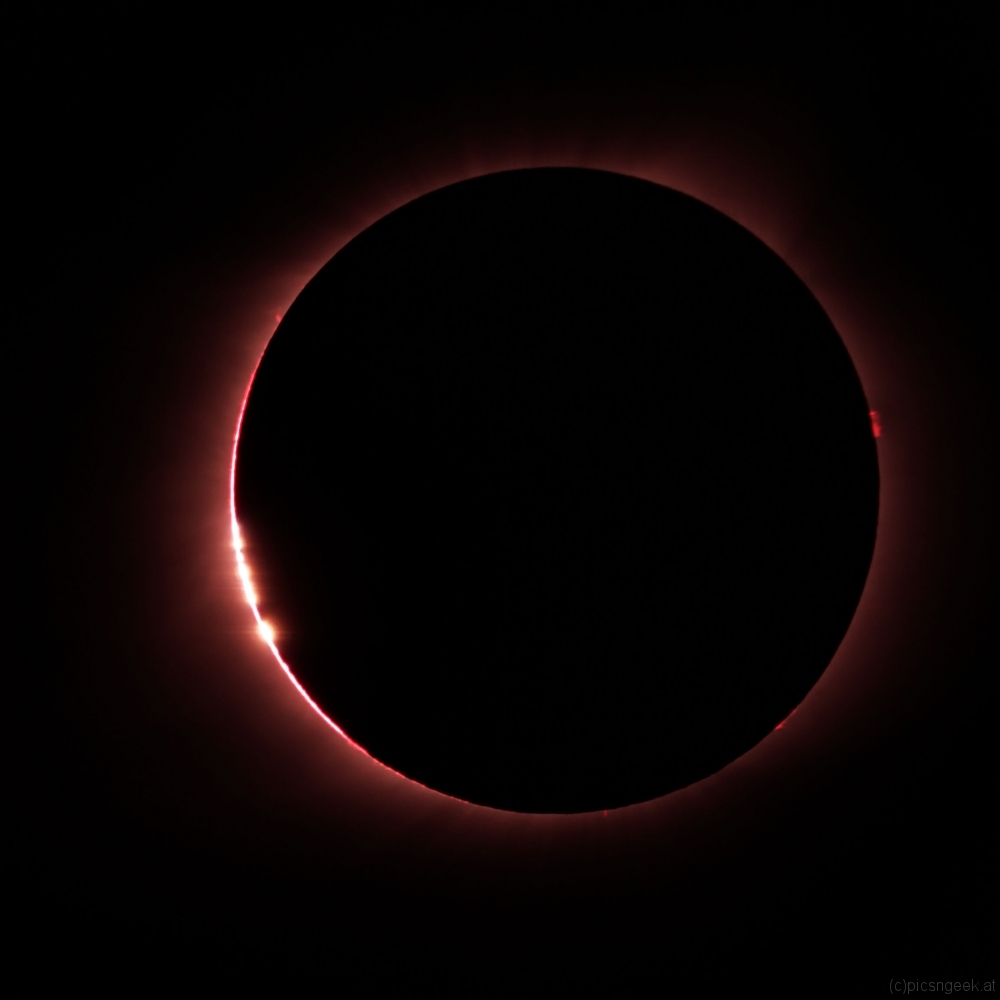
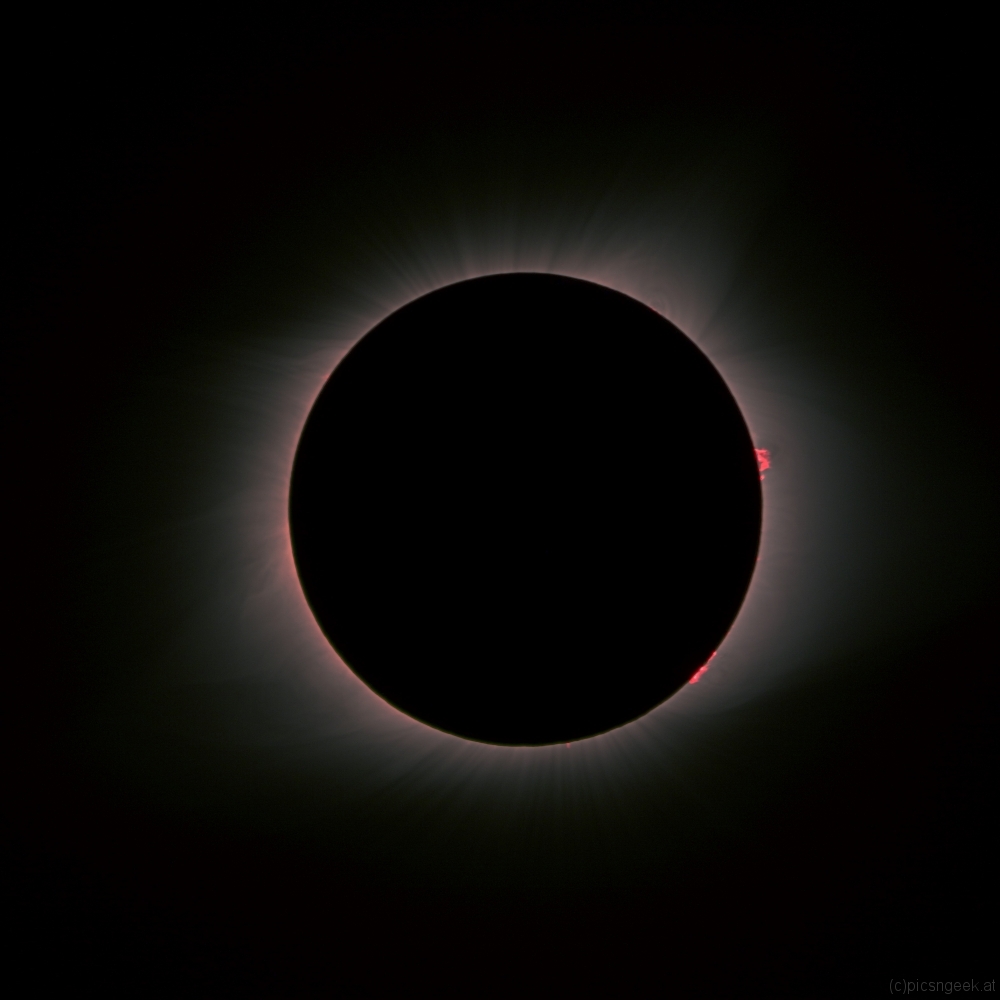
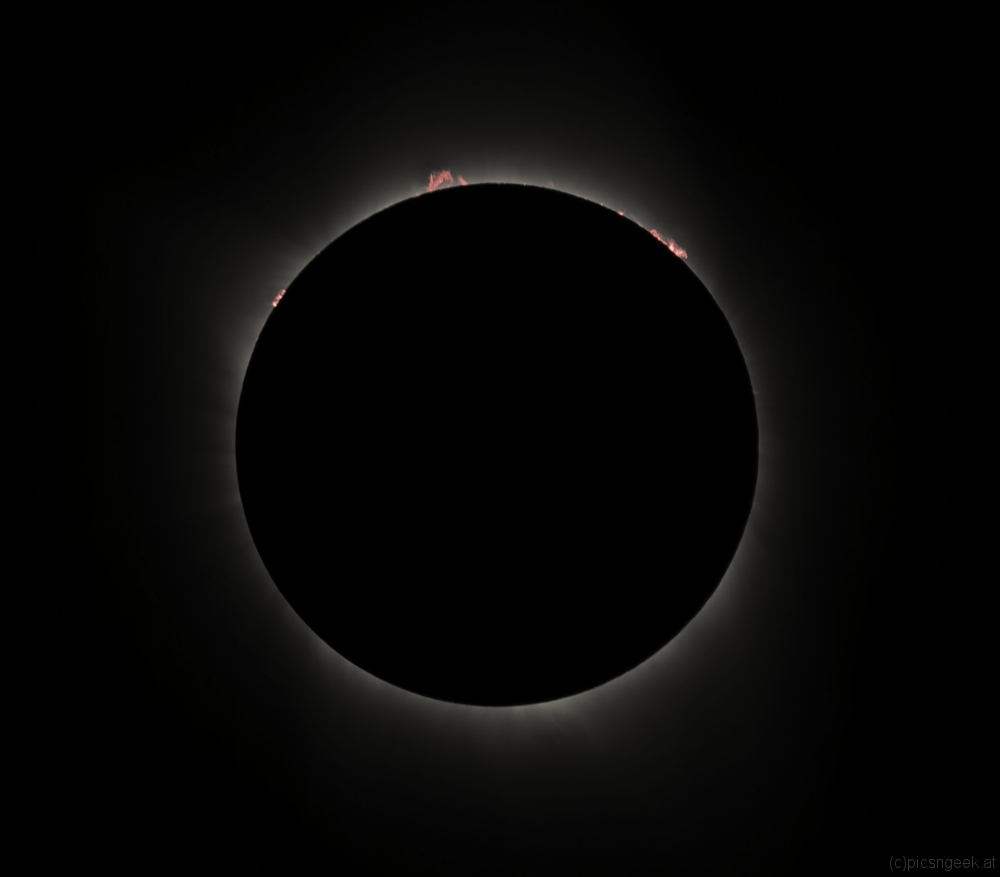
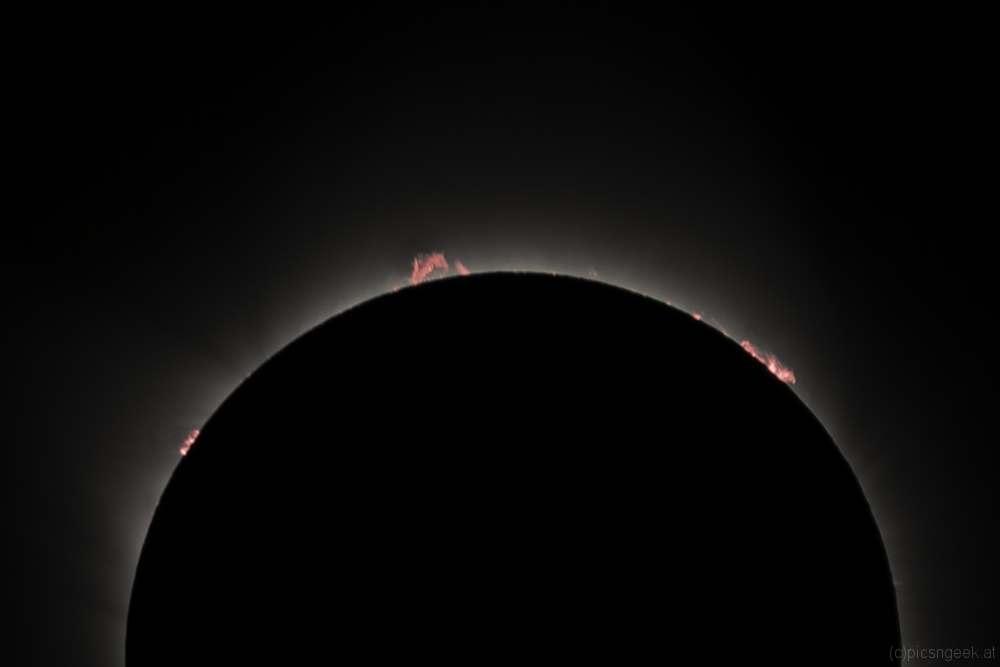
Total solar eclipse 2017 from Riverton, Wyoming
All the effort to travel around the world for just a few images… Well, it was really a challenge to carry the 60+kg equippment to Riverton, Wyoming. It was even more challenging to try to last-minute fix an error in my computer controlled camera trigger system. And last but not least, 2 cameras stopped capturing during totality… It would have been a total disappointment, if…
… if my best camera / lens combination I had set up wouldn’t have done the following 🙂
See for yourself, why I am absolutely happy: